That dull, grimy ring around your fuel filler isn't just cosmetic dirt. Knowing how to clean the gas cap area the right way protects one of the cheapest parts on your car, and one of the costliest to wreck. A hardened or solvent-damaged seal can set off your check engine light and sink a smog inspection.
The safe method takes about five minutes.
In our research across owner forums and factory service documentation, EVAP leak codes traced to dirty threads or tired seals rank among the most common check engine light triggers. Sealed fuel caps became standard with OBD-II monitoring back in 1996. Federal evaporative emission rules require them to hold vapor in, not just liquid fuel.
Here's where the trouble starts.
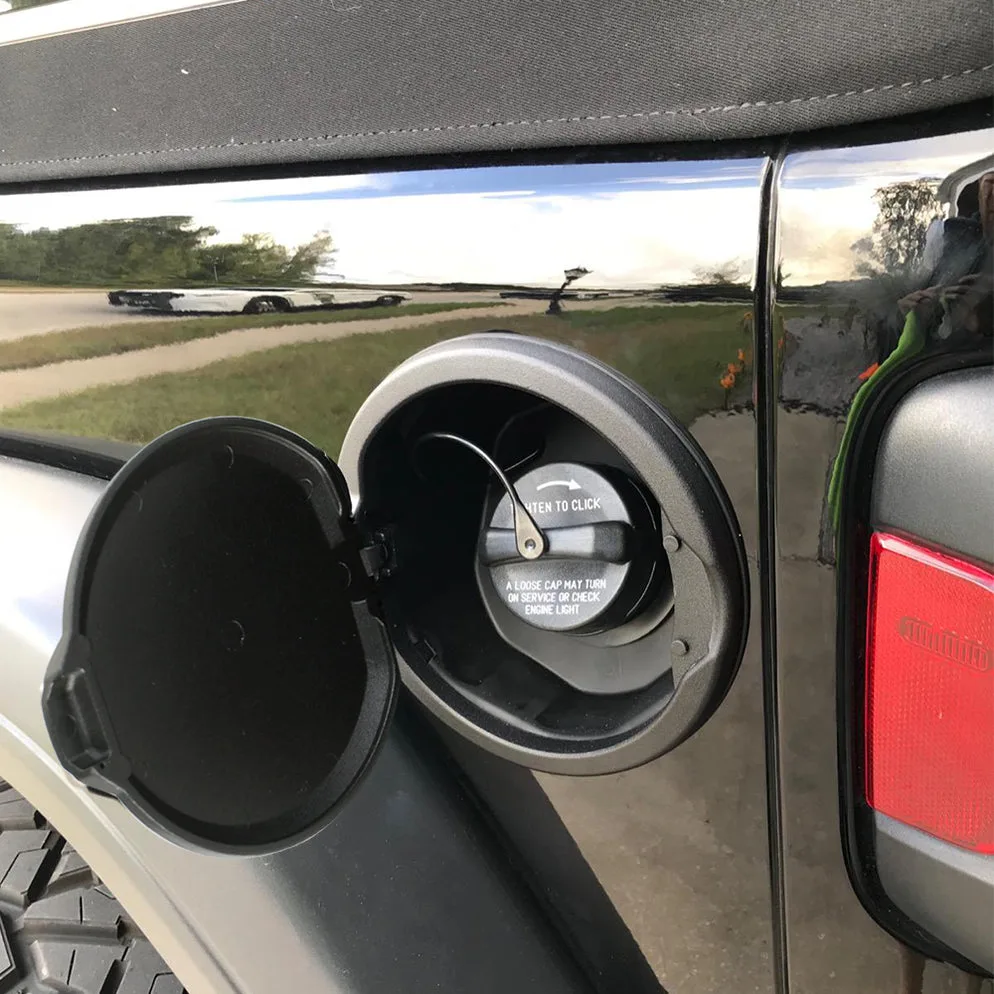
Why a Dirty Gas Cap Area Causes Real Problems (EVAP Codes and Failed Smog Tests)
Your gas cap isn't a simple lid. On any modern car it seals the evaporative emission control system, better known as the EVAP system. That closed loop traps gasoline vapors so they can't escape into the air, a design the EPA's evaporative emission standards mandate.
Onboard sensors test it constantly.
When grit blocks the cap from seating fully, or a worn gasket lets vapor slip past, the computer notices. It stores a code like P0442 (small leak), P0455 (large leak), or P0457 (cap loose or off). Then the check engine light comes on.
Per SAE J1979 diagnostic standards, these systems flag leaks as small as 0.020 inches, about the width of a paperclip wire.
That sensitivity cuts both ways. As of 2026, most US inspection stations pull emissions results straight from the car's OBD-II data. A stored EVAP code fails you on the spot.
Shops charge $100 to $200 just to diagnose that code, while the fix is often a $15 cap.
There's a physical toll too. Trapped slush and road salt sit in the fuel door recess, chewing paint and hinge springs. If you already run your mower and yard chores off a seasonal maintenance schedule, tack this five-minute job onto the list.
Quick Answer: The Safe 5-Minute Clean
Here's how to clean the gas cap area safely. Open the fuel door and brush out loose grit with a dry cloth. Wash the whole recess and cap with pH-neutral car wash soap and water.
Dry everything, including the rubber gasket, before closing up. Never reach for brake cleaner or acetone, because both destroy the seal.
Know Your Parts: Gas Cap, Rubber Gasket, Filler Neck, Tether, and Drain Slots
You don't need to memorize much, but knowing four parts changes how you clean. The fuel filler cap screws onto the filler neck and seals against it with a rubber gasket, sometimes called an O-ring. Most modern caps also ratchet, clicking twice or three times when they're tight enough.
Around the cap sits the fuel door pocket, a shallow recess that collects water, pollen, and winter slush. Small drain slots at its bottom let moisture escape. A tether strap keeps the cap attached to the car so you can't drive off without it.
| Part | Its job | What ruins it |
|---|---|---|
| Rubber gasket | Seals fuel vapors inside | Solvents, age, heat |
| Cap threads | Pull the seal down tight | Grit that blocks full seating |
| Tether strap | Keeps the cap with the car | Sun exposure and repeated flexing |
| Drain slots | Empty the fuel door pocket | Caked debris trapping water |
Newer cars complicate things slightly. Capless fuel systems skip the cap entirely and use a spring-loaded inlet instead. Your job shifts from cleaning a cap to keeping that funnel clear of lint and grime.
Inspect Before You Spray: The Check That Decides Your Entire Approach
Thirty seconds of looking saves wasted effort, because the right cleaner depends on what you find. Pop the fuel door, unscrew the cap, and hold it seal-side up in decent light. Then run two quick checks.
Reading the Seal: Cleanable or Past Saving
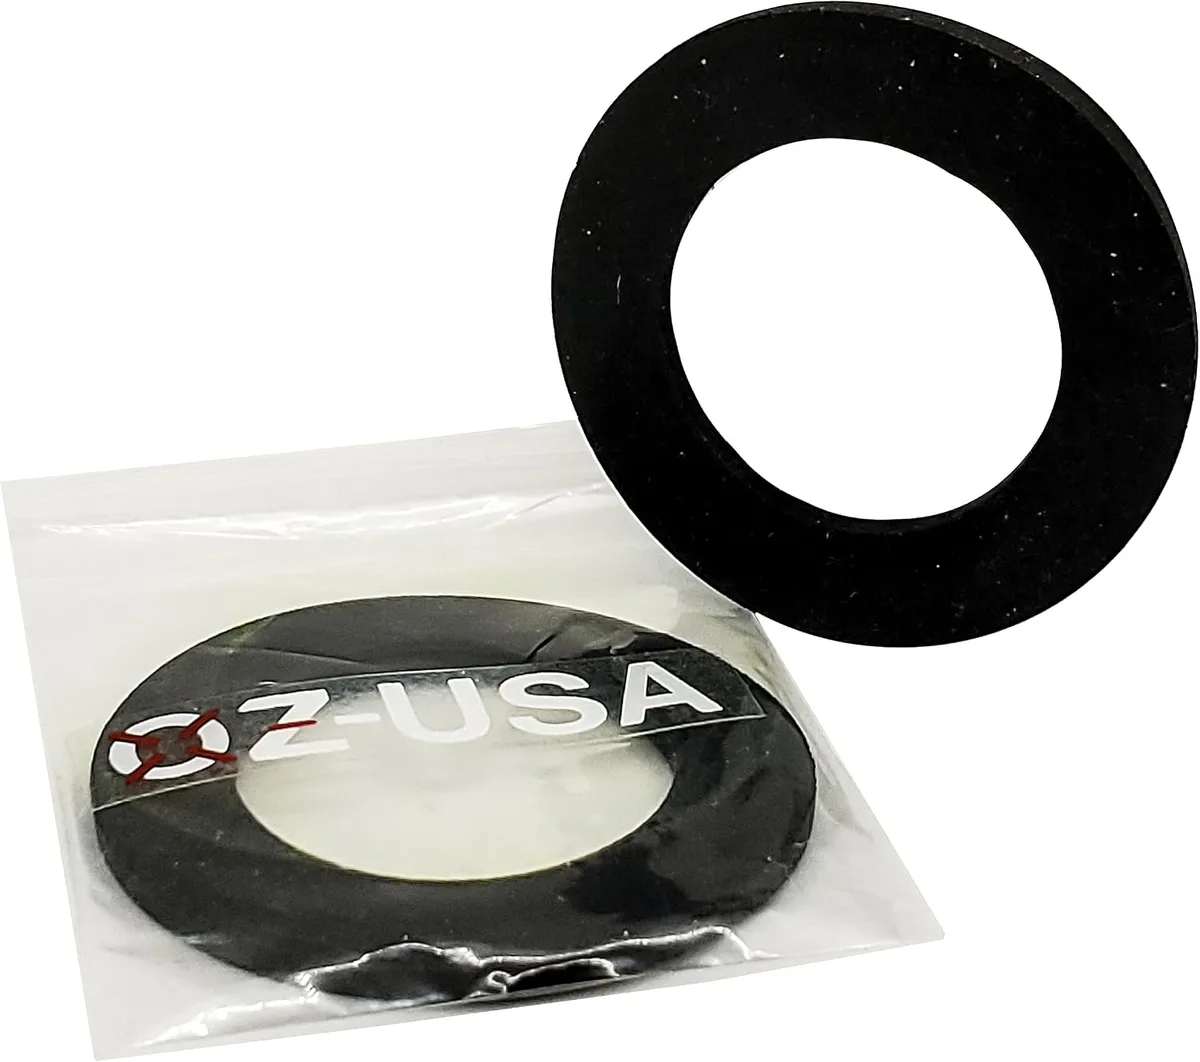
Press a fingertip against the rubber gasket. If it feels supple with no cracks, flat spots, or swelling, cleaning is the right call. In our research, seals commonly last 8 to 12 years before hardening sets in, so age alone doesn't disqualify one.
If the gasket is cracked, brittle, permanently flattened, or swollen, stop. No cleaner revives dead rubber, and scrubbing only speeds up failure. Replacement caps run $10 to $25 aftermarket or $30 to $50 through a dealer, and swapping one takes under a minute.
Identifying Your Grime Type
Match the cleaner to the mess:
- Dust, pollen, light road film: Car wash soap and water handles it. This covers most daily drivers.
- Dried fuel residue or sticky amber film: Wipe with a cloth barely dampened in diluted isopropyl alcohol, then rewash with soap.
- White crust or orange rust: Warm soapy water plus patient agitation with a soft detailing brush. Coastal drivers know this enemy well. It's the same salt attack that sends homeowners hunting for rust-resistant outdoor gear.
- Capless inlet grime: A dry lint-free cloth wiped around the funnel only. Never poke tools inside.
Safety First: Solvents, Fuel Vapors, and Hot Engine Bays Don't Mix
Gasoline vapor ignites easily, and the filler neck connects straight to the tank. Set ground rules before anything gets sprayed.
- Work with the engine off and fully cooled.
- Keep every flammable product away from the open filler neck, and never smoke nearby.
- Never use gasoline itself as a degreaser. It leaves residue, attacks rubber, and drips onto paint.
- Skip brake cleaner, carburetor cleaner, acetone, and WD-40 near the seal. They dissolve nitrile and neoprene rubber fast.
- Angle the hose away when rinsing, and never aim a pressure washer into the recess.
- When finished, tighten until the cap ratchets, usually two or three clicks. Over-torquing cracks the cap or damages the neck.
One legal note deserves emphasis. Strict-emissions states like California, following CARB standards, fail vehicles outright for a compromised or missing cap. There, a sound seal is the difference between passing and booking a retest.
The Step-by-Step Cleaning Workflow (Pick Your Path)
You've identified your grime type, so the rest is quick. Every path uses the same small kit.
| Supply | Why you need it |
|---|---|
| pH-neutral car wash soap | Cuts grime without stripping wax |
| Two microfiber towels | One washes, one dries |
| Soft detail brush | Reaches seams and drain slots |
| 50/50 diluted isopropyl alcohol | Fuel residue only, never the gasket |
Path 1: Light Dust and Road Grime
- Pop the fuel door and sweep out loose dust with a dry microfiber towel.
- Mix car wash soap in a bucket of water.
- Wash the recess, cap face, and door edges with the soapy towel.
- Run the detail brush along the drain slots until water passes freely.
- Rinse gently and towel everything bone-dry.
Five minutes, start to finish. Most cars never need more than this.
Path 2: Dried Fuel Residue and Sticky Film
Fuel sometimes spits back during fill-ups and bakes into amber varnish. Soap alone won't touch it.
- Dampen a fresh microfiber with the 50/50 alcohol mix.
- Wipe only the sticky spots on the painted door and cap body.
- Keep alcohol well away from the rubber gasket.
- Follow with a full soapy wash to lift any alcohol residue.
- Dry completely before closing.
Path 3: Capless Fuel Inlets
No cap means less scrubbing and more restraint.
- Wipe lint and road film off the funnel mouth with a dry cloth.
- Stop there. Never poke swabs or picks past the spring-loaded valves.
- If debris sits deep inside, let a technician retrieve it. Those internal valves seal to tight tolerances.
Path 4: Salt Corrosion in the Fuel Door Pocket
White crust and orange bloom mean chlorides have settled in.
- Soak the pocket with warm soapy water and wait five minutes.
- Agitate with the soft brush, working hardest at hinges and slot edges.
- Flush the drain slots until they run clear.
- Dry thoroughly, then cover bare-metal spots with touch-up paint before next salt season arrives.
Conditioning the Seal Afterward: Water-Based Protectants vs. Silicone Dressings
Water-based protectant wins here, and it isn't close. Silicone dressings can swell some nitrile compounds, distorting the very seal you're protecting. Silicone overspray on surrounding paint also causes fisheye problems during future bodywork.
Apply a thin coat of water-based product to the gasket with a fingertip or foam pad. Buff the plastic trim while you're at it. Aggregate feedback from detailing forums consistently favors water-based formulas for exactly this job.
| Protectant type | Safe on the seal | Watch out for |
|---|---|---|
| Water-based | Yes, all common rubber compounds | Reapply every few months |
| Solvent-heavy silicone | Often no | Swelling, paint overspray |
Mistakes That Destroy Seals, Threads, and Clear Coat
Most damage comes from good intentions with the wrong product.
- Spraying brake or carburetor cleaner near the gasket. Nitrile rubber breaks down within minutes.
- Using gasoline as a degreaser. It dries the rubber and lifts paint.
- Scrubbing with melamine sponges or scouring pads. They cut straight through clear coat.
- Pressure washing into the open neck. You're driving water toward the tank opening.
- Cranking the cap far past its ratchet clicks. Two or three clicks is the entire spec.
- Snapping the door shut while everything's soaked. Trapped moisture restarts corrosion overnight.
When to Stop Cleaning and Replace the Cap Instead
Cleaning has hard limits. Replace the cap if any of these show up:
- The gasket is cracked, brittle, flattened, or swollen.
- The ratchet spins freely without ever tightening.
- The tether strap has snapped off.
- An EVAP code returns even after a thorough clean and proper clicks.
Match the replacement carefully. Bring your VIN or the old cap to the parts counter, because modern caps are engineered per vehicle and sealing geometry varies. A universal cap with the wrong geometry produces the exact leak code you're trying to eliminate.
Locking versions cost a bit more but deter fuel tampering.
What It Costs: A $15 Cap vs. a $150 EVAP Diagnostic Fee
This might be the cheapest diagnostic shortcut in car ownership.
| Item | Typical cost |
|---|---|
| Standard aftermarket cap | $10 to $25 |
| OEM cap from the dealer | $30 to $50 |
| Shop EVAP diagnosis | $100 to $200 |
| EVAP smoke test for deeper leaks | $150 and up |
If a check engine light points to an EVAP code, install a fresh cap first and drive normally for several days. Onboard monitors need completed drive cycles before they re-evaluate the system on their own. Editorial analysis of owner reports suggests many lights extinguish by themselves once a sound seal goes back on.
Pay for professional diagnostics only after a new cap fails to settle things.
Long-Term Care: Wash Routine, Road Salt Season, and UV Exposure
A five-minute clean works better as a habit than a rescue mission. Fold it into washes you're already doing rather than treating it as a separate chore.
How often should you clean it? Every two or three car washes covers most drivers. Beyond that, timing shifts with your climate.
- Every fill-up: Tighten until the ratchet clicks. A half-seated cap is the most avoidable EVAP trigger there is.
- Every few washes: Swipe the open recess with your soapy wash mitt while the foam is fresh. Thirty seconds.
- Salt season: Flush the drain slots monthly. De-icing brine pools in that pocket every storm otherwise.
- Spring: Give the gasket and hinge a proper look after the thaw. Hidden corrosion shows itself then.
- High-UV climates: Park shaded whenever you can. Desert sun bakes the rubber seal and tether strap years ahead of schedule.
Coastal owners deserve special mention, because salt air attacks hinges and springs continuously rather than seasonally. The fix is frequency, not force. Light rinses beat aggressive scrubbing every time.
This kind of small, scheduled attention keeps the rest of your property ahead of problems too. Steady year-round upkeep always beats the annual deep-clean panic, whether we're talking paint trim or keeping grass healthy all season. Pick whatever rhythm fits one repeatable checklist you'll actually follow.
Gas Cap Cleaning FAQs
Can I clean around the fuel door with a full tank?
Yes, and it's completely safe. The filler neck connects to the tank regardless of fuel level, so a full tank changes nothing. Keep the engine off and cool, skip all solvents and aerosols, and work with soap, water, and cloths only.
Ventilation isn't a concern at this scale.
Will dish soap work instead of car wash soap?
In a pinch, yes. Dilute a small squirt in warm water and scrub normally. We'd steer you back to pH-neutral car wash soap for repeat cleanings, though.
Dish detergent strips existing wax from the surrounding panel over time, leaving the paint near your fuel door dulling faster than the rest of the car.
How long until the check engine light turns off after installing a new cap?
Usually three days to a week of normal driving. The onboard monitor needs several completed drive cycles before it re-tests the EVAP system on its own. Don't clear the code with a scanner right before an inspection.
Resetting wipes your readiness monitors, and many stations will reject the vehicle until they reset naturally.
Is it safe to pressure wash the fuel door area?
With the door closed and from normal washing distance, sure. Never aim the wand into an open recess or the filler neck itself. High-pressure water forces its way past gaskets that ordinary rain never touches.
Trapped moisture inside the pocket is exactly what starts the corrosion cycle described above.
Do diesel vehicles need different treatment?
Not really. Diesel caps carry green color coding on many models, but the cleaning method is identical. The one wrinkle is biodiesel residue, which leaves a stickier film than gasoline does.
If plain soap slides off without cutting it, the same 50/50 isopropyl alcohol spot treatment handles the job.
Your Decision Guide: Match Your Situation to the Right Move
Everything above condenses into one table. Find what you saw during your thirty-second inspection, then take the matching action.
| If your inspection found… | Then do this | Typical cost |
|---|---|---|
| Supple seal, light dust or pollen | Soap-and-water wash, dry thoroughly | Free |
| Amber fuel varnish or tar film | Spot-clean with 50/50 alcohol, then rewash | Pennies |
| White salt crust or orange bloom | Soak, brush, flush drains, touch up paint | Under $10 |
| Capless inlet with lint buildup | Dry microfiber wipe at the funnel mouth | Free |
| Cracked, flat, or swollen gasket | Stop cleaning, buy a VIN-matched cap | $10 to $50 |
| Ratchet spins without ever tightening | Replace the cap immediately | $10 to $50 |
| EVAP code returns after a fresh cap | Book a professional smoke test | $150 and up |
One habit ties the whole decision tree together. Check the seal whenever you clean the area, and act on what you find before the next emissions test rather than after. That catch-it-early mindset saves money everywhere, which is exactly why handling your own routine upkeep pays off across home maintenance generally.
Clean cap, seated seal, two clicks. That's the entire job.