You notice your desert rose looks a little sad. The leaves are yellowing, maybe dropping off, and the thick swollen trunk feels a bit soft when you give it a gentle squeeze. If you're dealing with root rot desert rose, you're not alone, and the good news is that you can often save the plant if you catch it early enough.
The tricky part is that the real damage is happening underground, hidden from view.
In our research, we've found that the number one cause of root rot in Adenium obesum is poor drainage combined with a watering schedule that doesn't account for seasonal dormancy. As of 2026, the standard recommendation from university extension services is a soil mix that drains completely within 15 seconds. Let's walk through exactly what to look for and how to fix it.
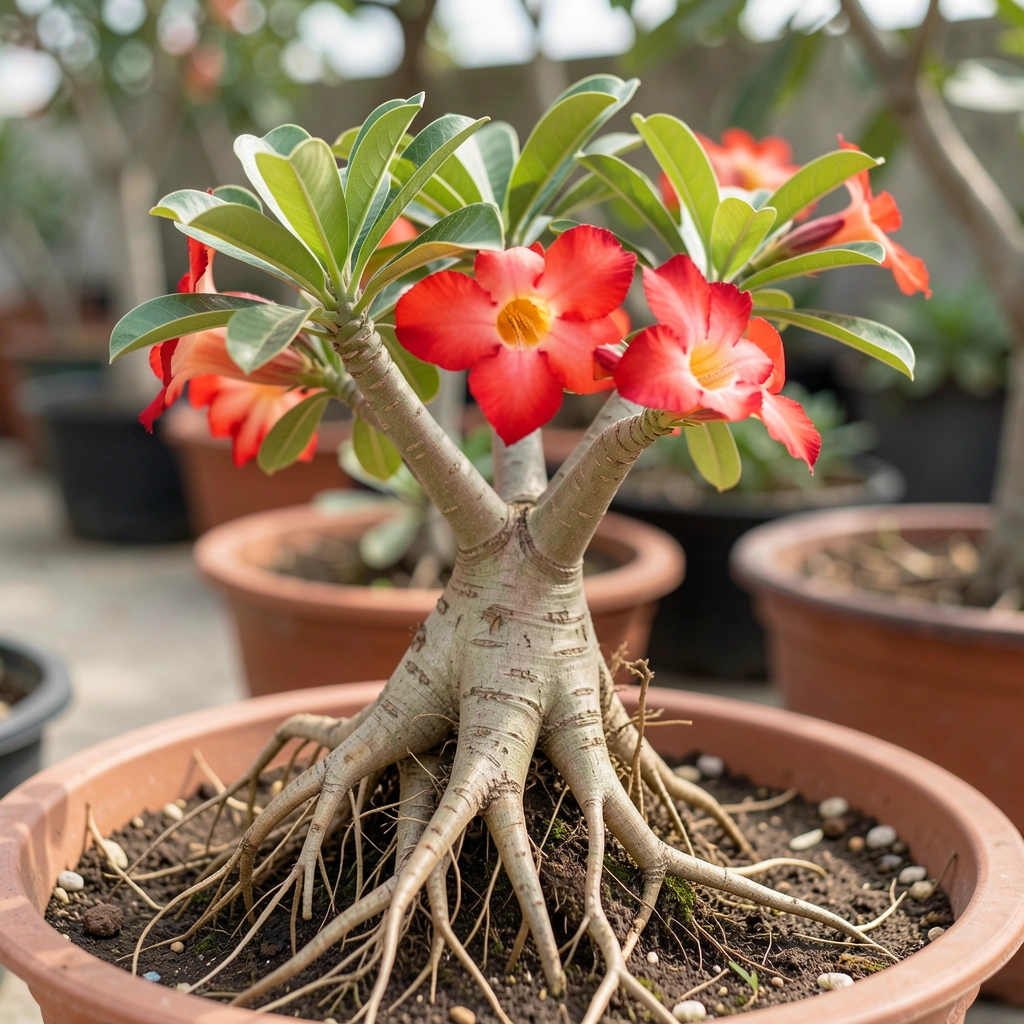
Quick Answer
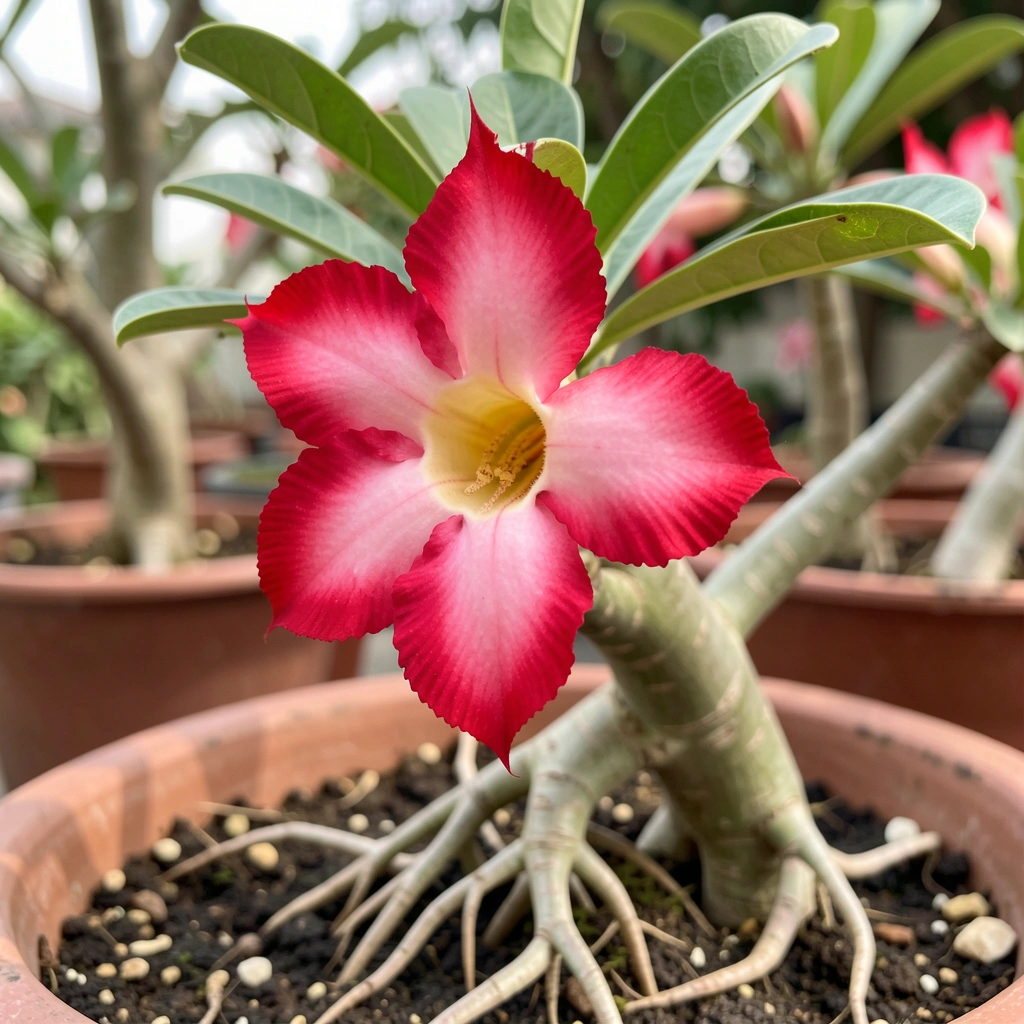
Root rot in desert rose is a fungal infection from overwatering or poor drainage. The plant shows yellow leaves, a soft caudex, and mushy roots. You can save it by cutting away all rotted tissue.
Let the wound callus for 3 to 7 days. Repot in a fast-draining soil mix.
Why Spotting Rot Early Depends on What You See
Root rot is a hidden problem. You can't see the roots without digging them up, and by the time the leaves start looking bad, the rot has often been working for weeks. That's why visual cues are your first line of defense.
The key is to look at the caudex, the thick swollen trunk that makes desert roses so distinctive. A healthy caudex feels firm and rock hard to the touch. It maintains its shape even when the plant is slightly thirsty.
A rotting caudex, on the other hand, feels soft, squishy, or even a little hollow when you press it.
You also need to look at the color. Healthy tissue is white or pale cream when you cut into it. Rotted tissue is brown, black, or sometimes a yellowish mush.
The smell is another giveaway. If you unpot the plant and notice a musty, sour, or truly foul odor, that's fungal activity.
Here is a quick reference table for what you are looking for.
| Feature | Healthy Tissue | Rotted Tissue |
|---|---|---|
| Texture | Firm, rock hard | Soft, squishy, mushy |
| Color | White or pale cream | Brown, black, yellowish |
| Smell | Earthy, neutral | Sour, musty, foul |
| Feeder roots | White or light tan, firm | Brown, slimy, falling apart |
If you notice any of the rot signs, move to the next section to identify the type of rot you are dealing with.
The Two Main Types of Desert Rose Rot (and How to Tell Them Apart)
Not all rot is the same. The treatment you choose depends on which type you have. There are two main categories, and getting this wrong can cost you the plant.
Root rot starts in the fine feeder roots below the soil line. It works its way upward into the caudex. This is the most common type and usually comes from a pot that is too big, a soil mix that holds too much water, or a watering schedule that doesn't match the plant's dormancy cycle.
Caudex rot starts directly in the swollen trunk. It can happen even if the roots look fine. This is often caused by a physical wound, a fungal infection that enters through a cut, or water sitting in the folds of the caudex after watering.
Caudex rot is harder to spot early because the roots may still be white and firm.
Here is how to tell them apart at a glance.
| Symptom | Root Rot | Caudex Rot |
|---|---|---|
| Feeder roots | Brown, mushy, slimy | May look healthy |
| Lower caudex | Soft from the base up | Soft patch on the trunk |
| Leaf symptoms | Yellowing from bottom | Drooping all over |
| Speed of decline | Slow, over weeks | Fast, within days |
If you have root rot, you need to cut off the damaged roots and repot. If you have caudex rot, you need to cut into the trunk itself, often above the rot line. The next section will help you figure out which one you are dealing with by checking the caudex.
Soft Caudex vs. Firm Caudex: The First Thing to Check
Before you do anything else, squeeze the caudex. This single test tells you more than any other symptom.
A firm caudex means the rot is likely confined to the roots. The trunk is still storing water and is structurally sound. You have a good chance of saving the plant by cutting off the damaged roots and repotting in fresh soil.
The recovery time is usually 2 to 4 weeks.
A soft caudex means the rot has reached the trunk. This is more serious. You need to cut into the caudex to find where the healthy tissue starts.
If the soft area is small, you can cut it out. If it goes all the way up the trunk, it may be too late.
The firmness test is not just about how hard the caudex feels. You also need to check for localized soft spots. Sometimes a caudex feels firm overall, but there is a small squishy patch near the base.
That is a localized infection that can be removed with a clean cut.
Here is a simple decision tree to follow.
- Caudex is rock hard -> Cut off damaged roots. Let the plant dry. Repot.
- Caudex has a soft spot -> Cut into the soft spot. Remove all brown tissue. Let the wound callus.
- Caudex is soft all the way up -> The plant is likely beyond saving. You can try cutting above the soft area, but the success rate is low.
If you are still unsure, move to the next section. We will walk through the full unpotting and inspection process.
Step-by-Step Visual Guide: Unpotting and Inspecting the Roots
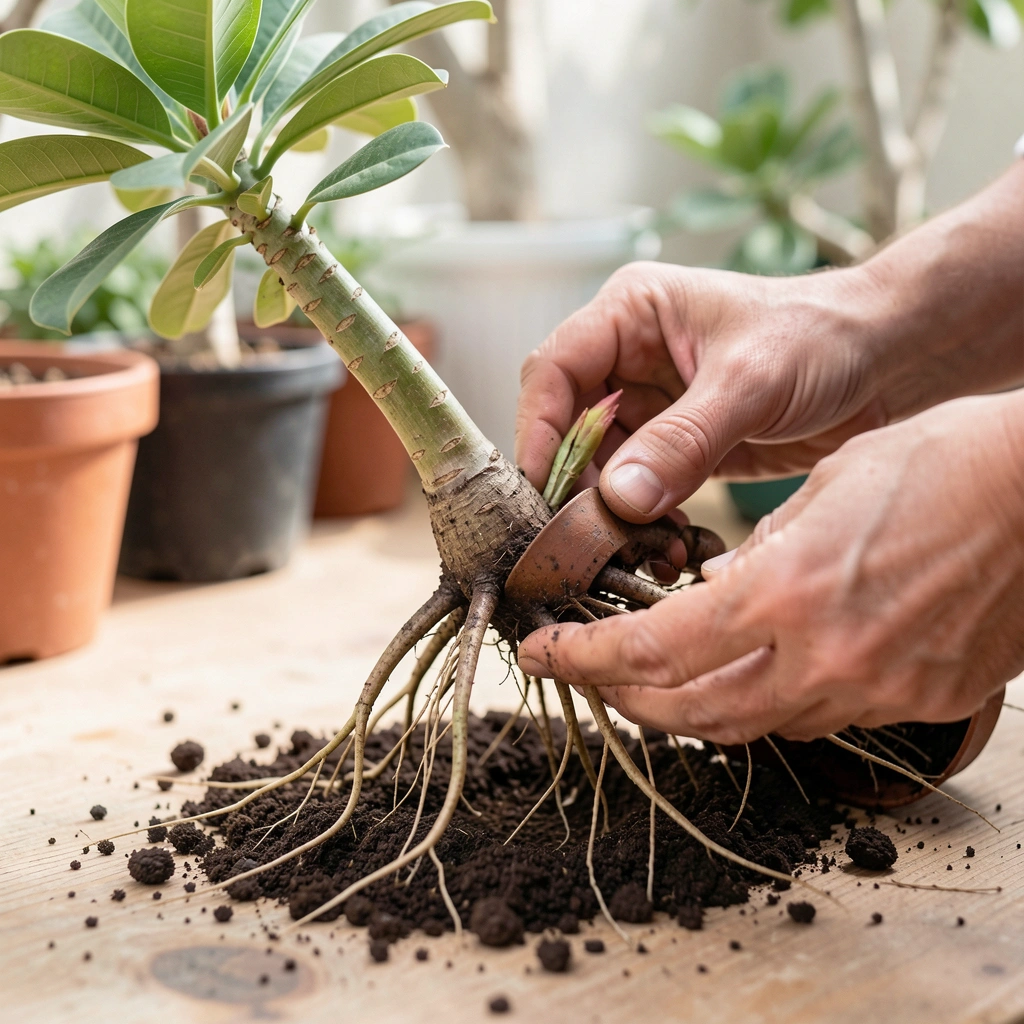
This is where you get your hands dirty. Work over a newspaper or a tray so you can see everything that falls off.
Step 1: Remove the plant from its pot. Gently tip the pot sideways and slide the plant out. If the soil is compacted, tap the sides of the pot. Do not pull the plant by the trunk.
You can damage the caudex.
Step 2: Remove all old soil. Use your fingers or a soft brush to gently loosen the soil around the roots. You want to see every single root. Rotted roots are brown or black and often fall apart when you touch them.
Healthy roots are white or light tan and feel firm.
Step 3: Rinse the roots. Use lukewarm water to wash away any remaining soil. This gives you a clear view of the root system. You can see the texture and color of each root.
If the water runs brown, that is a sign of decaying organic matter, not necessarily rot.
Step 4: Inspect the caudex base. Look at the bottom inch of the caudex. This is where rot often starts. Gently press the area.
If it feels soft, you need to cut it out.
Step 5: Check for smell. Bring the roots close to your nose. A clean earthy smell is fine. A sour, musty, or foul smell means fungal activity is present.
Step 6: Trim the damaged roots. Use sterilized pruning shears or a sharp knife. Cut away all brown, mushy, or slimy roots. Cut back to where the tissue is white and firm.
If you are not sure, cut a little higher. It is better to remove too much than to leave infected tissue behind.
Here is a quick checklist for the inspection.
- Pot removed cleanly
- All old soil removed
- Roots rinsed and visible
- Caudex base checked for softness
- Smell test done
- Damaged roots trimmed
Once you have finished trimming, you need to decide where to cut if the rot has reached the caudex itself. That is the subject of the next section.
Where to Cut: Reading the Color and Texture of Healthy vs. Rotted Tissue
This is the make or break moment. If you cut too low, you leave infected tissue behind. If you cut too high, you remove healthy tissue that the plant needs to survive.
You need to learn to read the color and texture.
Make the first cut above the visible rot. Look at the caudex. If you see a brown or black area, cut above it. Cut straight across the trunk.
The goal is to remove all discolored tissue in one clean cut.
Check the cut surface. Healthy tissue looks like a white or pale cream color. It is firm to the touch. It may weep a little sap, which is normal.
Rotted tissue looks brown, gray, or black. It may be soft, wet, or even hollow.
If you see brown, cut again. Go a little higher. Keep cutting until you see only white or cream colored tissue. This is the hard part, because you are removing more of the plant.
But it is better to lose a few inches of caudex than to lose the whole plant.
Check the edges. After you make the final cut, look at the edges of the cut surface. If there is a thin brown ring, that means the rot is spreading. You need to cut higher.
Check the core. Sometimes the outside of the caudex looks healthy, but the center is brown. This is called core rot. You can see it as a dark ring in the center of the cut surface.
If you see this, you need to cut higher until the entire surface is white.
Here is a visual guide for the cut surface.
| Appearance | What it means | Action |
|---|---|---|
| Uniform white or cream | Healthy tissue | Stop cutting |
| Brown patch on one side | Localized infection | Cut higher |
| Brown ring around the edge | Spreading infection | Cut higher |
| Dark center with white edges | Core rot | Cut higher |
| Entire surface brown or black | Severe infection | Likely unsalvageable |
Once you have a clean white cut surface, stop. Do not cut any more. The plant needs that healthy tissue to survive and grow new roots.
The next step is to let the wound dry and callus, which is what we will cover next.
The Drying and Callusing Phase (This Is Where Most People Mess Up)
You have made the cut. The tissue is white and clean. Now you need to wait.
This is the part that makes people nervous, and it is also where most rescue attempts fail.
The goal is to let the cut surface dry out completely. This forms a callus, a tough protective layer that seals the wound. If you skip this step and put the plant back in soil right away, the open wound will absorb moisture.
That invites bacteria and fungi back in.
How long does it take? In our research, the standard recommendation is 3 to 7 days. The exact time depends on humidity and temperature. In a warm, dry room, callusing takes about 3 days.
In a humid environment, it can take up to 10 days.
Place the plant in a shaded, dry spot with good airflow. Do not put it in direct sun. The cut surface can sunburn.
Do not set it on a wet surface. A paper towel or a dry tray works well.
Check the callus. You can tell it is ready when the cut surface feels hard and dry to the touch. It should look like a scab. If you press it gently, it does not feel soft or sticky.
That is your signal to move on.
What if you see mold? If white or gray fuzz appears on the cut surface, you left it too long in a humid spot. Wipe it off with a dry cloth. Let it dry for another day in a drier location.
Then proceed.
Choosing the Right Pot and Soil Mix to Prevent a Repeat
You saved the plant. Now you need to make sure it does not happen again. The pot and soil you choose are the most important factors.
The pot. Choose a pot that is just slightly larger than the root ball. Desert roses like to be snug. A pot that is too large holds excess moisture and increases the risk of rot.
Terracotta pots are a good choice because they breathe. Plastic pots retain more moisture, so you need to be extra careful with your watering schedule.
The soil mix. Standard potting soil holds too much water. You need a mix that drains fast. The ideal ratio is 60 percent inorganic material to 40 percent organic material.
Inorganic materials include pumice, perlite, coarse sand, or crushed granite. Organic materials include coconut coir or a small amount of compost.
Here is a simple recipe that works well.
| Component | Ratio | Purpose |
|---|---|---|
| Pumice or perlite | 50% | Drainage, aeration |
| Coarse sand or grit | 10% | Structure, drainage |
| Coconut coir | 30% | Moisture retention |
| Compost or worm castings | 10% | Nutrients |
Mix everything together in a large container. Water it lightly to test the drainage. The water should run through in 10 to 15 seconds.
If it pools on top, add more pumice or perlite.
Do not add fertilizer. Not yet. The plant needs time to recover. Fertilizer can burn the new roots.
Wait at least 4 to 6 weeks after repotting.
The First Watering: When to Do It and How Much
This is the most common question we get. When do you water a desert rose that has been cut and dried?
Wait until roots or new growth appear. The plant needs to show signs of recovery before you add water. If you water too early, the cut surface can rot. If you wait too long, the plant can dry out completely.
The typical timeline looks like this.
- Day 1 to 7: Callusing phase. No water.
- Day 7 to 14: Plant in dry soil. No water.
- Day 14 to 21: Check for new roots or new leaf growth. If you see either, water lightly.
- Day 21 to 28: Water normally if the plant shows consistent growth.
How much water? When you do water, give it a small amount. Aim for about a quarter of the pot volume. Water around the edges of the pot, not directly on the caudex.
Let the water run through the drainage holes.
How often? After the first watering, wait until the soil is completely dry before watering again. Stick your finger about an inch into the soil. If it feels dry, water.
If it feels damp, wait.
What if no growth appears? If you have waited 4 weeks and see no new roots or leaves, the plant may still be in shock. Keep it in dry soil. Check the caudex for firmness.
If it stays firm, it is still alive. Just be patient.
Common Visual Mistakes That Cost People Their Plant
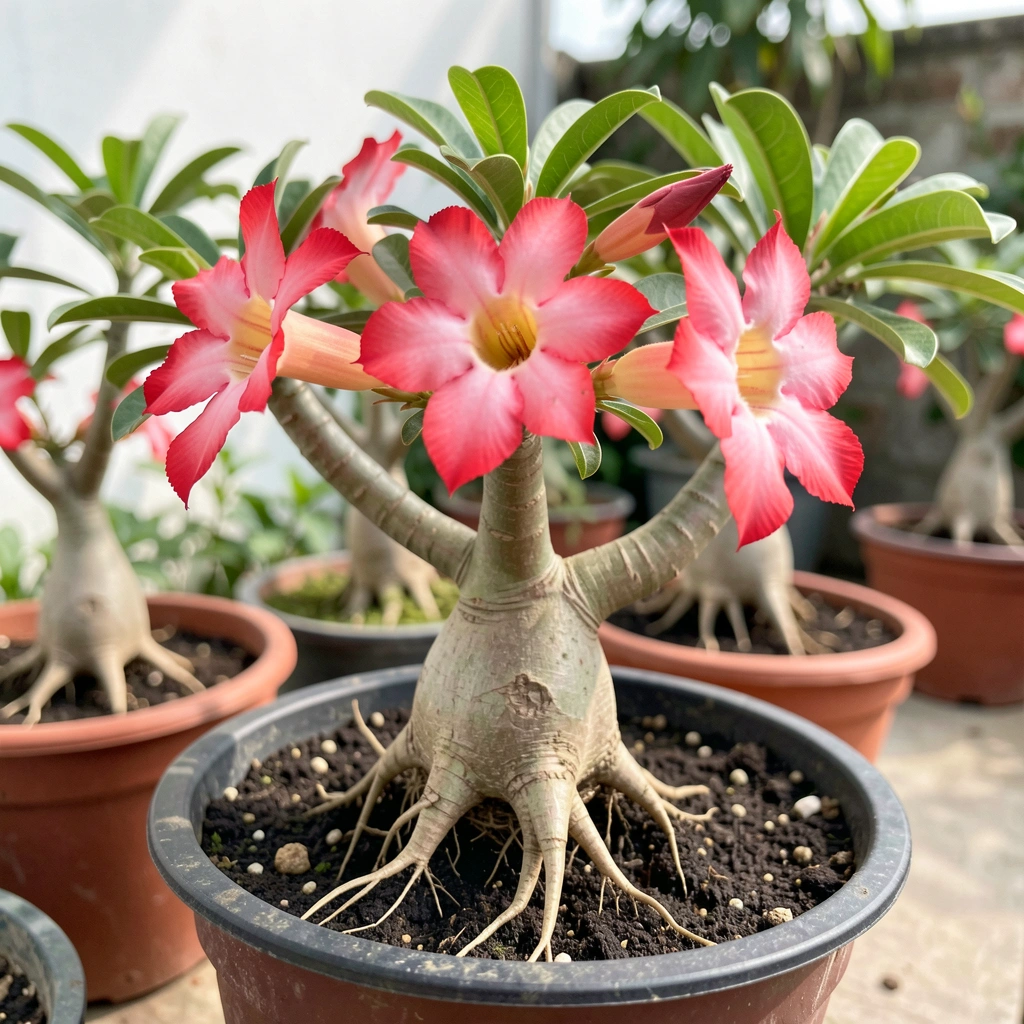
We have seen the same mistakes over and over again. Here are the ones that cause the most trouble.
Mistake 1: Confusing thirst with rot. A thirsty desert rose has a slightly wrinkled caudex. The skin may look a little shriveled. But it still feels firm to the touch.
A rotting plant has a soft, squishy caudex. People see wrinkles and water more, which makes the rot worse.
Mistake 2: Not cutting high enough. When you cut above the rot, you need to see clean white tissue. If you leave a thin brown ring, the rot will come back. Cut higher.
It feels wasteful, but it is the only way.
Mistake 3: Putting the plant in water after cutting. Some people think soaking the roots will help. It does the opposite. An open wound in water is an open invitation to bacteria.
Keep the cut dry.
Mistake 4: Using a pot without drainage holes. This is a non-negotiable. Every pot must have drainage holes. If you use a decorative pot without holes, the water has nowhere to go.
The roots sit in water and rot.
Mistake 5: Repotting in the same soil. The old soil may contain fungal spores. Always use fresh, sterile mix. Discard the old soil in the trash, not in the compost pile.
Mistake 6: Watering on a schedule. Desert roses do not need water on a fixed schedule. Water when the soil is dry. That could be once a week in summer and once a month in winter.
How to Tell If Recovery Is Working (New Growth vs. Continued Rot)
After you have done all the work, you need to know if it worked. The signs are clear if you know what to look for.
Good signs. New leaves appear at the tips of the branches. The caudex stays firm and feels rock hard. The cut surface calluses over and looks dry.
New roots may appear at the base of the caudex, looking like small white nubs.
Bad signs. The caudex continues to soften. The cut surface turns brown or black. A foul smell comes from the pot.
The leaves continue to yellow and drop. The plant seems to shrink or collapse.
The timeline for recovery. If the plant is going to recover, you will usually see the first signs within 2 to 4 weeks. New leaves are the most common early sign. New roots take longer, often 4 to 6 weeks.
What if you see both? Sometimes a plant shows new leaves but the caudex feels slightly soft. This is a mixed signal. The new leaves mean the plant is trying to survive.
The soft caudex means there may still be rot inside. Watch it closely. If the softness spreads, you may need to cut again.
When to give up. If the entire caudex is soft and mushy, and there is no new growth after 6 weeks, the plant is likely gone. You can check by cutting into the caudex. If the tissue is brown or black all the way through, it is time to let it go.
When It's Too Late: Signs You Can't Save the Caudex
Sometimes you do everything right and the plant still dies. Knowing when to stop saves you time and frustration.
The caudex is soft all the way through. If you squeeze the trunk and it feels like a ripe avocado from top to bottom, the internal structure is gone. No amount of cutting will fix it.
The cut surface is brown or black after multiple attempts. If you cut higher and higher, and each time the exposed tissue is still dark, the rot has spread too far. The plant has no healthy tissue left to grow from.
A foul smell persists. Even after cleaning and drying, if the plant smells sour or rotten, there is active decay inside. This is a clear sign the infection is systemic.
No new growth after 6 to 8 weeks. If you have waited two months and see no leaves, no roots, and no change in the caudex, the plant is not coming back. You can check by cutting a small slice into the caudex. If it is brown all the way through, it is time to let it go.
Quick Reference: Healthy vs. Rotted Tissue by Feel and Color
This table is your cheat sheet. Keep it handy when you are inspecting your plant.
| Feature | Healthy | Rotted |
|---|---|---|
| Caudex feel | Rock hard, firm | Soft, squishy, hollow |
| Caudex color | Green or brown (normal) | Brown, black, or yellow |
| Interior tissue | White or pale cream | Brown, gray, or black |
| Root color | White or light tan | Brown, black, slimy |
| Root texture | Firm, flexible | Mushy, falling apart |
| Smell | Earthy, neutral | Sour, musty, foul |
| Cut surface | Dry, clean | Wet, oozing, dark |
Frequently Asked Questions
Can I save a desert rose with a completely soft caudex?
Probably not. If the entire caudex feels soft and mushy, the rot has destroyed the internal structure. You can try cutting above the soft area, but the success rate is very low.
Most plants at this stage are beyond saving.
How long does a desert rose take to recover from root rot?
With proper treatment, you should see signs of recovery within 2 to 4 weeks. New leaves are the first indicator. Full recovery, including new root growth, can take 6 to 8 weeks.
Be patient and do not overwater during this time.
Should I use hydrogen peroxide on root rot?
Some growers use a 3 percent hydrogen peroxide solution to clean the roots. It can help kill surface fungi. But it is not a substitute for cutting away rotted tissue.
The physical removal of damaged roots is the most important step.
Can I propagate a desert rose from a cutting if the roots are gone?
Yes, but only if the caudex is still firm and healthy. Cut the top of the plant above the rot. Let the cut callus for 3 to 7 days.
Plant it in dry, well-draining soil. It may take several weeks to grow new roots.
How do I prevent root rot from coming back?
Use a fast-draining soil mix with at least 60 percent inorganic material. Water only when the soil is completely dry. Reduce watering during winter dormancy.
Use a terracotta pot with drainage holes. These steps will prevent most cases of rot.