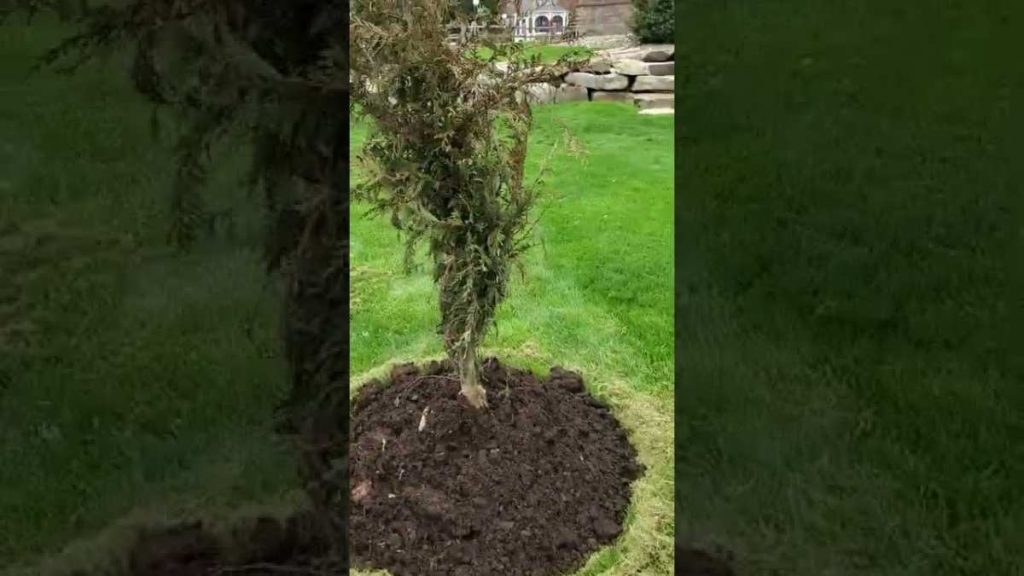
You walk outside one morning and see it: your giant arborvitae turning brown. Panic sets in. You wonder if it's dying, if you overwatered, if some pest is attacking it.
The truth is, browning on these trees can mean many different things. The good news is that most causes are fixable if you catch them early.
What most people don't realize is that the pattern of the browning tells you exactly what's wrong. As of 2026, the leading university extension services agree that visual diagnosis is the most reliable first step. It saves you time, money, and unnecessary treatments.
Let's walk through what to look for.

Image source: Wikimedia Commons / Yercaud-elango (CC BY-SA)
Quick Answer
Giant arborvitae turning brown is usually caused by winter burn, drought stress, or spider mites. Check where the browning starts. Tip browning points to wind or salt damage.
Interior browning points to mites or normal shedding. Whole branch dieback points to root rot. Do the scratch test to check if the branch is alive.
Most problems are reversible with proper care.
Why Visuals Matter More Than a List of Causes
When your arborvitae starts turning brown, Google will give you a dozen possible causes. But reading a list won't help you figure out which one applies to your tree. A photo or a clear description of what you see changes everything.
In our research, the single biggest mistake homeowners make is misdiagnosing the problem. They treat for fungus when the real issue is spider mites. They prune a branch that's already dead, or they water more when the soil is already soggy.
That's why this guide leans heavily on what to look for. Where the brown shows up, what shade it is, and whether the branch still feels alive. These visual cues are faster and more accurate than any generic checklist.
The University of Minnesota Extension recommends starting with location and pattern before reaching for any treatment. We'll follow that same approach here.
Quick Check: Is This Normal or a Problem?
Not all browning means your tree is in trouble. Giant arborvitae naturally shed old interior needles each fall. That's normal.
You'll see brown needles deep inside the canopy, near the trunk, while the outer foliage stays green and healthy.
So how do you tell the difference?
- Normal shedding: Brown needles are evenly distributed inside the tree, mostly on older branches. The outer tips remain bright green. No bare patches.
- Problem browning: Brown areas are patchy, concentrated on one side, or affecting the tips. You might see bare branches, webbing, or cracking bark.
If the brown is only on the inside and the rest of the tree looks fine, you can relax. It's just the tree making room for new growth. No action needed.
But if the browning is at the tips, on one side, or in distinct patches, keep reading.
The First Clue: Where Exactly Is the Browning?
This is the most important question you can ask. The location of the browning points directly to the cause. Let's break it down by pattern.
Browning at the Tips (Winter Burn, Wind, Salt)
If the tips of the branches are brown, especially on the side facing the wind or a road, you're likely dealing with winter burn or salt damage. This happens when cold, dry winds pull moisture out of the needles faster than the roots can replace it. The tips dry out and turn a crispy brown.
You'll see this most often in late winter or early spring. The south and west sides of the tree are usually hit hardest because they get more sun and wind exposure.
Salt spray from roads or sidewalks does the same thing. The salt draws moisture out and kills the tips.
What to do: Wait until late spring to see if new growth pushes through. Most of the time the tree recovers on its own. Just water deeply during dry spells and consider wrapping the tree in burlap next winter.
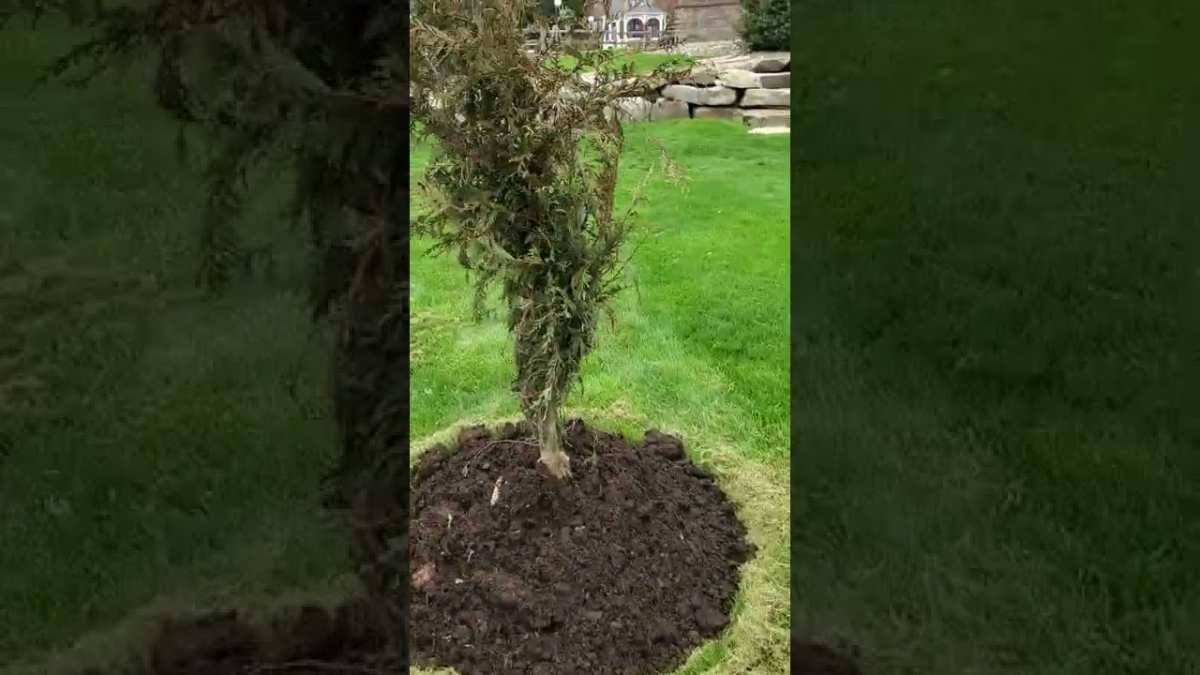
Image source: YouTube / Glenn Fayer (YouTube thumbnail (fair-use with source credit))
Browning on Interior Needles (Spider Mites, Normal Shedding)
We already mentioned normal shedding. But if the interior browning looks excessive, more than a light dusting, spider mites could be the culprit.
Spider mites are tiny pests that suck the sap from needles. They love hot, dry weather. You won't see the mites themselves without a magnifying glass, but you'll see fine webbing between the needles and a general yellowing or browning that starts from the inside out.
How to check: Hold a white piece of paper under a branch and tap it. If tiny specks fall off and start moving, you've got mites.
What to do: Spray the tree with a strong jet of water to knock them off. For heavy infestations, use horticultural oil or insecticidal soap. Treat in the evening to avoid burning the foliage.
Browning on One Side (Sun Scorch, Reflected Heat)
When only one side of the tree turns brown, think about what's on that side. A south-facing wall, a driveway, or a large window can reflect heat and dry out the foliage. This is sun scorch.
It's especially common in newly planted trees that haven't developed deep roots yet. The exposed side takes the brunt of the afternoon sun and bakes.
What to do: Shade the tree temporarily with a cloth barrier. Water deeply on that side. Over time, the tree will grow wider and shade itself.
Whole Branch Dieback (Root Rot, Cypress Tip Miner)
If an entire branch turns brown from base to tip, that's more serious. It could be a fungal disease like root rot (Phytophthora or Armillaria) or a pest called the cypress tip miner.
Check the base of the branch. Is the bark cracked or peeling? Do you see oozing resin?
That points to root rot. If the branch snaps easily and shows tiny tunnels inside, you've got tip miners.
What to do: For root rot, improve drainage and reduce watering. Remove and destroy severely affected branches. For tip miners, prune out infested tips and dispose of them.
Chemical controls are rarely needed if caught early.
Brown Patches Low to the Ground (Dog Urine, Soil Issues)
Brown spots at the base of the tree, especially near a sidewalk or lawn, often come from dog urine. The nitrogen overload burns the needles. You'll see a distinct brown area that matches where your dog frequents.
What to do: Water the area deeply to dilute the urine. Train your dog to go elsewhere. You can also try a urine-neutralizing product, but the best fix is prevention.
Second Clue: What Does the Brown Look Like?
The shade of brown and any visible marks give you another layer of information.
Rusty Orange-Brown vs. Dead Gray-Brown
A rusty orange-brown color, especially in winter, suggests winter burn. The needles haven't died completely. They're damaged but might recover.
A dead gray-brown color means the needles are fully dead. That branch is gone.
If you see a mix of rusty and gray, the gray parts are beyond saving. Prune them out. The rusty parts might push new growth in spring.
Webbing or Tiny Specks on the Needles
Webbing is the giveaway for spider mites. Look for fine silk threads between needles, especially in tight clusters. The needles may also have tiny yellow or white specks.
Without a photo, it's hard to describe. But if you see any webbing, you know what you're dealing with.
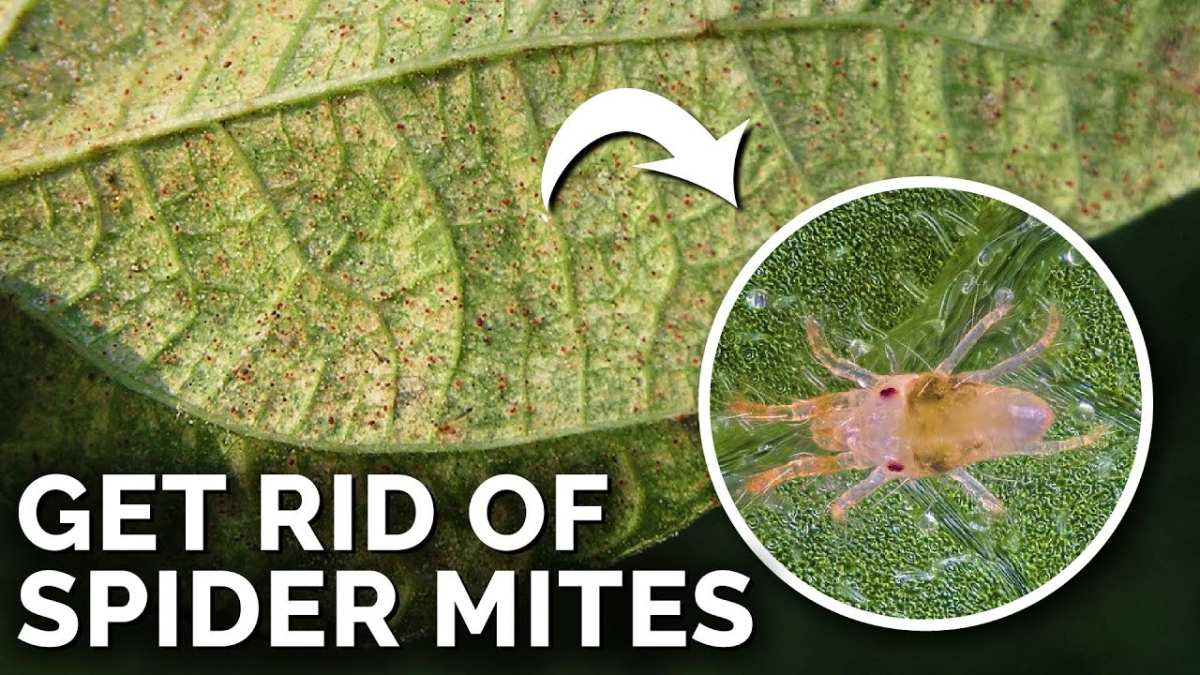
Image source: YouTube / Epic Gardening (YouTube thumbnail (fair-use with source credit))
Cracked Bark or Oozing Resin
Cracked or peeling bark, especially at the base of the trunk, often indicates root rot or a canker disease. Oozing resin is the tree's response to stress. It can also mean physical injury from a lawn mower or weed trimmer.
If you see this, check the root zone. Is the soil constantly wet? Are there mushrooms growing near the base?
Those are signs of root rot.
Scratch Test: How to Tell If the Branch Is Still Alive
Before you decide what to do, you need to know if the branch is alive or dead. The scratch test is the fastest way.
Use your fingernail or a small knife to gently scrape a tiny bit of bark off a brown branch. Look at the layer just under the bark. If it's green, the branch is alive and has a chance.
If it's brown or dry, that branch is dead.
Do this on several branches across the tree. A single dead branch doesn't mean the whole tree is dying. But if half the branches test dead, you have a major problem.
What to do with dead branches: Prune them back to the nearest live growth. Cut at a 45-degree angle just above a healthy bud or branch junction. Leave the alive parts alone.
They might be stressed but can recover.
For a quick visual reference, check the photo below.
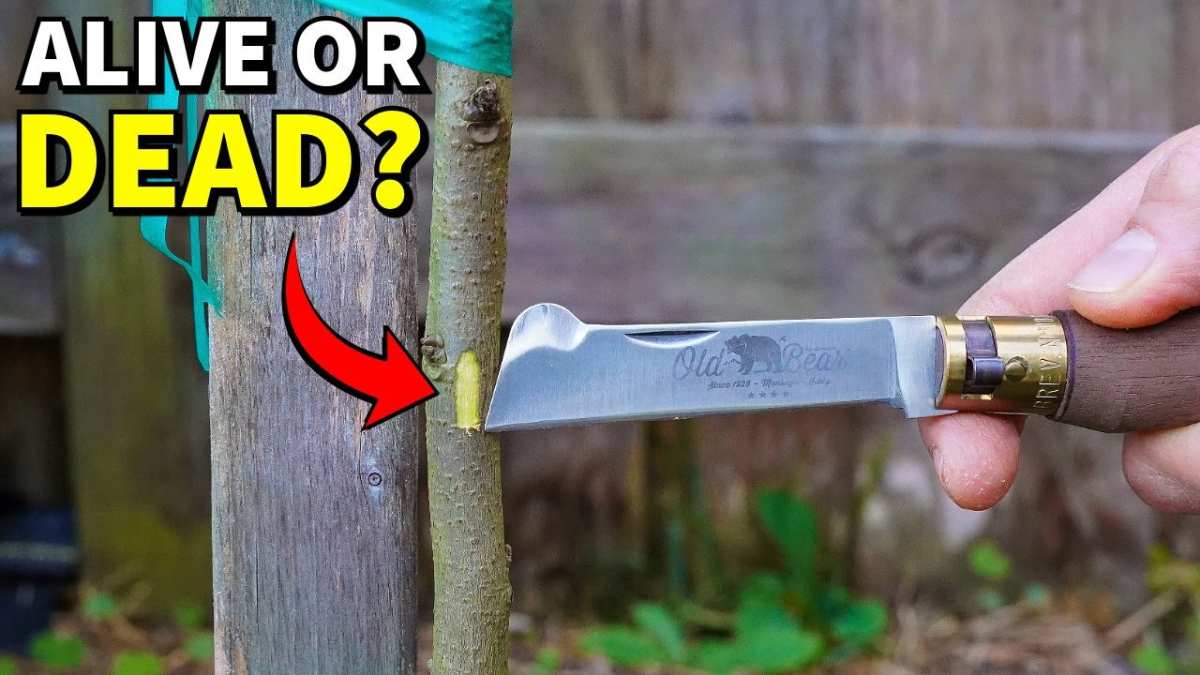
Image source: YouTube / 2 Minute Garden Tips (YouTube thumbnail (fair-use with source credit))
The scratch test works best on branches that are still flexible. If the branch snaps cleanly, it's already gone. If it bends, there's still hope.
Step-by-Step Visual Diagnosis Flowchart
Here's a quick decision tree based on everything we've covered. Start at the top and follow the path that matches your tree.
- Where is the browning? , Tips only → likely winter burn, wind, or salt
, Interior only → normal shedding or spider mites
, One side → sun scorch or reflected heat
, Whole branch → root rot or tip miners
, Low patches → dog urine or soil compaction
- What does the brown look like? , Rusty orange → still alive, may recover
, Dead gray → branch is gone
, Webbing present → spider mites
, Cracked bark or ooze → root rot or canker
- Scratch test result? , Green under bark → branch alive, treat the cause
, Brown/dry → prune it out
- Is the rest of the tree healthy? , Yes → focus on the affected area
, No → check roots, soil moisture, and overall stress factors
This flowchart works for almost every case of giant arborvitae browning. It keeps you from guessing and jumping to the wrong treatment.
After You Identify the Cause – What to Actually Do
Once you've pinned down the cause, the fix is usually straightforward. Here's what each situation calls for.
Winter Burn Recovery
Winter burn heals on its own if the branch is still alive. Wait until late spring to see new growth. In the meantime, water deeply once a week if the ground isn't frozen.
Next fall, wrap the tree with burlap on the windward side. You can also apply an anti-desiccant spray in late November. For trees near a road, consider using a barrier to block salt spray.
Keeping your yard equipment in good shape helps you stay on top of watering and mulching tasks throughout the season.
Drought Stress Fix
If the soil feels dry two inches down, your tree needs water. Give it a slow, deep soak for 30-60 minutes per session. Aim for 1-2 inches of water per week, including rainfall.
Apply a 2-3 inch layer of organic mulch around the base. Keep the mulch a few inches away from the trunk. This holds moisture and cools the roots.
Mite Treatment (When You See Webbing)
Spider mites thrive in hot, dry conditions. Start by hosing the tree with a strong stream of water. Focus on the undersides of the branches.
Repeat every few days for two weeks. If that doesn't work, apply horticultural oil or insecticidal soap. Treat in the evening to avoid sunburn on the needles.
For ongoing prevention, avoid over-fertilizing with nitrogen. Too much tender growth attracts mites.
Root Rot Response
Root rot is harder to reverse. First, improve drainage. If the tree is planted in heavy clay, consider creating a raised bed or redirecting runoff.
Stop watering until the top few inches of soil are dry. Remove and destroy any branches that are fully brown. If a large portion of the tree is affected, you may need to replace it.
Avoid planting new arborvitae in the same spot. The fungal spores can linger in the soil for years.
Transplant Shock Care
Newly planted giant arborvitae often brown at the tips during the first season. This is normal. Keep the soil consistently moist but not soggy.
Water every 2-3 days for the first month, then taper off. Do not fertilize until the tree has established roots, usually after one full growing season. Shade the south side with a temporary screen if the browning persists.
Common Visual Mistakes That Lead to Wrong Treatment
Misdiagnosis is the biggest waste of time and money. Here are three mistakes we see most often.
Mistaking Normal Needle Drop for Disease
Every fall, giant arborvitae drops older interior needles. This is a natural process that looks like brown dust inside the canopy. Beginners panic and start spraying fungicide.
The giveaway: normal drop is uniform, not patchy, and the outer foliage stays perfect. If you're unsure, do the scratch test on a few inner branches. Green cambium means it's just aging.
Confusing Wind Burn with Fungal Blight
Wind burn hits the tips on one side and appears in late winter. Fungal blight spreads from the interior outward and shows up in warm, wet weather. The color also differs.
Wind burn gives a rusty orange. Fungal blight produces a dark brown with black specks. If you treat wind burn with fungicide, you waste money and harm beneficial soil organisms.
Overlooking Salt Damage on Roadside Trees
Brown needles near a road, driveway, or sidewalk are often salt burn, not disease. The salt draws moisture out of the needles. The pattern is a distinct brown band at the height of the salt spray.
Flush the soil with plenty of water in early spring. Use a barrier next year to keep salt away. Applying fertilizer will only make it worse.
When to Prune and When to Leave It Alone
Pruning a stressed tree can do more harm than good. Here's how to decide.
How Much Dead Wood to Remove
Only remove branches that are completely dead. Use the scratch test to confirm. If the cambium is brown and the branch snaps easily, cut it back to the nearest live junction.
Do not prune into green wood just for appearance. The tree needs those leaves to photosynthesize and recover.
If less than 30% of the tree is dead, you can prune it all at once. If more than half the canopy is brown, leave the living branches alone. Focus on fixing the root cause instead.
Heavy pruning on a weak tree can trigger further decline.
Cutting Back to Live Growth – Visual Cues
Look for a subtle change in bark color and texture. Live wood has smooth, greenish bark. Dead wood is gray and brittle.
Make your cut just above a healthy branch fork or a visible bud. Angle the cut downward so water runs off. This prevents rot.
For giant arborvitae, do not cut into the bare trunk area. They do not regrow from old wood. You'll end up with a permanent bald spot.
Prune only where there's still green foliage nearby.
Preventative Visual Checks for Next Season
Catching problems early is much easier than treating them after they escalate. Set a simple routine.
What Healthy Giant Arborvitae Should Look Like
A healthy tree has deep green, flat, fan-like foliage all the way from the tips to near the trunk. The inner needles may thin out slightly, but there should be no large brown patches. The bark is smooth and intact.
In spring, you'll see bright new growth at the tips.
If you notice fading color, thinning canopy, or stunted new growth, investigate immediately. Don't wait until it turns brown.
Seasonal Watching Points (Spring, Summer, Fall, Winter)
- Spring: Check for new growth after winter. Look for any tips that stayed brown. Water deeply if rainfall is low. Also inspect for mites as temperatures rise.
- Summer: Watch for drought stress. Brown patches that appear suddenly in July or August often mean underwatering. Check for webbing during dry spells.
- Fall: This is when normal needle drop happens. Don't confuse it with disease. Reduce watering as the tree goes dormant. Apply mulch before the first freeze.
- Winter: After heavy snow, gently brush off accumulations to prevent branch breakage. Check for wind burn in late February. If you see rusty tips, plan to wrap the tree next winter.
A quick walk-around each season takes five minutes. It's the best insurance against losing your tree.
Quick-Reference Visual Guide (Pattern → Cause → Action)
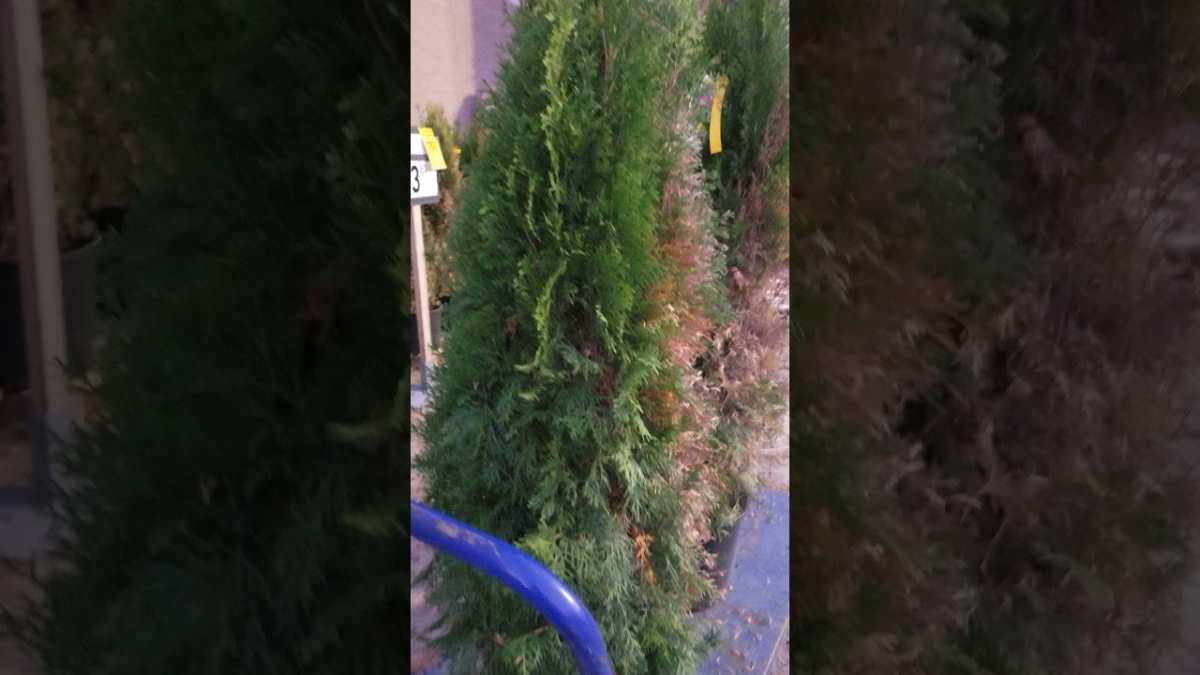
Image source: YouTube / Garden Of D (YouTube thumbnail (fair-use with source credit))
| Browning Pattern | Most Likely Cause | Action |
|---|---|---|
| Tips only, one side | Winter burn / wind | Wait, water, wrap next winter |
| Interior needles only | Normal shed or mites | Check for webbing; hose off if mites |
| One-sided brown | Sun scorch | Shade, deep water |
| Whole branch dieback | Root rot or tip miners | Improve drainage, prune dead wood |
| Low patches near base | Dog urine | Flush soil, redirect pet |
When to Call an Arborist (and What to Show Them)
Call a professional if more than half the tree tests dead on the scratch test. Also call if you see mushrooms growing at the base, which signals advanced root rot. Show them clear photos of the browning pattern, the branch scratch test results, and any webbing or bark damage.
Tell them when the browning started and what watering schedule you've used. This saves them diagnostic time and saves you money on unnecessary treatments.
Frequently Asked Questions About Brown Arborvitae
Will the brown come back green?
No. Once a needle turns completely brown, it will not turn green again. New growth may appear next season from live buds further down the branch.
The brown needles will stay attached or drop naturally. Prune only the dead parts.
Should I fertilize a browning tree?
No. Fertilizing a stressed tree can make things worse. It pushes tender new growth that pests love and that winter damage kills.
Wait until the tree shows clear recovery with fresh green tips in spring. Then you can apply a slow-release balanced fertilizer.
How long does it take to recover?
Minor winter burn or drought stress can show improvement within one growing season. More severe damage, like mite infestations or partial root rot, may take two to three years. A tree that loses over half its canopy rarely recovers fully.
Replace it if there's no new growth after one full season.