Transform your lawn with a Home Depot aerator! This guide provides step-by-step instructions for effective aeration, improving soil drainage and nutrient uptake. Discover when and how to use this essential tool for a healthier, more beautiful yard.
Are you tired of a lawn that looks a bit sad, struggles to drink up water, or just doesn’t have that vibrant green color you crave? You might be dealing with compacted soil. Think of your lawn’s soil like a dense, overworked sponge. It’s so packed together that water and air can’t get in easily, and grass roots can’t spread out. This is where an aerator comes in, and Home Depot is a great place to find one that fits your needs.
Using a Home Depot aerator is a game-changer for lawn health. It’s not just about poking holes in the ground; it’s about revitalizing your turf from the root up. This simple yet effective tool can drastically improve your lawn’s ability to absorb water, nutrients, and oxygen, leading to stronger, more resilient grass. If you’re aiming for a truly impressive yard, learning how to use a Home Depot aerator is a vital step.
This guide will walk you through everything you need to know to get the most out of your aerator rental or purchase from Home Depot. We’ll cover when to aerate, how to prepare your lawn, the different types of aerators you might encounter, and the best techniques for using them. Get ready to give your lawn the breathing room it deserves!
- Aeration is crucial: It relieves soil compaction, allowing air, water, and nutrients to reach grass roots, promoting deeper growth and a healthier lawn.
- Timing is key: Aerate during your grass’s active growing season – cool-season grasses in fall or spring, and warm-season grasses in late spring or early summer.
- Prepare your lawn: Mow the grass to about 2-3 inches and water the lawn a day or two before aerating to make the soil easier to penetrate.
- Understand your aerator: Home Depot offers different types, primarily manual spike aerators and powered core aerators. Choose the one that best suits your lawn size and soil type.
- Proper technique matters: Overlap your passes, and make multiple passes if necessary, especially in heavily compacted areas.
- Post-aeration care: Overseed and fertilize immediately after aerating to take advantage of the open soil. Keep the lawn watered.
Quick Answers to Common Questions
What is the primary benefit of using a lawn aerator?
The primary benefit of using a lawn aerator is to relieve soil compaction, which allows air, water, and nutrients to penetrate the soil and reach the grass roots more effectively, leading to a healthier lawn.
How often should I aerate my lawn?
For most lawns, aerating once a year is sufficient. However, heavily compacted lawns or those with significant foot traffic might benefit from aeration twice a year.
Can I aerate my lawn when it’s very dry?
No, it’s not recommended. The soil should be moist but not saturated. Watering the lawn a day or two before aerating will make it easier for the aerator to penetrate the soil.
What should I do after aerating my lawn?
After aerating, it’s an excellent time to overseed your lawn and apply a fertilizer. Keep the area consistently watered until the grass is established.
What’s the difference between a spike aerator and a core aerator?
A spike aerator pushes spikes into the ground, creating small holes. A core aerator removes plugs of soil, which is generally more effective for relieving severe compaction.
📑 Table of Contents
Why Aerate Your Lawn? The Benefits of Core Aeration
Before we dive into the “how-to,” let’s talk about the “why.” Aeration might seem like a chore, but the benefits are immense for the long-term health and appearance of your lawn. Compacted soil is the enemy of a healthy lawn. It happens over time due to foot traffic, heavy machinery, and even the natural decomposition of thatch. When soil compacts, it squeezes out the air pockets that grass roots need to thrive.
Relieving Soil Compaction
When you aerate, you’re essentially creating tiny openings in the soil. For powered core aerators, this means pulling out small plugs of soil. For manual spike aerators, it means pushing tines into the ground. Either method helps to break up the dense soil structure. This allows air to penetrate deeper, which is essential for root respiration. Without adequate air, roots can suffocate and become weak.
Improving Water and Nutrient Penetration
Have you ever noticed water pooling on your lawn after a rain, or it just seems to run off instead of soaking in? That’s a classic sign of compaction. Aeration creates channels through which water can flow more easily into the root zone. This also means that fertilizers and other essential nutrients you apply will be able to reach the roots more effectively. It’s like giving your lawn a direct line to the good stuff it needs to grow.
Encouraging Deeper Root Growth
When roots are restricted by compacted soil, they tend to stay shallow. Shallow roots make your lawn more susceptible to drought stress and less resilient to foot traffic. By aerating, you’re giving roots the freedom to explore deeper into the soil. Deeper roots mean a more robust, drought-tolerant, and healthier lawn overall. This is a key step in achieving a lawn that looks like it belongs on a golf course.
Reducing Thatch Buildup
Thatch is a layer of dead and living organic matter that accumulates between the green grass blades and the soil surface. A little thatch is normal, but excessive thatch can block air, water, and nutrients. Aeration helps to break down thatch by allowing beneficial microorganisms to work on it and by incorporating the soil plugs back into the turf.
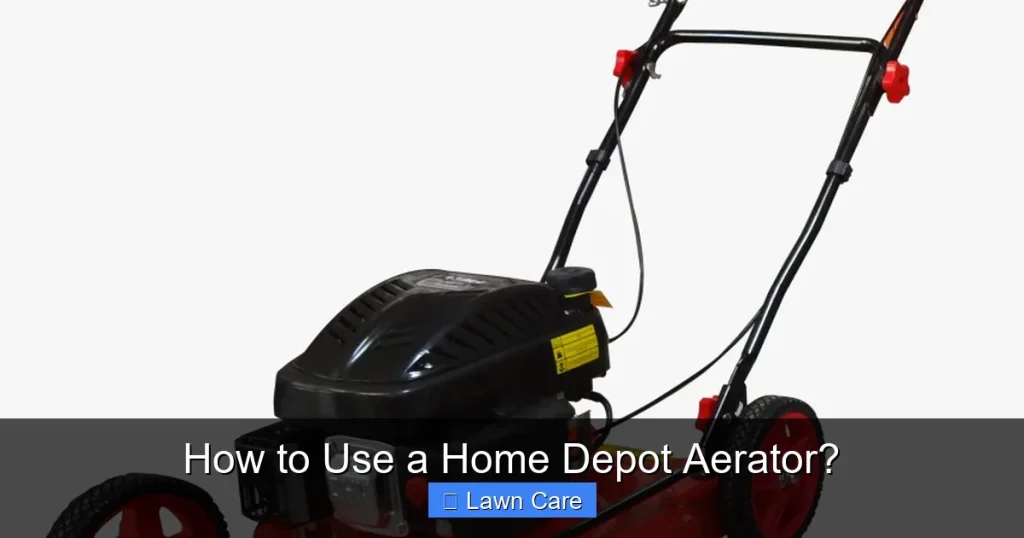
When to Aerate Your Lawn
Visual guide about How to Use a Home Depot Aerator?
Image source: i.pinimg.com
The timing of your aeration efforts is as important as the act itself. Aerating at the wrong time can stress your lawn and hinder its recovery. The general rule of thumb is to aerate when your grass is actively growing and has the best chance to recover quickly from the process.
Cool-Season Grasses
If you have cool-season grasses like fescue, Kentucky bluegrass, or ryegrass, your prime aeration windows are typically in the **fall** and **early spring**.
* **Fall:** This is often considered the ideal time. The weather is starting to cool down, which helps the grass recover, and it gives the roots time to establish before winter. You can usually aerate from September through October.
* **Early Spring:** Once the danger of hard frosts has passed and the grass is starting to green up, you can aerate again. Aim for March or early April. Avoid aerating when weed seeds are actively germinating in large numbers, as aeration can bring them to the surface.
Warm-Season Grasses
For warm-season grasses such as Bermuda, Zoysia, or St. Augustine, you’ll want to aerate during their peak growing periods, which are in the **late spring** and **early summer**.
* **Late Spring/Early Summer:** Once the grass has fully greened up and is actively growing, typically from May through June, is the best time. This gives the grass ample time to fill in the holes and recover before the heat of mid-summer or the cooler temperatures of fall.
Avoid Aerating During Stressful Periods
Never aerate when your lawn is dormant, stressed from extreme heat or drought, or during periods of heavy weed growth. These conditions will make recovery difficult and could potentially damage your lawn.
Preparing Your Lawn for Aeration
Visual guide about How to Use a Home Depot Aerator?
Image source: images.homedepot-static.com
Getting your lawn ready before you start aerating will make the job much easier and more effective. A little preparation goes a long way in ensuring a successful aeration.
Mow the Lawn
Before you aerate, mow your lawn to about **2-3 inches high**. This makes it easier to maneuver the aerator and ensures that the tines or spikes can reach the soil without being obstructed by excessively long grass blades. If you have a grass catcher, now is a good time to ensure it’s ready to go, or you can read up on how to use a grass catcher effectively if you plan to collect the plugs.
Water the Lawn
Watering your lawn a day or two before aerating is crucial, especially if you have clay soil. You want the soil to be moist but not saturated. Moist soil is much easier for the aerator’s tines to penetrate. If the soil is too dry and hard, the aerator might bounce or struggle to make an impact. Conversely, if it’s waterlogged, the tines might sink too deeply, and the soil cores won’t eject properly. Aim for about a 1-inch watering.
Clear Debris
Walk over your lawn and pick up any rocks, twigs, toys, or other debris. These items can damage the aerator’s tines or spikes, and they can also be thrown around by powered aerators, posing a safety hazard.
Mark Sprinkler Heads and Obstacles
If you have underground sprinkler heads or other buried obstacles, mark them clearly with flags or spray paint. This will help you avoid damaging them with the aerator.
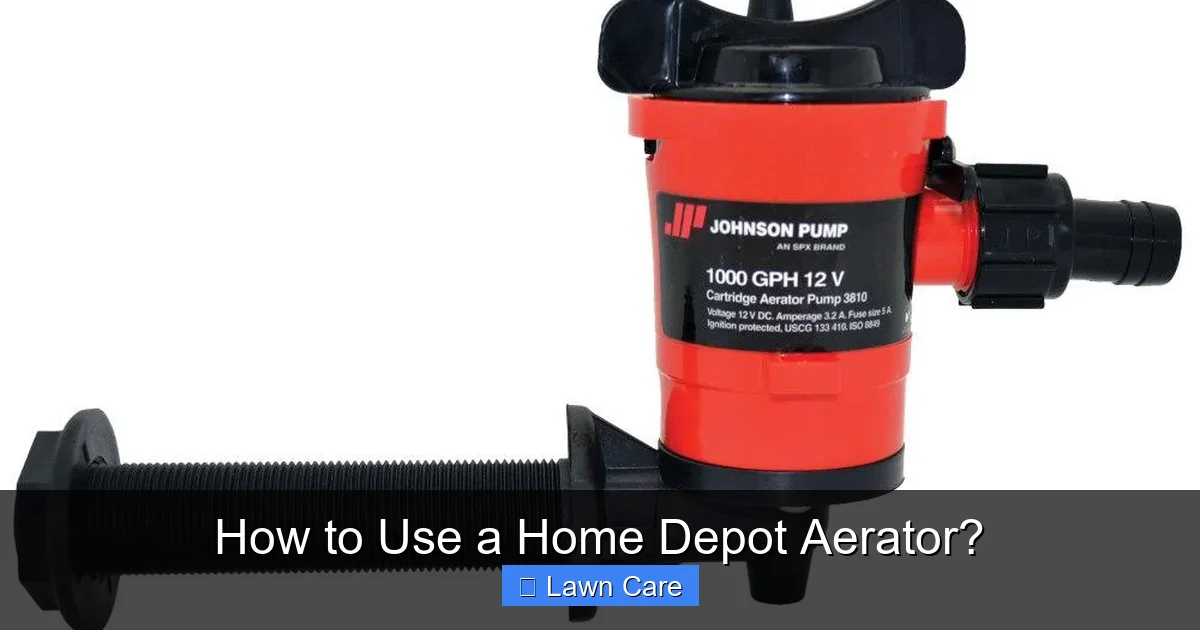
Types of Home Depot Aerators and How to Use Them
Visual guide about How to Use a Home Depot Aerator?
Image source: m.media-amazon.com
Home Depot typically offers a range of aerators, from simple manual tools to powerful powered machines. Understanding the differences will help you choose the right one for your lawn size and soil conditions.
Manual Spike Aerators
These are the most basic and affordable options. They come in two main forms:
* **Manual Spike Aerator Shoes:** These are worn over your regular shoes. You walk around your lawn, and the spikes penetrate the soil.
* How to Use: Simply walk over your lawn, trying to step on as much of the soil surface as possible. For best results, make multiple passes in different directions. This method is best for smaller lawns or areas with only minor compaction. It’s a good workout, too!
* **Handheld Spike Aerators:** These are long tools with spikes at the end that you push into the ground.
* How to Use: Position the spikes over the soil and push down with your foot or by applying pressure to the handle. Lift and move to the next spot. This is also best for small areas or for spot-treating heavily compacted spots.
Manual Plug (Core) Aerators
These tools manually remove plugs of soil. They usually have a lever mechanism that allows you to press the hollow tines into the soil and then extract them.
* How to Use: Position the aerator over the area you want to treat. Stomp on the footplate or use the lever to push the tines into the soil. Once the tines are fully engaged, pull back on the handle or lever to extract the soil plugs. Move the aerator forward a few inches and repeat. Overlap your passes to ensure thorough coverage. These are more effective than spike aerators for relieving deep compaction.
Powered Core Aerators (Self-Propelled or Tow-Behind)
These are the workhorses and are usually what people rent from Home Depot for larger jobs. They use an engine to drive tines that pull out soil cores.
* How to Use:
1. Start-Up: Ensure the aerator has fuel and oil. Follow the manufacturer’s instructions for starting the engine. For self-propelled models, engage the drive mechanism.
2. Operation: Begin at one edge of your lawn. Drive the aerator forward in a straight line. The tines will automatically engage and pull out plugs of soil.
3. Coverage: Continue in straight, overlapping passes across your entire lawn. Overlap each pass by about 50% to ensure complete coverage and that no areas are missed.
4. Turning: When you reach the end of a row, disengage the tines before turning. Some models may have a lever to lift the tines for easier maneuvering.
5. Difficult Areas: For heavily compacted areas, you may need to make a second pass, or go over the same area multiple times.
6. Dumping Plugs: The aerator will collect soil plugs. You’ll need to empty them periodically. You can leave the plugs on the lawn to break down, or gather them using a rake or even a leaf blower later if desired.
7. Shut Down: Once finished, disengage the tines and turn off the engine according to the manual.
Post-Aeration Care: Maximizing Your Efforts
The work isn’t done once the aerator is put away. Proper aftercare is essential to capitalize on the benefits of aeration and ensure your lawn recovers beautifully.
Overseeding
The holes created by aeration are perfect little nurseries for new grass seed. If your lawn is thin or has bare patches, now is the ideal time to overseed. Spread a quality grass seed over the aerated area. The soil plugs will help keep the seeds moist and in good contact with the soil, leading to excellent germination rates.
Fertilizing
Aeration also makes it easier for fertilizer to reach the root zone. Apply a starter fertilizer or a balanced lawn fertilizer shortly after aerating and overseeding. This will give your existing grass and new seedlings a boost of nutrients to promote healthy growth.
Watering
Keep the newly seeded areas consistently moist until the grass is established. Continue to water your lawn as usual, ensuring that water can now penetrate more deeply due to the aeration.
Leaving or Removing Soil Plugs
Most experts recommend leaving the soil plugs on the lawn. As they dry, they’ll break apart naturally, and their nutrients will be reincorporated into the soil. You can speed up this process by raking over them lightly or by using a mower with a mulching setting. If you prefer a neater look immediately after aerating, you can collect the plugs with a rake or a leaf blower, but it’s not strictly necessary for lawn health.
Mowing
Wait until your grass has grown a bit after overseeding and fertilizing before mowing again. When you do mow, consider using a higher setting than usual, as this encourages deeper root growth.
Troubleshooting Common Aeration Issues
While aeration is generally straightforward, you might encounter a few common issues. Knowing how to address them will save you frustration.
Aerator Not Penetrating the Soil
If a powered aerator is struggling to penetrate, it might mean your soil is extremely dry or very rocky. Ensure you’ve watered the lawn sufficiently, as mentioned earlier. If it’s still an issue, you may be dealing with exceptionally hard clay soil. In such cases, a second pass or a manual aerator might be needed for specific stubborn spots.
Soil Plugs Not Ejecting
This can happen if the soil is too wet or too dry. If it’s too wet, the tines might gum up. If it’s too dry, the soil might be too hard to form distinct plugs. Adjust your watering schedule accordingly. Ensure the aerator’s tines are clean and free of debris.
Uneven Aeration
This can occur on uneven terrain or if you’re not overlapping your passes properly. Take your time, especially on slopes, and make sure each pass overlaps the previous one by about half. For manual aerators, focus on consistent effort and spacing.
Safety Concerns
Always wear sturdy footwear when operating any type of aerator. For powered units, be aware of your surroundings, especially if you have children or pets nearby. Read the owner’s manual thoroughly before operating any powered equipment. Proper maintenance, like ensuring the tines are sharp and the engine is running smoothly, is also important. If you notice issues with your mower’s engine, you might want to consult resources on how to use a carburetor cleaner on a lawnmower to ensure all your equipment is in top shape.
Conclusion: Your Path to a Greener, Healthier Lawn
Using a Home Depot aerator is one of the most impactful things you can do for your lawn’s health. By relieving soil compaction, improving water and nutrient penetration, and encouraging deeper root growth, you’re setting the stage for a lush, vibrant, and resilient turf. Whether you opt for a simple manual tool for a small yard or rent a powerful core aerator for a larger expanse, the effort is well worth the reward.
Remember to time your aeration correctly, prepare your lawn thoroughly, and follow up with overseeding and fertilization. With a little knowledge and the right equipment from Home Depot, you’re well on your way to achieving that enviable, healthy lawn you’ve always wanted. Happy aerating!
Frequently Asked Questions
How do I choose the right type of aerator from Home Depot?
Consider the size of your lawn and the severity of soil compaction. For small lawns or minor compaction, manual spike or plug aerators might suffice. For larger lawns or significant compaction, renting or purchasing a powered core aerator is usually more efficient.
Will aerating my lawn help with drainage?
Yes, aeration significantly improves drainage by breaking up compacted soil layers. This allows water to seep deeper into the soil instead of pooling on the surface or running off.
Can I aerate my lawn immediately after fertilizing?
It’s generally better to aerate first, then fertilize. Aerating creates channels for the fertilizer to reach the roots more effectively. Applying fertilizer after aeration helps maximize its benefits.
What should I do with the soil plugs left on the lawn?
It’s usually best to leave the soil plugs on the lawn. As they dry out, they will break down naturally and return valuable nutrients and organic matter to the soil. You can speed this process by raking them lightly.
How long does it take for my lawn to recover after aerating?
With proper post-aeration care, your lawn should begin to show signs of recovery within a week or two. New grass seed will sprout in about 7-14 days, and existing grass will become visibly healthier over the following weeks.
Is it okay to use a sod cutter before aerating?
A sod cutter is used to remove the entire top layer of turf, which is a different process than aeration. Aeration focuses on improving the soil beneath the existing turf without removing it. Using a sod cutter would be necessary for major lawn renovation, not for routine aeration.