You've noticed it. One day your spider plant (Chlorophytum comosum) looks perfectly fine, and the next, the leaves are folding inward like little tacos. It's one of the most common things indoor plant owners run into, and the good news is it's almost always fixable.
The tricky part is that leaf folding isn't caused by one single thing. It's a symptom, and the real cause could be anything from your watering schedule to the humidity in your living room. Let's walk through exactly what's going on and how to figure out which problem you're actually dealing with.
Image source: iNaturalist / Irene
Quick Answer
Spider plant leaves fold when the plant is under stress. The most common causes are overwatering, underwatering, too much direct light, low humidity, or root-bound conditions. Start by checking the soil moisture and light placement.
Most cases resolve within one to two weeks once the underlying issue is corrected.
The 5 Most Common Causes of Leaf Folding in Spider Plants
Leaf folding, sometimes called "taco-ing" or "canoeing," is your spider plant's way of telling you something's off. The leaf tissue loses turgor pressure, which is the internal water pressure that keeps leaves rigid and flat. When that pressure drops, the leaf curls inward along its length.
Here are the five culprits you should investigate, roughly in order of how often they show up:
1. Overwatering
This is the number one cause. When the soil stays saturated for too long, the roots can't get oxygen. They start to suffocate and rot, which means they can't deliver water to the leaves, even though the soil is wet.
The leaves fold because the roots have essentially stopped working.
2. Underwatering
It sounds contradictory, but underwatering produces a similar symptom. Without enough moisture in the soil, the plant can't maintain turgor pressure. The leaves fold inward to reduce surface area and slow water loss.
It's a survival response.
3. Too much direct sunlight
Spider plants prefer bright indirect light. Direct afternoon sun, especially through a south or west-facing window, can scorch the leaves and cause them to fold or curl as a protective mechanism. The leaf is essentially trying to shield itself.
4. Low humidity
Spider plants do best in humidity levels between 40 and 60 percent. In winter, when indoor heating drops humidity to 20 or 30 percent, the leaves lose moisture faster than the roots can replace it. The result is the same folding pattern.
5. Root-bound conditions
When a spider plant has been in the same pot for a long time, the roots can become so dense they circle the inside of the container and choke themselves. Water runs straight through without being absorbed, and the plant effectively becomes underwatered even if you're watering on schedule.
How to Check If It's Overwatering or Underwatering
This is where most people get tripped up. Overwatering and underwatering can look almost identical from the outside. Both cause leaf folding, yellowing, and general droopiness.
The difference is in the soil and the roots.
Here's how to tell them apart:
Check the soil moisture first. Stick your finger about two inches into the soil. If it feels soggy or wet, overwatering is the likely problem. If it's bone dry and pulling away from the edges of the pot, you're dealing with underwatering.
Look at the leaf color. Overwatered spider plants often develop yellow or brown, mushy leaves, especially near the base. Underwatered plants tend to have dry, crispy leaf tips and leaves that feel thin or papery.
Smell the soil. This isn't glamorous, but it works. Sour or musty-smelling soil is a strong indicator of root rot from overwatering. Healthy soil should smell earthy and neutral.
Check the roots if you're still unsure. Gently remove the plant from its pot. Healthy roots are white or light tan and firm. Rotten roots are dark brown or black, mushy, and may fall apart when you touch them.
| Symptom | Overwatering | Underwatering |
|---|---|---|
| Soil moisture | Wet or soggy | Bone dry |
| Leaf texture | Soft, mushy, yellow | Dry, crispy, thin |
| Smell | Sour or musty | Neutral |
| Root appearance | Dark, mushy, falling apart | Dry, brittle, white |
| Leaf tips | Brown and soft | Brown and crispy |
Image source: iNaturalist / Irene
Light Stress: Too Much or Too Little Sun
Spider plants are adaptable, but they have a sweet spot. They thrive in bright indirect light, which translates to roughly 200 to 400 foot-candles. That's the kind of light you'd find a few feet back from an east or north-facing window, or filtered through a sheer curtain.
Too much light causes the leaves to fold inward and may also produce bleached or scorched patches, especially on the side of the plant closest to the window. If your spider plant sits in direct afternoon sun, move it back a few feet or add a light-filtering curtain.
Too little light is a slower problem. The plant won't fold dramatically at first, but over time the leaves may become limp, pale, and start to arch or fold downward as the plant stretches toward the nearest light source. You'll also notice fewer or no pups (baby offshoots), which is a sign the plant isn't getting enough energy to reproduce.
A good rule of thumb: if you can comfortably read a book next to your plant without turning on a lamp, the light level is probably about right.
Image source: Pixabay / NickyPe (Pixabay Content License)
Root Problems: Bound Roots and Root Rot
Root issues are behind a surprising number of leaf-folding cases, and they're easy to miss because the problem is happening underground.
Root-bound plants happen when the root system has outgrown the pot. Spider plants are fast growers and can become root-bound in as little as one to two years. When roots are tightly packed, water flows down the sides of the root ball without actually soaking in.
The plant is technically being watered, but it's not getting any of it.
Signs your spider plant is root-bound:
- Roots growing out of the drainage holes
- Water running straight through the pot
- The plant drying out much faster than it used to
- The root ball holding the shape of the pot when you remove it
Root rot is the more serious version. It's caused by overwatering and poor drainage, and it destroys the root system from the inside out. Once root rot sets in, the plant can't absorb water or nutrients, and the leaves fold, yellow, and eventually die.
If you find root rot, here's what to do:
- Remove the plant from the pot and gently wash the roots.
- Cut away all dark, mushy roots with clean scissors or pruning shears.
- Let the remaining healthy roots dry for a few hours.
- Repot in fresh, well-draining soil in a pot with drainage holes.
- Water lightly and hold off on fertilizing for at least a month.
When repotting, only go up one to two inches in pot diameter. Too large a pot holds excess moisture around the roots and can restart the cycle.
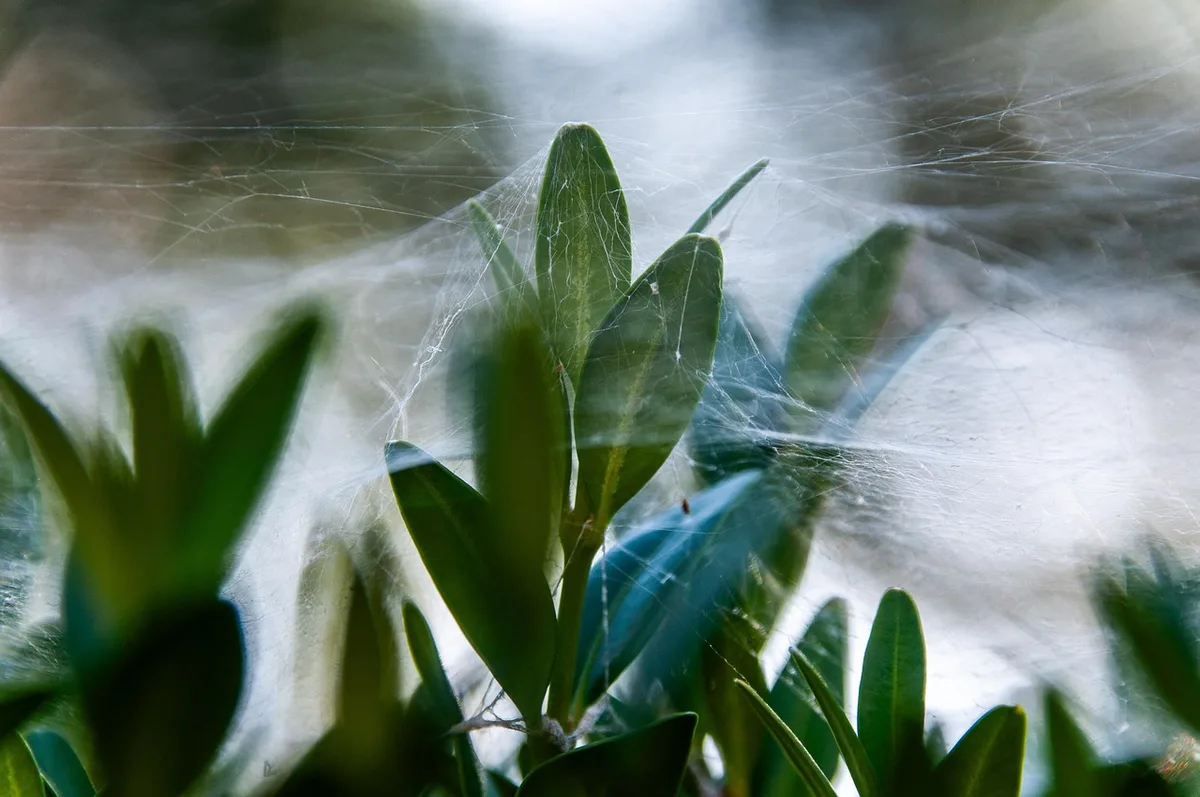
Image source: Pixabay / wal_172619 (Pixabay Content License)
Low Humidity and Temperature Stress
Spider plants are native to tropical and southern Africa, so they're used to moderate humidity. Most homes, especially in winter, run much drier than what the plant prefers.
When indoor humidity drops below 40 percent, the leaves lose moisture through transpiration faster than the roots can pull it up from the soil. The leaf responds by folding inward to reduce the exposed surface area. It's the same principle as how some grasses curl during a drought.
How to raise humidity around your spider plant:
- Group it with other plants to create a microclimate with higher humidity
- Place a small humidifier nearby
- Set the pot on a tray filled with pebbles and water (keep the pot above the water line)
- Avoid placing the plant near heating vents, radiators, or air conditioning units
Temperature matters too. Spider plants prefer temperatures between 60 and 75 degrees Fahrenheit. They can tolerate brief dips below that, but sustained cold or exposure to hot drafts from appliances can cause stress folding.
Keep them away from drafty windows in winter and away from stoves or electronics that generate heat.
Pests That Cause Leaves to Fold or Curl
Pests aren't the most common cause of leaf folding, but they're worth checking for, especially if you've ruled out water, light, and humidity issues.
Spider mites are the main offender. They're tiny, almost invisible to the naked eye, and they feed by piercing the leaf tissue and sucking out the sap. This damage causes the leaves to fold, curl, or develop a stippled, dusty look.
Check the undersides of the leaves and along the stem joints. If you see fine webbing, spider mites are almost certainly the problem.
Thrips are another possibility. They're small, slender insects that scrape at the leaf surface, causing silvery streaks and distortion. Leaves may fold or curl where the damage is concentrated.
Mealybugs show up as white, cottony clusters at the base of leaves or in leaf joints. They feed on sap and can weaken the plant enough to cause leaf drooping and folding.
If you find pests:
- Wipe the leaves with a damp cloth to remove as many as possible
- Spray the plant with insecticidal soap or neem oil, covering both sides of every leaf
- Repeat treatment every five to seven days for at least three applications
- Isolate the affected plant from your other houseplants to prevent spread
Step-by-Step: How to Diagnose Your Spider Plant
Now that you know the possible causes, here's a systematic way to figure out what's actually happening with your plant. Work through these steps in order.
Step 1: Check the soil moisture. Stick your finger two inches into the soil. Wet means overwatering is likely. Dry means underwatering.
This single check eliminates half the possibilities right away.
Step 2: Evaluate the light. Where is the plant sitting? Direct sun through a window? A dark corner?
Move it to bright indirect light if it's not already there and see if things improve over the next week.
Step 3: Look at the pot. Does it have drainage holes? Is water pooling in the saucer below? Empty any standing water and make sure the pot can drain freely.
Step 4: Check for root problems. If the soil and light seem fine, gently tip the plant out of the pot. Look at the roots. Are they white and healthy, dark and mushy, or tightly wound in a dense mass?
Step 5: Inspect for pests. Flip the leaves over and look closely at the undersides and stem bases. Use a magnifying glass if you have one. Look for tiny insects, webbing, or cottony residue.
Step 6: Assess the environment. Is the plant near a heating vent or air conditioner? What's the room humidity? A cheap hygrometer from any hardware store will tell you the exact percentage.
Step 7: Review your care routine. When did you last water? When did you last fertilize? Have you repotted in the last year or two?
Sometimes the answer is simply that the plant has outgrown its setup.
What to Do Once You've Found the Cause
Once you've identified the problem, the fix is usually straightforward.
For overwatering: Stop watering and let the soil dry out completely. If root rot is present, follow the repotting steps above. Going forward, only water when the top one to two inches of soil are dry.
For underwatering: Give the plant a thorough soak. Place the pot in a sink or basin and water slowly until water runs out the drainage holes. Let it drain completely before putting it back.
Adjust your watering schedule so the soil doesn't dry out as drastically between sessions.
For light stress: Move the plant to a spot with bright indirect light. Avoid direct afternoon sun. If your only window faces south or west, use a sheer curtain to filter the light.
For low humidity: Add a humidifier, use a pebble tray, or group plants together. Even a small increase in ambient humidity can make a noticeable difference within a few days.
For root-bound plants: Repot into a container one to two inches larger in diameter with fresh, well-draining potting mix. A mix designed for houseplants with added perlite works well. Water lightly after repotting and give the plant a week or two to adjust.
For pests: Treat with insecticidal soap or neem oil, repeating every five to seven days. Isolate the plant until you're confident the infestation is gone.
In most cases, you'll see improvement within one to two weeks. New growth should come in flat and healthy. Older leaves that were already folded may not fully recover, and that's okay.
You can trim them off if they bother you.
Common Mistakes That Make Leaf Folding Worse
A few well-intentioned habits actually make the problem harder to fix.
Watering on a schedule instead of checking the soil. Every home is different. The same plant in two different rooms can have completely different watering needs. Always check the soil before you water, even if "it's Tuesday" and Tuesday is watering day.
Using a pot without drainage holes. Decorative cache pots look great, but if there's no way for excess water to escape, the soil stays wet and the roots suffocate. Either drill drainage holes or use the cache pot as an outer sleeve and let the inner plastic pot drain before putting it back.
Over-fertilizing. Spider plants don't need much food. Fertilizing more than once a month during the growing season, or using full-strength fertilizer, can cause salt buildup in the soil. This damages the roots and leads to leaf stress.
Use a balanced liquid fertilizer at half strength, once a month, from spring through early fall.
Ignoring the water quality. Tap water with high chlorine or fluoride content can cause leaf tip burn and stress in spider plants. If your tap water is heavily treated, let it sit out overnight before using it, or use filtered or distilled water.
Repotting into a pot that's too big. It seems logical to give the plant more room, but a too-large pot holds more soil, which holds more moisture, which increases the risk of overwatering. Stick to one or two inches larger in diameter.
When to Repot and How to Do It Right
Spider plants generally need repotting every one to two years. The best time is in spring or early summer when the plant is actively growing and can recover quickly.
Signs it's time to repot:
- Roots growing out of the drainage holes
- The plant drying out within a day or two of watering
- The root ball is solid and holds the shape of the pot
- You haven't repotted in over two years
- The plant has stopped producing pups despite good light
How to repot:
- Choose a pot one to two inches larger in diameter with drainage holes.
- Use a well-draining houseplant potting mix. Adding perlite or orchid bark improves drainage.
- Water the plant a day or two before repotting so the roots are hydrated but not waterlogged.
- Gently remove the plant from its current pot. Loosen the root ball with your fingers, especially if the roots are circling.
- Place the plant in the new pot at the same depth it was growing before. Fill around the roots with fresh soil and press lightly.
- Water thoroughly and let the excess drain away.
- Place the plant in bright indirect light and avoid fertilizing for four to six weeks.
Expert Tips to Keep Spider Plant Leaves Flat and Healthy
A few habits go a long way toward preventing leaf folding in the first place.
Use the right soil mix. A standard indoor potting mix with added perlite (about 70 percent potting mix to 30 percent perlite) gives spider plants the drainage they need without drying out too fast.
Water deeply but less often. When you water, water thoroughly until it runs out the bottom. Then wait until the top inch or two of soil is dry before watering again. This encourages deep root growth and prevents the soil from staying constantly damp.
Rotate the plant. Give the pot a quarter turn every week or two so all sides get even light. This prevents the plant from leaning toward the window and developing uneven growth.
Clean the leaves. Dust blocks light absorption. Wipe the leaves with a damp cloth every few weeks, or give the plant a gentle shower under lukewarm water.
Watch for seasonal changes. In winter, growth slows and the plant needs less water. In spring and summer, it's actively growing and may need more frequent watering and monthly feeding. Adjust your routine with the seasons.
Use room-temperature water. Cold water can shock the roots. Let tap water sit for a few hours to reach room temperature and allow some of the chlorine to dissipate.
Frequently Asked Questions
Should I cut off leaves that are already folding?
If a leaf is more than half damaged or completely brown, go ahead and cut it off at the base with clean scissors. Leaves that are only slightly folded may recover once you fix the underlying issue. Don't remove too many leaves at once, since the plant needs foliage to photosynthesize and recover.
Can a spider plant recover from root rot?
Yes, if you catch it early enough. Remove the plant, cut away all the rotten roots, and repot in fresh soil. The plant will need a few weeks to regrow its root system.
Keep the soil lightly moist (not wet) during recovery and avoid fertilizing until you see new growth.
How often should I water my spider plant?
There's no universal schedule. It depends on your pot size, soil type, light, and humidity. In most indoor conditions, watering every one to two weeks works.
Always check the soil first. If the top two inches are still moist, wait.
Is leaf folding a sign my spider plant is dying?
Not necessarily. Leaf folding is a stress response, and spider plants are remarkably resilient. Most cases are caused by fixable issues like watering habits or light placement.
As long as there's still some green growth and the roots aren't completely rotted, the plant will likely bounce back.
Do spider plants like misting?
Misting provides a very temporary humidity boost that evaporates within minutes. It's not harmful, but it's not particularly effective either. A humidifier or pebble tray does a much better job of raising humidity around the plant consistently.
Final Checklist: Get Your Spider Plant Back on Track
Here's a quick-reference checklist you can work through the next time you notice leaf folding:
- Check soil moisture (wet, dry, or just right)
- Confirm the plant is in bright indirect light
- Make sure the pot has drainage holes
- Inspect roots for rot or binding
- Look for pests on leaf undersides
- Measure room humidity (aim for 40 to 60 percent)
- Review your watering and fertilizing habits
- Repot if the plant is root-bound or the soil is compacted
- Adjust care for the current season
Spider plants are one of the most forgiving houseplants you can own. Once you identify what's causing the stress and make the adjustment, you'll usually see new, healthy, flat leaves within a couple of weeks. The key is not to panic and not to overcorrect.
Fix one thing at a time, give the plant a week or two to respond, and go from there.