
If your tiller is chewing through soil instead of slicing it, the blades are probably dull. Learning how to sharpen tiller blades is one of those maintenance tasks that pays off immediately. You'll feel the difference the next time you fire it up.
Most people skip sharpening because it seems intimidating or they assume replacement is the only option. It's not. With a basic file and about 15 minutes per blade, you can restore a factory edge and extend the life of your tines by several seasons.
Manufacturer specifications from brands like Troy-Bilt and Husqvarna recommend sharpening at least once per season, ideally before spring tilling begins.
Quick Answer
To sharpen tiller blades, remove them from the tiller and secure each one in a bench vise. Use a mill bastard file to push along the original bevel angle, typically 25 to 30 degrees. Work until you feel a slight burr form on the opposite side.
Cool the blade with water frequently if using a grinder. Reinstall the blades with correct orientation and torque the mounting bolts to spec.
Why Tiller Blades Need Sharpening (And Why Most People Skip It)
Tiller blades spin at high speed and cut through compacted soil, roots, and debris every time you work a bed. That constant contact wears down the cutting edge gradually. You might not notice it week to week, but over a full season the difference is significant.
Dull blades don't just make your job harder. They force the engine to work harder, increase fuel consumption, and put extra stress on the transmission and bearings. A tiller with sharp blades will practically pull itself through the soil.
A tiller with dull ones bounces, vibrates, and leaves an uneven finish.

Image source: Pixabay / RosZie (Pixabay Content License)
Replacement tines for a standard rear-tine tiller run $15 to $60 per set as of 2026, depending on the brand and model. A quality mill bastard file costs under $15 and will last for years. The math favors sharpening every time.
Sharpening also gives you a chance to inspect the blades for cracks, excessive wear, or warping. Catching a damaged blade before it snaps under load saves you from a more expensive repair down the line.
How to Know When Your Tiller Blades Are Actually Dull
You don't need a magnifying glass to tell if your blades need attention. There are a few reliable signs that show up during normal use.
The most obvious one is performance. If your tiller is bouncing over the ground instead of digging in, the blades have lost their edge. You'll also notice the engine laboring more than usual, especially in compacted or clay-heavy soil.
Here's a quick checklist to run through:
- Visual inspection. Hold the blade up to the light. A sharp edge won't reflect light. A dull edge will show a bright line of reflected steel along the bevel.
- The thumbnail test. Drag your thumbnail lightly across the edge, not along it. A sharp blade will catch slightly on the nail. A dull one will slide without resistance.
- Soil finish. Dull blades tear and chunk the soil. Sharp blades produce a fine, even tilth.
- Vibration. Excessive shaking during operation often points to unevenly worn or unbalanced blades.
If you hit a rock during tilling, inspect the blades right away. Nicks and chips create weak spots that worsen quickly. A blade with a visible notch deeper than about 1/16 inch should be sharpened immediately to restore the edge geometry.
What You'll Need: Tools and Supplies for Sharpening Tiller Blades
You don't need a machine shop to do this job right. Most of the tools are probably already in your garage.
| Tool / Supply | Purpose | Approximate Cost |
|---|---|---|
| Mill bastard file (8 to 12 inch) | Primary sharpening tool | $8 to $15 |
| Bench vise with padded jaws | Securing the blade | $20 to $40 |
| Socket wrench set | Removing blade mounting bolts | $15 to $30 |
| Wire brush | Cleaning soil and rust off blades | $3 to $5 |
| Safety glasses | Eye protection | $5 to $10 |
| Work gloves | Hand protection | $5 to $10 |
| Bucket of water | Cooling the blade during grinding | Free |
| Ruler or angle gauge | Checking bevel angle | $2 to $5 |

Image source: Pixabay / Palmeris (Pixabay Content License)
If you prefer power tools, an angle grinder with a metal grinding disc or a bench-mounted grinding wheel will speed things up considerably. Just know that power tools remove metal faster, which means less room for error.
A few optional but helpful items: a permanent marker for marking the bevel before you start, a small wire wheel for your drill to clean heavy rust, and a torque wrench for reinstalling blades to the manufacturer's spec.
How to Remove Tiller Blades Safely
Before you touch a file to anything, you need to get the blades off the tiller. This is the step where most accidents happen, so take it seriously.
First, disconnect the spark plug wire. This is non-negotiable. A tiller engine can kick over unexpectedly if the blade shaft is rotated by hand, and you do not want the engine firing while your hands are near the tines.
Pull the plug wire off and tuck it away from the terminal.
Next, tip the tiller back so the blades are accessible. Most rear-tine tillers can be leaned back on their handlebars. For front-tine models, you may need to lay the unit on its side.
Make sure it's stable before you start wrenching.
Use the correct socket size to remove the mounting bolts. On most models these are 1/2-inch or 9/16-inch hex heads, but check your owner's manual to confirm. The bolts are usually reverse-threaded on one side of the tiller, meaning you'll turn them clockwise to loosen.
If the bolt won't budge, apply a penetrating lubricant like PB Blaster and let it sit for 10 minutes before trying again.
Once the bolts are off, slide the blades off the shaft. Note the orientation of each blade and which side of the shaft it came from. Take a photo with your phone if you're worried about remembering.
Reinstalling a blade backward is a common mistake that leads to poor performance and unnecessary rework.
Clean each blade with a wire brush before sharpening. Caked-on soil and rust will clog your file and make it harder to see the edge you're working on.
Sharpening Tiller Blades With a File: Step-by-Step
This is the method most people should start with. A file gives you the most control and the least risk of damaging the blade. It's slower than grinding, but it's forgiving and produces an excellent edge.
Secure the blade in your bench vise with the cutting edge facing up and the bevel angled toward you. Pad the vise jaws with a rag or use soft jaw caps to avoid marring the blade surface. You want the blade rock-solid.
Any movement while filing ruins the stroke.
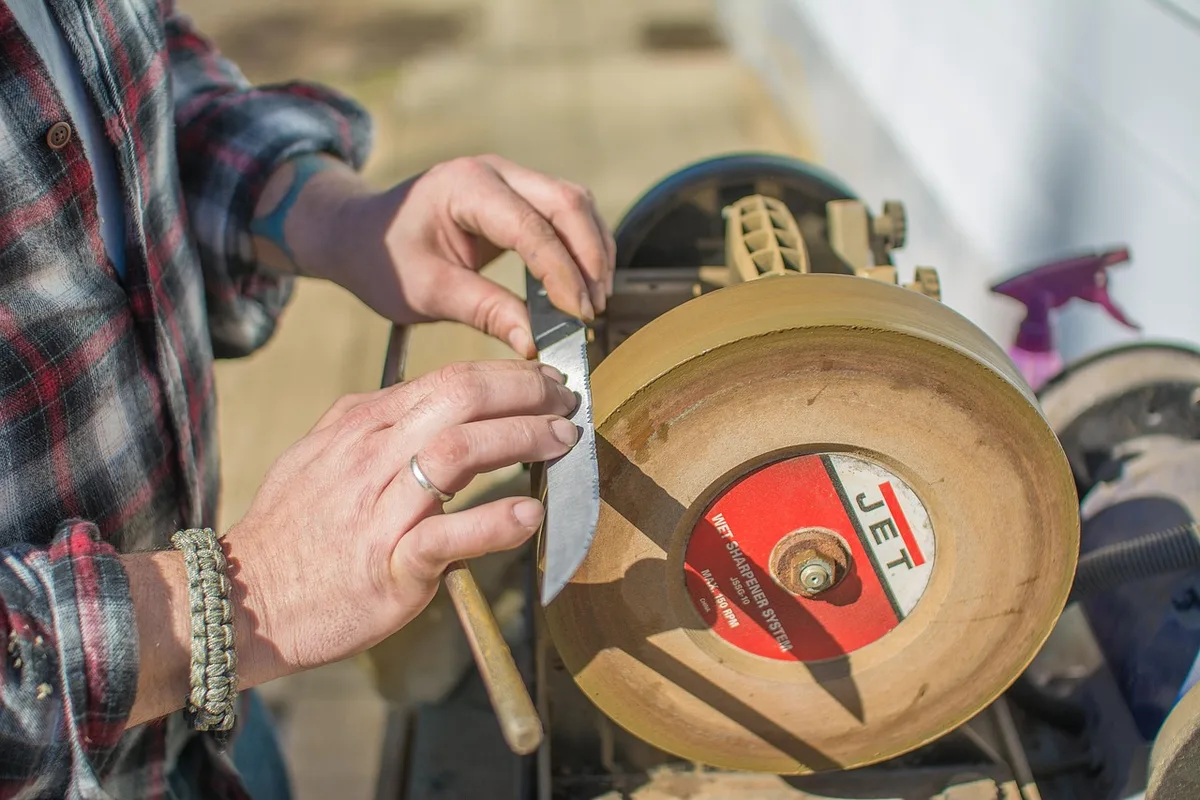
Image source: Pixabay / jasongillman (Pixabay Content License)
Here's the process:
Identify the original bevel angle. Most tiller blades come from the factory with a 25 to 30 degree bevel on one side only. The other side is flat. Don't try to create a new angle. Match what's already there.
Mark the bevel with a permanent marker. Color in the beveled edge. As you file, the ink will show you exactly where you're removing metal and whether you're maintaining a consistent angle.
Push the file along the bevel in smooth, full-length strokes. Push forward on the cutting stroke. Lift the file on the return. Dragging it back dulls the file and wastes effort.
Follow the curve of the blade. Most tiller blades have a slight curve or L-shape. Adjust your filing angle as you move along the edge to maintain consistent contact with the bevel.
Work until you feel a burr. After several passes, run your thumb lightly across the flat side of the blade, perpendicular to the edge. A slight roughness or lip means a burr has formed. That's your signal that you've reached the edge.
Flip the blade and lightly file the flat side. One or two passes to knock off the burr. Don't create a second bevel. You're just cleaning up the wire edge.
Repeat for each blade. Sharpen all blades to a similar degree. Uneven edges cause vibration and uneven tilling.
The whole process takes about 5 to 15 minutes per blade depending on how dull it is. If the blade has deep nicks, start with a coarse file or use a grinder to remove the damage, then finish with the file for a clean edge.
Using an Angle Grinder or Bench Grinder: Faster but Riskier
If you've got a lot of blades to sharpen or the edges are badly nicked, a power grinder gets the job done in a fraction of the time. An angle grinder with a metal grinding disc or a bench-mounted grinding wheel will reshape a damaged edge in minutes.
The tradeoff is control. Grinders remove metal fast, and that's exactly what makes them dangerous for this job. It's easy to grind too much, change the bevel angle, or overheat the blade.
Overheating is the biggest concern. When steel gets hot enough to change color, usually around 400 to 500 degrees Fahrenheit, you've drawn the temper. That means the edge softens and will dull again almost immediately.
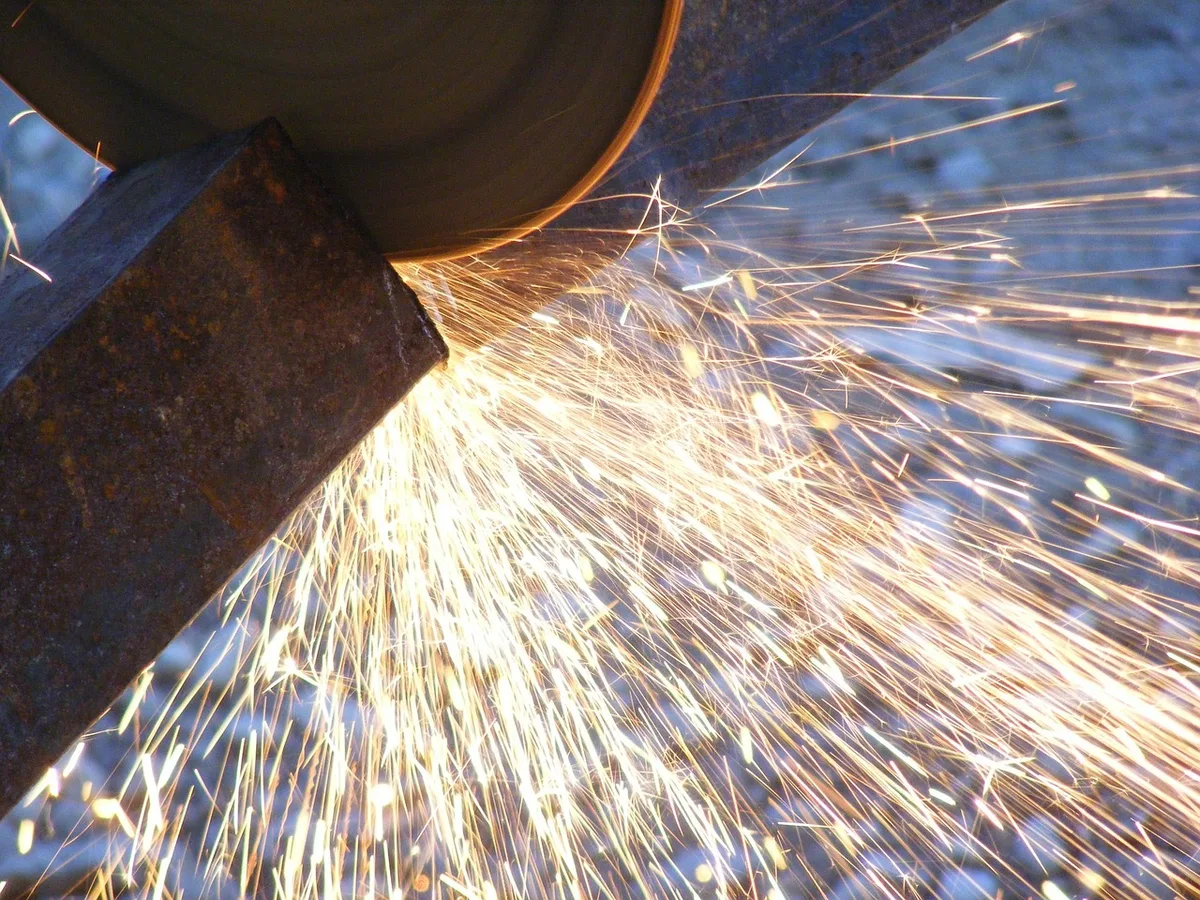
Image source: Pixabay / byrev (Pixabay Content License)
Here's how to grind safely:
Use a medium-grit wheel, around 60 to 80 grit. Fine grits generate more heat. Coarse grits leave a rough edge that needs filing afterward.
Work in short passes. Grind for two to three seconds, then dip the blade in water. Never let the edge get hot enough to touch.
Hold the blade at the original bevel angle. Don't freehand it. Rest the blade against the tool rest on a bench grinder, or use a guide block with an angle grinder.
Grind from the flat side first if there are deep nicks. Remove the damage, then finish the bevel side with a file for a clean edge.
Check your progress frequently. Stop often and compare to the original bevel.
A bench grinder is generally easier to control than an angle grinder because the tool rest gives you a consistent angle. If you're using an angle grinder, clamp the blade in the vise and bring the grinder to the blade. Never try to hold the blade in one hand and the grinder in the other.
The Bevel Angle Mistake That Ruins More Blades Than Dullness
The single most common error in tiller blade sharpening is changing the bevel angle. It happens when someone grinds or files the blade without paying attention to the original geometry. The result is an edge that looks sharp but doesn't cut properly and wears out almost immediately.
Most tiller blades use a single-bevel design. One side is flat. The other side has a ground bevel, typically between 25 and 30 degrees.
This isn't arbitrary. The angle is engineered to balance cutting efficiency with edge durability in soil conditions. A steeper angle makes a stronger edge but requires more force to penetrate the ground.
A shallower angle cuts easily but rolls or chips on rocks and roots.
Here's what goes wrong when people ignore the original angle:
- Grinding too steep creates a blunt edge that pushes soil aside instead of slicing it. The tiller bounces and vibrates.
- Grinding too thin produces a fragile edge that dulls within a single tilling session.
- Creating a double bevel on a blade designed for single-bevel operation changes how the tine interacts with the soil. The blade may not throw soil correctly, leaving ridges instead of a smooth bed.
Before you start sharpening, look at the blade carefully. Identify which side is beveled and which is flat. Use a ruler or a bevel gauge to estimate the angle.
Mark the bevel with a permanent marker so you can see exactly where you're removing metal. If you're using a bench grinder, adjust the tool rest to match the angle before you touch the blade to the wheel.
Some people try to improve on the factory angle by making it sharper. Don't. The engineers who designed that blade tested it in real soil conditions.
The factory angle is the right angle.
How to Check Your Work: Signs the Edge Is Sharp Enough
You've filed or ground the blade. Now you need to know when to stop. Over-sharpening wastes metal and thins the edge.
Under-sharpening means you'll be back at it next weekend.
The burr test is your most reliable indicator. After filing the bevel side, run your thumb lightly across the flat side of the blade, perpendicular to the edge. You should feel a slight roughness or lip.
That's the burr, a thin ridge of displaced metal. It tells you've ground all the way to the edge on the bevel side.
Here are a few more ways to confirm sharpness:
- Visual check. Hold the blade up to a light source. A truly sharp edge won't reflect light. If you see a bright line along the cutting edge, there's still a flat spot that needs more work.
- The paper test. A sharp tiller blade will slice through a sheet of newspaper cleanly.
- Consistent burr along the full length. Run your thumb along the entire cutting edge. The burr should feel even from one end to the other. If there are gaps, those sections need more attention.
- Symmetry between paired blades. If your tiller uses opposing blades, both should feel equally sharp.
Once you've confirmed the burr, give the flat side one or two light file passes to remove it. You're not creating a second bevel. You're just cleaning up the wire edge.
After that, the blade is ready to go back on the tiller.
Blade Balance and Reassembly: The Step Most People Forget
You've sharpened all the blades and they're biting sharp. Now it's time to put them back. This is where a lot of people rush and end up with a tiller that shakes itself apart.
Blade balance matters. If one blade has had more metal removed than its partner, the imbalance creates vibration. That vibration accelerates bearing wear, loosens bolts, and makes the whole machine harder to control.
On a rear-tine tiller spinning at 200 RPM or more, even a small weight difference is noticeable.
Here's how to check balance before reassembly:
Weigh each blade on a kitchen scale. Paired blades should be within a few grams of each other. If one is noticeably lighter, take a few extra passes on the heavier one's bevel to even things out.
Check the bolt holes. Make sure no debris is packed into the mounting holes. A small piece of dirt can throw off the blade's position on the shaft.
Apply a light coat of grease to the shaft before sliding the blades on. This prevents corrosion from locking the blades in place next season.
Reinstall blades in their original positions and orientation. Remember that photo you took during removal? Now's when it pays off. The curved or L-shaped portion of each blade should face the correct direction of rotation.
Torque the mounting bolts to spec. Most manufacturers call for 15 to 25 foot-pounds on blade bolts, but check your manual. Over-tightening strips the threads. Under-tightening lets the blade wobble and wallow out the bolt hole.
Spin the blade shaft by hand before reconnecting the spark plug. The blades should rotate freely without rubbing the tiller housing or each other.
If you notice vibration after reassembly, stop the engine immediately and recheck blade orientation and bolt torque. Running a tiller with an unbalanced blade set can damage the gearbox and shorten the machine's lifespan significantly.
Sharpening vs. Replacing: When It's Time to Buy New Blades
Sharpening works great, but it's not always the right call. There comes a point where a blade has been sharpened so many times that there's not enough metal left to hold a proper edge.
Here are the signs a blade has reached the end of its serviceable life:
- The edge is visibly thin or rounded. After multiple sharpenings, the bevel gets wider and the edge loses its crisp geometry. If the bevel face is more than about 3/8 inch wide, the blade is probably past its prime.
- Cracks or stress fractures. Inspect each blade carefully, especially near the mounting holes and the bend of L-shaped tines. A crack can propagate under load and cause the blade to snap.
- Warping or bending. A blade that's been hit hard enough to bend may not straighten properly. Even if you bend it back, the metal is weakened at the deformation point.
- Excessive pitting. Deep rust pits create stress concentration points. If the surface looks heavily pitted after cleaning, the blade's structural integrity is compromised.
Replacement blade costs vary by brand and tiller type. Standard rear-tine tiller blade sets from manufacturers like Troy-Bilt, Earthquake, and Husqvarna typically run $15 to $60 per set as of 2026. Mini-tiller and front-tine replacement tines are often on the lower end of that range.
When you do buy new blades, sharpen them before first use. Factory edges are adequate but rarely optimal. A few minutes with a file on a new set gives you a noticeably better cutting edge right out of the box.
Common Mistakes That Shorten Blade Life
Even experienced gardeners make errors that cut blade lifespan short. Here are the ones that show up most often.
Letting blades sit dirty after use is a big one. Soil holds moisture against the steel and accelerates rust. A quick rinse and dry after each session adds seasons to a set of tines.
Storing the tiller with blades exposed to the elements is another. If you're putting it away for winter, remove the blades, clean them, coat the edges with a light oil, and store them indoors. A $40 set of replacement blades can be saved with five minutes of care.
Using the wrong file technique matters too. Sawing back and forth dulls the file and creates an uneven edge. Always push forward on the cutting stroke and lift on the return.
It feels slower but produces a better result and lasts longer.
Safety Practices You Shouldn't Skip
Sharpening involves sharp metal and sometimes high-speed power tools. A few basic precautions keep you out of the emergency room.
Always wear safety glasses when filing or grinding. Metal filings and grinding wheel fragments don't care which direction they fly. Gloves are fine for handling blades during removal and installation, but take them off when using a grinder.
Loose glove material can catch in the wheel.
Secure the blade properly. A blade that slips in the vise while you're filing can take skin off your knuckles in an instant. Double-check the vise grip before you start each session.
Disconnect the spark plug every time you work on the blades. It takes two seconds and eliminates the risk of an accidental start. This applies whether you're sharpening on the tiller or after removal.
How Often to Sharpen Tiller Blades (Seasonal Maintenance Guide)
For most home gardeners, sharpening once per year before spring tilling is sufficient. If you're tilling heavy clay, rocky soil, or running the machine for extended sessions, check the edges mid-season.
A good rule of thumb: if you notice the tiller working harder than it did at the start of last season, it's time. You don't need a calendar reminder. The machine will tell you.
Before winter storage, give the blades a light touch-up and a coat of oil. This prevents rust from forming over the off-season and means you're ready to go when spring arrives.
Quick-Reference Sharpening Checklist
Here's everything in one place for when you're standing in the garage ready to work:
- Disconnect spark plug wire
- Remove blades and note orientation
- Clean blades with wire brush
- Secure blade in bench vise
- Mark bevel with permanent marker
- File at original angle, 25 to 30 degrees
- Check for burr along full edge
- Remove burr with light flat-side passes
- Verify blade balance against paired tine
- Grease shaft, reinstall blades, torque bolts
- Spin shaft by hand to check clearance
Frequently Asked Questions
Can I sharpen tiller blades without removing them?
You can touch up an edge with a file while the blades are still mounted, but the results are limited. You can't secure the blade properly, which makes consistent angle control nearly impossible. For a real sharpening job, take the blades off.
What file is best for tiller blades?
A mill bastard file in the 8 to 12 inch range is the standard choice. It has the right coarseness to remove metal efficiently without leaving an overly rough edge. A smooth-cut file works but takes considerably longer.
How do I know if my blades are too worn to sharpen?
If the bevel face is wider than about 3/8 inch, the blade has been ground down past its useful geometry. Cracks near the mounting holes or deep rust pitting are also signs that replacement is the better option.
Does sharpening tiller blades void the warranty?
Sharpening blades as part of normal maintenance does not void any manufacturer warranty. It's expected upkeep. Just don't modify the blade shape or weld on extensions, as those alterations could affect warranty coverage.
Can I use a Dremel tool to sharpen tiller blades?
A rotary tool works for minor touch-ups and deburring, but it's too slow for reshaping a truly dull edge. It's best reserved for cleaning up small nicks between full sharpening sessions.