To replace the drive control cable on your Craftsman lawn mower quickly and efficiently, start by safely disconnecting the spark plug, then locate the cable connected to the drive mechanism. Remove any clamps or screws holding the cable in place, detach it from the control lever and the transmission, and finally install the new cable, ensuring proper tension and secure connections. This simple process can restore smooth operation to your mower and extend its lifespan.
If your Craftsman lawn mower isn’t engaging or the drive isn’t functioning properly, replacing the drive control cable is often the solution. This guide will walk you through each step with clear instructions, making it easy even if you’re a DIY novice. By understanding how to replace the cable, you can save money on repairs and get back to maintaining your yard with minimal hassle. It’s a straightforward fix that can make a big difference in your mower’s performance.

How to Replace Drive Control Cable on Craftsman Lawn Mower
Understanding the Drive Control Cable and Its Role
The drive control cable is a key part of your craftsman lawn mower. It connects the control lever to the drive system, allowing you to engage and disengage the mower’s drive. Over time, this cable can wear out, stretch, or break, making it difficult to operate the mower properly. Knowing how to replace this cable ensures your mower functions smoothly again.
Tools and Materials Needed for Replacement
Before starting the replacement process, gather these essential tools and materials:
- New drive control cable compatible with your craftsman mower model
- Screwdrivers (Phillips and flat-head)
- Socket wrench set
- Pliers
- Work gloves for safety
- Lubricant spray (optional but recommended)
- Owner’s manual for your specific mower model
Having everything ready makes the process smoother and minimizes interruptions.
Safety Precautions Before Starting
Ensure the mower is on a flat, stable surface. Disconnect the spark plug wire to prevent accidental starting. Wear gloves to protect your hands from sharp edges. Always work in a well-lit area and keep children or pets away during the repair.
Steps to Remove the Old Drive Control Cable
Locate the Drive Control Cable
Position yourself to access the mower’s side or rear panel, depending on your model. The cable will be routed from the control lever to the drive system, usually secured with clips or brackets.
Disconnect the Cable from the Control Lever
Identify where the cable attaches to the control lever inside the mower. Use a screwdriver or pliers to unclip or unscrew the cable from the lever. Be careful not to damage the control assembly.
Detach the Cable from the Drive System
Follow the cable to the drive mechanism. It is typically attached with a clamp or hook. Use pliers to gently remove the cable from its connector. Note how it is routed to help with the installation of the new cable.
Remove the Cable from the Mower Frame
Trace the entire cable route and loosen any clips or brackets holding it in place. Carefully pull the cable free, ensuring no other components are damaged.
How to Install the New Drive Control Cable
Preparation of the New Cable
Unpack the new cable and compare it to the old one to verify compatibility. Apply a small amount of lubricant to the cable if recommended by the manufacturer for smooth operation.
Routing the New Cable
Start by positioning the new cable along the same route as the old one. Make sure it is not twisted or kinked. Secure it with clips or brackets as you go, avoiding excessive tension.
Connecting the Cable to the Drive System
Attach the cable to the drive mechanism first. Use the hook or clamp provided, ensuring it is tight but not at the cost of excessive stress on the cable.
Connecting the Cable to the Control Lever
Finally, connect the other end of the cable to the control lever inside the mower. Make sure it clicks or snaps into place securely. Adjust the tension if your mower model allows for it, ensuring the drive responds smoothly when you operate the lever.
Adjusting the Drive Control Cable
Proper tension on the cable is crucial for effective operation. Too loose, and the drive won’t engage fully. Too tight, and the control lever may be difficult to move or cause premature wear.
Testing the Adjustment
Start your mower and engage the drive control lever. Observe if the mower speeds up smoothly and stops when you release the lever. Adjust the cable tension if necessary, following the manufacturer’s instructions to tighten or loosen it.
Final Inspection and Safety Checks
Ensure all clips, bolts, and screws are securely fastened. Double-check the cable route for any kinks or contact with moving parts. Reconnect the spark plug wire and start the mower to test the new cable’s functionality.
Tips for a Successful Replacement
– Always use a cable specific to your mower model for compatibility.
– Take photos during disassembly to help remember the routing.
– Do not overtighten the cable, as it might cause premature wear or damage.
– Regularly inspect the cable for signs of wear and replace promptly if needed.
Related Topics to Consider
- How to adjust the drive belt on a craftsman lawn mower
- Cleaning and lubricating mower components for longevity
- Replacing the drive pulley or wheels
- Maintaining the mower’s deck for a clean cut
Common Troubleshooting After Replacement
If the drive does not engage properly after replacing the cable, check the following:
- Ensure the cable is routed correctly and not kinked
- Verify the cable tension is appropriate
- Inspect the drive system for damage or obstructions
- Make sure all clips and fasteners are securely in place
Adjust as needed until the mower responds smoothly to the control lever.
Maintaining Your Drive Control Cable
Regular maintenance prolongs the life of your cable. Clean the cable regularly, lubricate it if needed, and check for signs of fraying or corrosion. Replace the cable immediately if you notice damage to avoid further repair issues.
By following these detailed steps, you’ll be able to replace your craftsman’s lawn mower drive control cable confidently and efficiently. Proper installation and adjustment will restore your mower’s drive functionality, making yard work easier and safer.
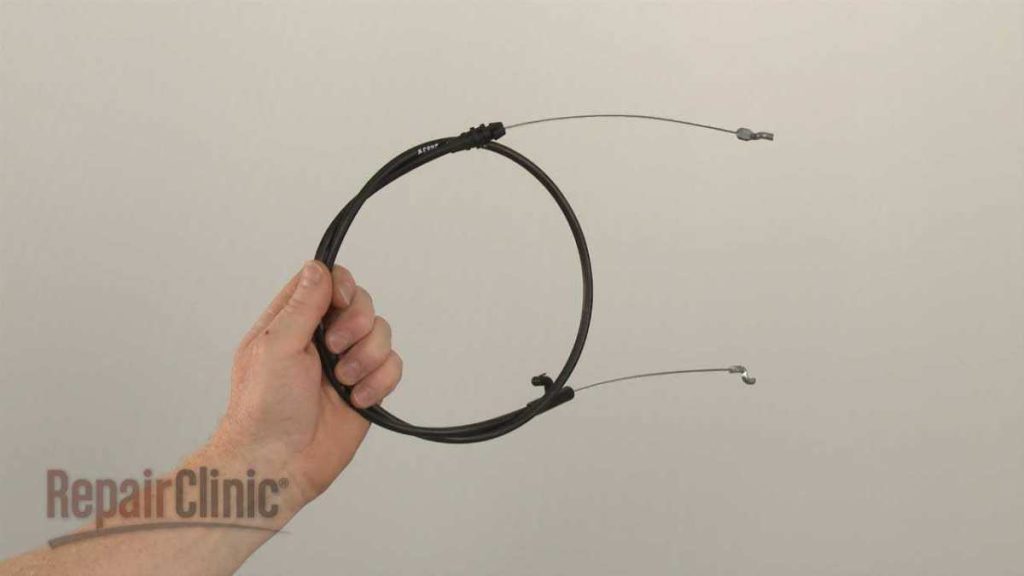
Craftsman Lawn Mower Control Cable Replacement #946-04661A
Frequently Asked Questions
What tools do I need to replace the drive control cable on my Craftsman lawn mower?
To replace the drive control cable, you will need a set of basic tools including screwdrivers, pliers, and possibly a socket wrench. Additionally, make sure to have a new drive control cable compatible with your mower model. Wearing work gloves can help protect your hands during the process.
How do I access the drive control cable on my Craftsman mower?
Begin by disconnecting the spark plug to prevent accidental starting. Next, remove the mower’s grass catcher or side panel if necessary to access the control area. You may need to tilt the mower or remove the control panel cover to see the cable and its connection points clearly.
What steps should I follow to detach the old control cable?
Start by examining how the cable connects to both the drive lever and the transmission. Use pliers or screwdrivers to loosen any clamps or clips holding the cable in place. Carefully disconnect the cable from the lever and transmission, noting where each connection is made for proper reinstallation.
How can I install the new drive control cable correctly?
Attach the new cable by connecting it first to the transmission, ensuring it seats securely. Then, connect it to the drive lever, making sure the tension is appropriate to allow smooth operation. Use clamps or clips to hold the cable firmly in place. Adjust the cable tension as needed for proper functionality before reassembling any panels.
What should I check after replacing the cable to ensure proper operation?
Test the drive control by engaging the lever and observing the mower’s response. Ensure the cable pulls smoothly without resistance or slack, and the mower moves as intended. Make any necessary adjustments to cable tension or connections to achieve optimal control before finishing the reassembly.
Final Thoughts
To replace the drive control cable on a Craftsman lawn mower, start by disconnecting the spark plug for safety. Remove the mower deck cover to access the cable. Detach the old cable carefully, noting its routing, then install the new one along the same path. Adjust the cable tension to ensure proper operation.
In conclusion, knowing how to replace drive control cable on craftsman lawn mower simplifies maintenance and keeps your mower working efficiently. Follow these steps to complete the replacement confidently and keep your lawn in top shape.