To change the carburetor on your Troy Bilt riding lawn mower quickly and effectively, start by disconnecting the battery and removing the gas tank for safety. Then, locate the carburetor, disconnect the fuel lines and linkages, and carefully remove it from the engine. Install the new carburetor by reversing these steps, ensuring all connections are secure and the adjustments are correct.
Replacing the carburetor on your Troy Bilt riding mower might seem daunting, but with the right tools and a bit of patience, it’s manageable. Whether your mower is stalling or having trouble starting, a faulty carburetor could be the culprit. This guide walks you through the process step-by-step, from safely preparing your mower to installing the new part, so you can get back to a perfectly cut lawn in no time. Let’s dive into making this repair simple and straightforward.

How to Change Carburetor on Troy Bilt Riding Lawn Mower
Understanding the Role of the Carburetor
The carburetor is a vital part of your Troy Bilt riding lawn mower. It mixes air and fuel in the right proportions so the engine runs smoothly. When the carburetor becomes dirty or clogged, your mower may struggle to start or run unevenly.
Signs That You Need to Replace the Carburetor
You might need a new carburetor if your mower exhibits these symptoms:
- Difficulty starting the engine
- Engine stalls during operation
- Unusual fuel consumption
- Black smoke from the exhaust
- Engine runs rough or uneven
Regular maintenance can prevent some of these issues, but if they persist, replacing the carburetor can solve the problem.
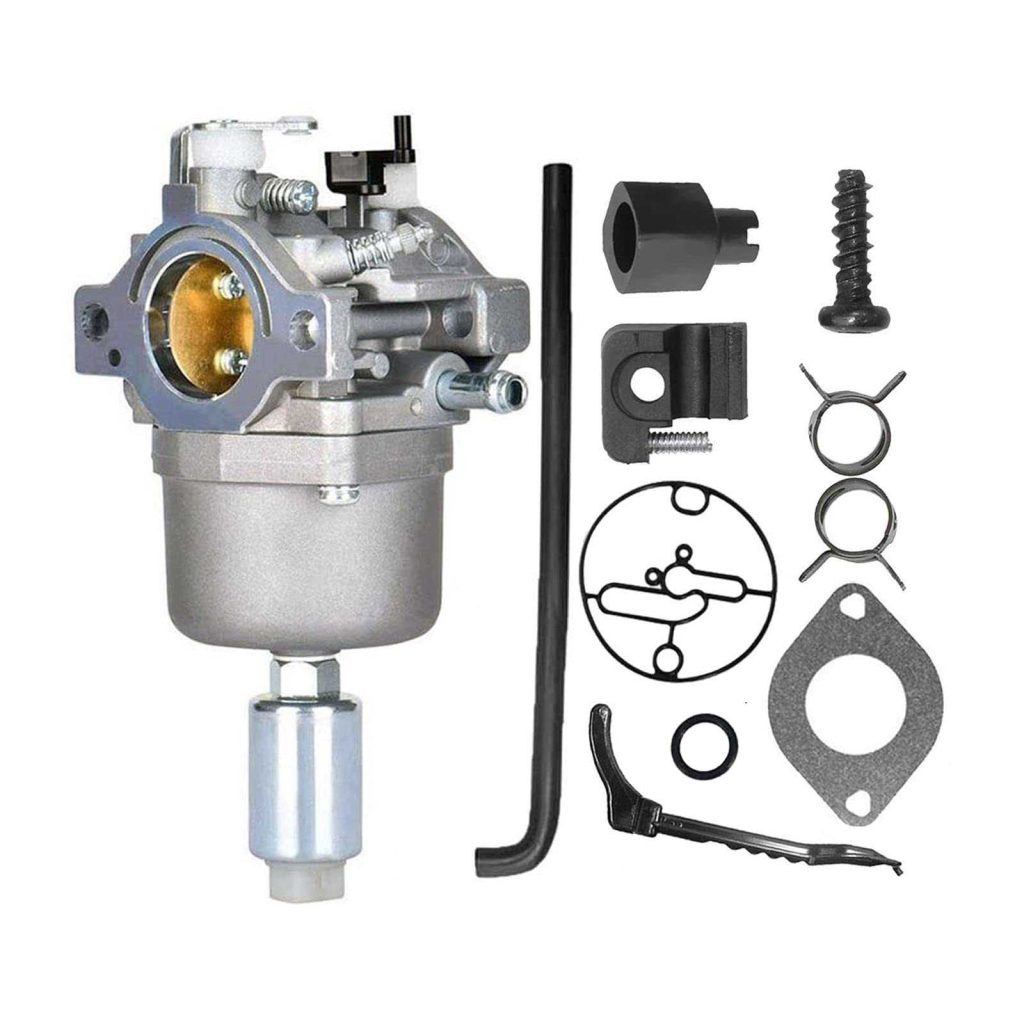
Gathering the Necessary Tools and Parts
Before starting, ensure you have all the tools ready:
- Socket set
- Screwdrivers (Phillips and flat-head)
- Pliers
- Replacement carburetor compatible with your Troy Bilt model
- Work gloves and safety goggles
- Carburetor cleaner spray
You can find compatible replacement carburetors online or at your local hardware store. For detailed part numbers, visit Troy Bilt’s official parts catalog [here](https://www.troybilt.com/parts)
Preparing Your Mower for Carburetor Replacement
Start by turning off the mower and disconnecting the spark plug. This prevents accidental engine start during work. Next, remove the deck cover if necessary, to access the carburetor area.
Removing the Old Carburetor
Begin by disconnecting the fuel line from the carburetor using pliers. Carefully unscrew the mounting bolts that hold the carburetor to the engine. Note how the throttle and choke linkages are connected—they can be delicate. Take pictures if needed for reassembly.
Cleaning or Replacing the Carburetor
If you plan to clean the existing carburetor instead of replacing it, spray the cleaner into all small passages. Use a brush to remove any stubborn dirt or debris. If the carburetor is damaged or badly clogged, install the new one by reversing the removal steps.
Installing the New Carburetor
Place the new carburetor onto the mounting bracket and secure it with bolts. Reattach the throttle and choke linkages carefully to avoid misalignment. Connect the fuel line securely to prevent leaks. Make sure all connections are tight but not over-tightened.
Adjusting the Carburetor for Proper Performance
Once installed, adjust the carburetor to optimize engine performance. Typically, there are two screws: the mixture screw and the idle speed screw. Turn these slowly and test the mower’s run quality. Consult your mower’s manual for specific adjustment settings or visit [this resource](https://www.manualslib.com/) for detailed guides.
Testing Your Mower After Replacement
Reattach the spark plug and turn on the mower. Start the engine and observe how it runs. It should start easily, idle smoothly, and run without stalling. Make additional adjustments as needed for optimal operation.
Common Troubleshooting Tips
If your mower still doesn’t work properly after replacing the carburetor:
- Check for fuel blockages or leaks
- Inspect the air filter for clogs
- Verify the spark plug is functioning well
- Ensure the fuel is fresh and clean
Sometimes, a combination of these issues can affect your mower’s performance beyond the carburetor.
Maintaining Your New Carburetor
Regular cleaning and inspection extend the life of your carburetor. Use carburetor cleaner spray periodically and replace the air filter often. Also, always use clean, fresh fuel to prevent clogging.
Additional Resources and Tips
For detailed step-by-step instructions specific to your Troy Bilt model, consider consulting the user manual or websites such as [YouTube tutorials](https://www.youtube.com/). They provide visual guidance that complements this guide.
Safety Precautions to Keep in Mind
Always wear safety goggles and gloves when working on your mower. Work in a well-ventilated area to avoid inhaling fumes. Disconnect the spark plug to prevent accidental starts and injuries.
Summary of the Process in a Simple Chart
| Step | Description |
|---|---|
| 1 | Disconnect spark plug and fuel line |
| 2 | Remove carburetor mounting bolts |
| 3 | Detach linkages and fuel line |
| 4 | Clean or replace carburetor |
| 5 | Install new carburetor and reconnect parts |
| 6 | Adjust carburetor screws for best performance |
| 7 | Test mower and fine-tune as needed |
Changing the carburetor on your Troy Bilt riding lawn mower is straightforward when you follow the right steps. Doing it yourself not only saves money but also helps you better understand and maintain your equipment. Proper installation and adjustment ensure your mower runs efficiently and reliably every season.
Troy Bilt Riding Lawn Mower Carburetor Replacement
Frequently Asked Questions
What are the initial steps to remove the old carburetor from a Troy Bilt riding lawn mower?
To remove the old carburetor, first disconnect the spark plug to prevent accidental starting. Drain any gas from the tank to avoid spills. Locate the carburetor, usually attached to the engine with a few bolts or screws. Carefully disconnect the fuel line and any linkage or throttle cables connected to the carburetor. Use the appropriate tools to remove the mounting bolts, then gently lift out the old carburetor from the engine assembly.
How can I ensure the new carburetor fits properly and aligns with engine components?
Before installing the new carburetor, compare it with the old one to verify compatibility. Check that the mounting flange and gasket match the original specifications. During installation, align the carburetor carefully with the engine’s intake manifold, ensuring a proper seal with the gasket. Tighten all mounting bolts securely without over-tightening to prevent damage. Confirm that the linkage and fuel line connect correctly and operate smoothly.
What steps should I follow to adjust the carburetor for optimal mower performance after replacement?
After installing the new carburetor, start the mower and let it warm up. Adjust the idle screw to set a steady, smooth engine idle. Then, fine-tune the mixture screw to achieve the best engine response—either by ear or following the manufacturer’s specifications. Make small adjustments and test the mower’s performance after each change. Ensure that the mower accelerates smoothly without stalling or sputtering, indicating proper carburetor adjustment.
Final Thoughts
Changing the carburetor on a Troy Bilt riding lawn mower involves removing the old part and installing a new one carefully. First, disconnect the spark plug and fuel lines for safety. Then, remove the carburetor bolts and detach it from the engine. Install the new carburetor, ensuring all connections are tight and proper.
Double-check the fuel and air passages, and reconnect everything securely. Start the mower and adjust the carburetor if needed to ensure smooth operation.
In conclusion, how to change carburetor on troy bilt riding lawn mower becomes straightforward with clear steps. Following these instructions guarantees a smooth replacement process.