Preparing your soil is the absolute bedrock for a beautiful Zoysia lawn. This guide covers everything from understanding Zoysia’s needs to amending and testing your soil, ensuring your grass gets the best possible start for lush, dense growth. Don’t skip these crucial steps for a lawn you’ll love.
So, you’ve decided on Zoysia grass for your lawn. Fantastic choice! Zoysia is known for its beautiful, dense turf, its resilience against heat and drought, and its ability to choke out weeds. But before you even think about laying sod or planting plugs, there’s one absolutely critical step that will determine the success of your entire Zoysia grass project: soil preparation.
Think of your lawn as a living organism. Just like any living thing, it needs the right foundation to thrive. For Zoysia grass, that foundation is healthy, well-prepared soil. Skimping on this stage is like trying to build a sturdy house on shaky ground – it’s bound to lead to problems down the line. We’re talking about a lawn that might struggle to establish, become prone to diseases, or just never reach that lush, green potential you’re dreaming of.
This guide is all about making sure you get your Zoysia grass soil preparation right. We’ll walk through everything you need to know, from understanding what Zoysia likes in its soil to the practical steps you’ll take to get it there. It’s not overly complicated, but it does require attention to detail. Let’s dig in!
- Zoysia grass prefers well-draining soil with a slightly acidic to neutral pH (6.0-7.0) for optimal growth.
- Thorough site preparation is key, involving clearing debris, removing weeds, and addressing any existing lawn issues.
- Soil testing is non-negotiable to understand your soil’s composition, pH, and nutrient levels, guiding any necessary amendments.
- Improving soil structure, especially for clay or sandy soils, is vital for root development and water retention.
- Proper aeration and leveling create an even surface and ensure good air and water penetration for new sod or plugs.
- Incorporating organic matter like compost enriches the soil and improves its overall health and fertility.
Quick Answers to Common Questions
What is the ideal soil pH for Zoysia grass?
Zoysia grass thrives in soil that is slightly acidic to neutral, with an ideal pH range between 6.0 and 7.0.
Why is good drainage so important for Zoysia grass?
Zoysia grass does not tolerate waterlogged conditions. Poor drainage can lead to root rot and fungal diseases, hindering its growth and health.
How do I prepare my soil if it’s heavy clay?
For heavy clay soils, incorporate plenty of organic matter like compost or well-rotted manure. This will improve aeration and drainage.
Can I plant Zoysia grass immediately after amending the soil?
It’s often recommended to let amendments, especially lime or sulfur for pH adjustment, work for a period (weeks to months) before planting. Pre-watering and re-testing may also be beneficial.
What are the first steps in Zoysia grass soil preparation?
The initial steps involve clearing the area of debris and existing vegetation, and thoroughly controlling any weeds.
📑 Table of Contents
Understanding Zoysia Grass’s Soil Preferences
Before we get our hands dirty, it’s helpful to know what makes Zoysia happy. Zoysia is a warm-season grass, meaning it thrives in warmer climates. Because of this, its soil needs are geared towards conditions found in these regions.
Drainage is Paramount
One of the most important things for Zoysia is good drainage. It doesn’t like to sit in waterlogged soil. Soggy conditions can lead to root rot and other fungal diseases, which can quickly damage your lawn. So, if you have heavy clay soil that holds water like a sponge, you’ll need to focus on improving its drainage.
The Ideal pH Range
Zoysia grass prefers a soil pH that is slightly acidic to neutral. The ideal range is typically between 6.0 and 7.0. If your soil is too acidic (below 6.0) or too alkaline (above 7.0), it can affect the grass’s ability to absorb essential nutrients, even if those nutrients are present in the soil. We’ll cover how to test and adjust your pH later.
Nutrient Needs
While Zoysia isn’t the most demanding grass when it comes to nutrients once established, it does need a good start. Healthy soil provides the necessary nitrogen, phosphorus, and potassium (N-P-K) for initial growth and root development. A soil test will tell you exactly what’s missing.
Soil Type Considerations
Zoysia is quite adaptable and can grow in various soil types, including sandy, loamy, and clay soils. However, each type presents its own challenges. Sandy soils drain very quickly and can lose nutrients easily. Clay soils are dense, drain poorly, and can compact. Loamy soils are generally considered ideal as they offer a good balance of drainage, water retention, and nutrients. Understanding your existing soil type is the first step to knowing what amendments you might need. For more on this, check out our article on what type of soil is best for growing Zoysia grass.
Step 1: The Initial Site Preparation
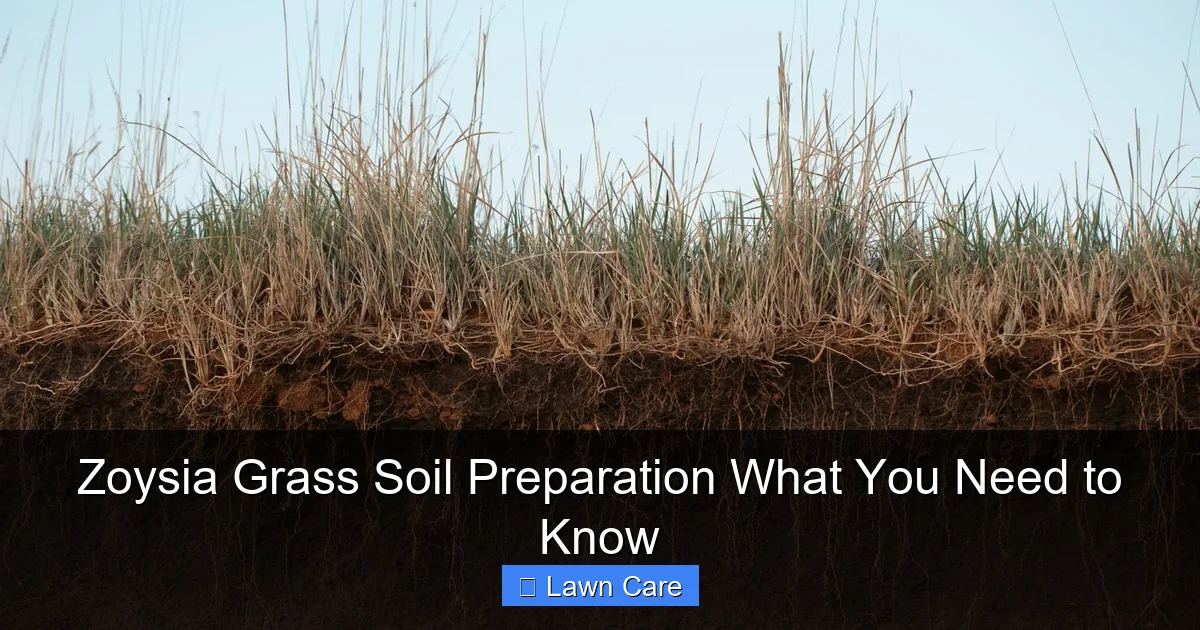
Visual guide about Zoysia Grass Soil Preparation What You Need to Know
Image source: i.pinimg.com
This is where the real work begins. You need to create a clean slate for your new Zoysia lawn.
Clearing the Area
First, clear the entire area where you plan to install your Zoysia grass. Remove all debris: rocks, old landscaping materials, sticks, and anything else that doesn’t belong. If you’re replacing an old lawn, you’ll need to remove the existing grass and any weeds. You can do this by digging it out, using a sod cutter, or by applying a non-selective herbicide and waiting for the vegetation to die before clearing it.
Weed Control is Crucial
Weeds are the arch-nemesis of a healthy Zoysia lawn, especially when it’s trying to establish itself. If you have a significant weed problem, it’s best to tackle it before you even start thinking about soil amendments. Persistent weeds can compete with your new Zoysia for water, nutrients, and sunlight. For existing lawns, you might consider a weed control program. If you’re starting from scratch, ensure all perennial weeds are removed.
Addressing Existing Lawn Problems
Are there bare spots? Patches of disease? Insect infestations? Now is the time to address these. If you’re dealing with issues like grubs or other soil-borne pests, you’ll want to treat them before planting Zoysia. Similarly, if you have a lot of thatch (the layer of dead grass stems and roots between the green grass blades and the soil surface), you may need to dethatch the area.
Step 2: Soil Testing – The Foundation of Your Success
This is perhaps the most overlooked but most important step in Zoysia grass soil preparation. You simply cannot know what your soil needs without testing it.
Why Test Your Soil?
A soil test provides invaluable information about your soil’s pH, nutrient levels (like phosphorus and potassium), and sometimes even its organic matter content. Without this data, you’re essentially guessing when it comes to amending your soil. You might add unnecessary fertilizers or amendments, which can be costly and even harmful to your future lawn.
How to Get a Soil Test
The easiest and most accurate way is to send a sample to your local county extension office. They offer affordable, reliable testing. You can also purchase DIY soil test kits from garden centers, but these are generally less comprehensive than professional tests.
Here’s a general process for a professional soil test:
- Collect Samples: Get samples from several different areas of the lawn space you’ll be preparing. Dig down about 4-6 inches with a clean trowel or soil probe. Avoid taking samples from areas that are unusually wet or dry, or from right next to pavement.
- Mix Samples: Combine the soil from all your collection points into a clean bucket and mix thoroughly.
- Dry the Soil: Spread a thin layer of the mixed soil on a clean surface (like a piece of cardboard or a plastic sheet) and let it air dry for a day or two.
- Bag and Label: Fill the provided soil test bag (or a clean, dry plastic bag) with a portion of the dried, mixed soil. Label it clearly with your name and contact information.
- Send It In: Follow the instructions from your local extension office to submit your sample and payment.
Interpreting Your Results
Once you get your report back, don’t be intimidated. It will usually provide recommendations for your specific grass type (Zoysia) and indicate what amendments are needed to bring your soil into the ideal range. Pay close attention to the pH reading and the recommendations for lime (to raise pH) or sulfur (to lower pH). You’ll also see recommendations for specific nutrient additions.
Step 3: Amending and Improving Your Soil
Based on your soil test results and your understanding of Zoysia’s needs, it’s time to make improvements.
Adjusting Soil pH
- If your soil is too acidic (pH below 6.0): You’ll likely need to apply lime. The amount of lime needed depends on your soil type and how acidic it is. Your soil test report will give specific recommendations. It’s usually best to apply lime in stages, waiting several months between applications, especially if a large adjustment is needed.
- If your soil is too alkaline (pH above 7.0): You’ll need to add elemental sulfur. Again, follow the soil test recommendations carefully. Sulfur takes time to work, and repeated applications may be necessary.
You can find more detailed guidance on this in our article about how to balance soil pH for better grass growth.
Improving Soil Structure
This is crucial for drainage and root penetration.
- For Clay Soils: Heavy clay soils benefit greatly from the addition of organic matter. Compost, well-rotted manure, or peat moss can be mixed into the top 4-6 inches of soil. This helps to break up the dense clay particles, improving aeration and drainage. You might also consider improving clay soil with gypsum in some cases, though organic matter is usually preferred for general improvement.
- For Sandy Soils: Sandy soils need amendments that will help them retain moisture and nutrients. Incorporating compost, peat moss, or other organic materials will improve their water-holding capacity.
Adding Nutrients
Your soil test will tell you if you need to add phosphorus, potassium, or other micronutrients. Follow the recommendations for specific fertilizer types and application rates. It’s often best to incorporate these nutrients into the soil before planting. For example, if your soil test indicates a need for phosphorus, you might use a starter fertilizer high in that nutrient. Remember to follow application instructions carefully to avoid burning your new grass. If you are unsure about fertilizer application, check out what happens if you apply fertilizer to wet grass to avoid common mistakes.
Incorporating Organic Matter
This is a win-win for almost any soil type. Compost is a fantastic soil amendment. It improves drainage in clay soils, water retention in sandy soils, provides slow-release nutrients, and encourages beneficial microbial activity. Spread a layer of compost (2-4 inches) over the prepared area and work it into the top 6 inches of soil.
Step 4: Final Grading and Leveling
Once your soil has been amended, it’s time to get the surface just right for planting.
Achieving Proper Grade
You want a smooth, even surface. This means removing any high spots or low spots. Low spots can collect water, leading to drainage issues, while high spots can dry out quickly. Use a rake, shovel, and wheelbarrow to fill in low areas and shave down high spots. It’s important to grade the soil so that water drains away from your house foundations and any other structures.
Light Compaction (Optional but Recommended)
After grading, a light rolling or tamping can help firm the soil. This settles the soil particles and prevents the ground from sinking after your Zoysia is established. However, you don’t want to over-compact the soil, especially if it’s clay. The goal is firm, not solid. If you’re using a roller, don’t go over it too many times.
Final Raking
A final pass with a rake will create a fine texture on the soil surface, which is ideal for planting. This also helps to break up any small clods of soil that may have formed during the grading process.
Step 5: Waiting Period and Re-Testing (If Necessary)
Depending on the amendments you’ve added, you might need to let the soil rest.
Letting Amendments Work
If you’ve added lime or sulfur to significantly adjust the pH, these materials need time to react with the soil. This can take several weeks to a few months. Rushing the planting process can mean your amendments haven’t had a chance to do their job effectively. Your soil test report should give you an idea of how long to wait.
Re-Testing for pH
If you made significant pH adjustments, it might be wise to re-test the soil’s pH before planting, especially if you had to wait a long time for the amendments to work. This ensures you’re planting in the ideal pH range.
Watering the Prepared Area
Lightly water the prepared soil surface. This helps to settle it further and reveals any low spots you might have missed during grading. You can then fill these low spots and re-grade. This process is sometimes called “pre-watering” and helps to ensure a smooth planting surface. Maintaining soil moisture is key throughout the entire process.
Conclusion
Establishing a beautiful Zoysia lawn starts with meticulous soil preparation. By understanding Zoysia’s preferences, diligently clearing and preparing your site, conducting thorough soil tests, amending your soil based on those results, and finally grading for a smooth finish, you are setting the stage for a lawn that will be resilient, healthy, and visually stunning for years to come.
Don’t underestimate the power of good soil. It’s the unsung hero of a great lawn. While it might seem like a lot of work upfront, the effort you invest in Zoysia grass soil preparation will pay dividends in the long run. You’ll have a denser, greener, and more problem-free lawn that requires less effort to maintain. So, grab your tools, follow these steps, and get ready to enjoy your amazing Zoysia turf!
Frequently Asked Questions
Should I test my soil before planting Zoysia grass?
Yes, a soil test is highly recommended. It provides crucial information about your soil’s pH and nutrient levels, guiding you on necessary amendments for optimal Zoysia growth.
What is the best type of soil for Zoysia grass?
While Zoysia grass is adaptable, it prefers well-draining soils. Loamy soils are generally ideal, offering a good balance of drainage, moisture retention, and nutrient availability.
How much compost should I add to my soil for Zoysia grass?
A common recommendation is to spread a layer of 2-4 inches of compost over the area and work it into the top 6 inches of soil. This significantly improves soil structure and fertility.
What should I do if my soil test shows a low pH?
If your soil is too acidic (low pH), you will need to apply lime. The exact amount depends on your soil type and how acidic it is, so follow your soil test report’s recommendations carefully.
How do I ensure my Zoysia lawn has good drainage?
Good drainage is achieved by selecting a site with a natural slope away from structures, improving heavy clay soils with organic matter, and avoiding over-compaction after grading.
What if I’m replacing an old lawn with Zoysia?
You’ll need to remove the existing grass and weeds completely. This can be done by digging, using a sod cutter, or applying a non-selective herbicide followed by clearing the dead vegetation.