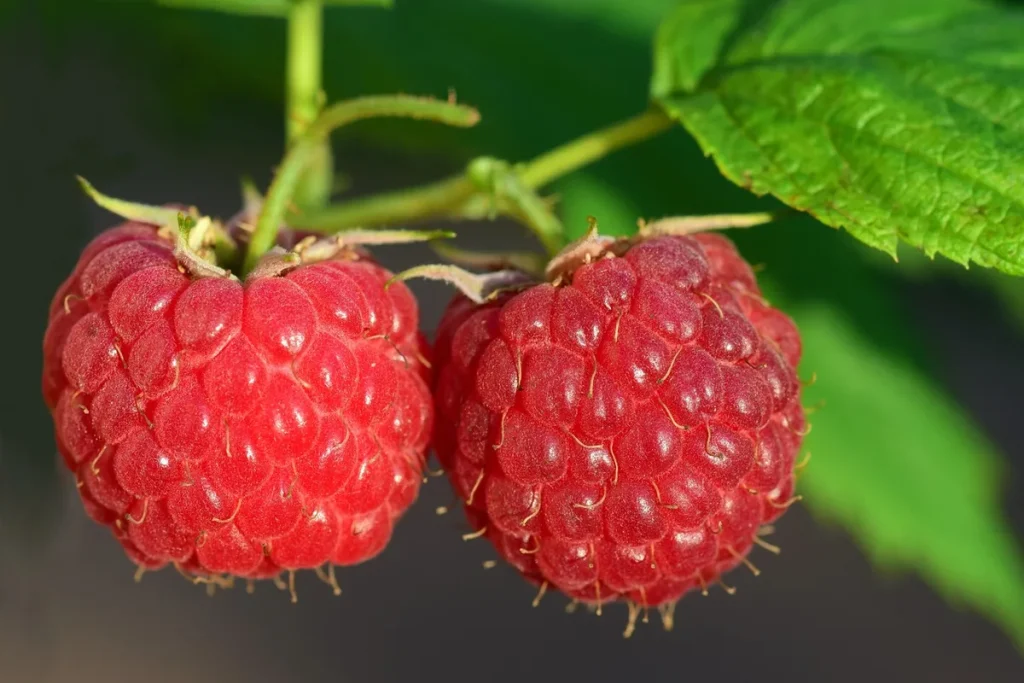
If you've ever tried to clear out a raspberry patch, you already know these plants don't go quietly. Learning how to remove raspberry bushes the right way saves you from months of frustrating regrowth. The trick is understanding that the real problem isn't the canes above ground.
It's the aggressive root system hiding below the surface.
Raspberry bushes (Rubus idaeus) spread through underground runners called suckers. These roots can extend 2 to 3 feet beyond the visible canes and reach 12 to 18 inches deep. Miss even a small root fragment, and you'll see new shoots popping up weeks later.
That's why the method you choose matters more than how hard you work.
Quick Answer
Cut all raspberry canes to ground level first. Dig out the root ball and crown 12 to 18 inches deep. Remove every root fragment from the soil.
Monitor the area for regrowth over the full growing season. Fall herbicide application on cut stumps improves kill rates for large patches.
Why Raspberry Bushes Are So Hard to Remove
Raspberry plants have a biennial cane lifecycle. First-year shoots, called primocanes, focus on vegetative growth. Second-year canes, called floricanes, produce fruit and then die.
But while the canes follow this predictable pattern, the root system does its own thing entirely.
The crown, which is the woody base where roots meet canes, acts as a storage hub. It holds energy reserves that fuel new growth even after you've cut everything above ground. Established patches develop dense root mats that intertwine with surrounding soil.
In heavy clay, these roots grip tight. In sandy soil, they spread farther and faster.
Here's what makes removal especially tricky:
- Root fragments regenerate. A piece of root just a few inches long can produce a new plant.
- Suckers travel. New shoots can emerge feet away from the original crown.
- Thorny canes slow you down. Handling dense, thorny growth without proper protection leads to scratched arms and impatience, which leads to incomplete removal.
- Seasonal timing matters. Removing during active growing season means the plant fights back harder. Dormant-season removal gives you a head start.
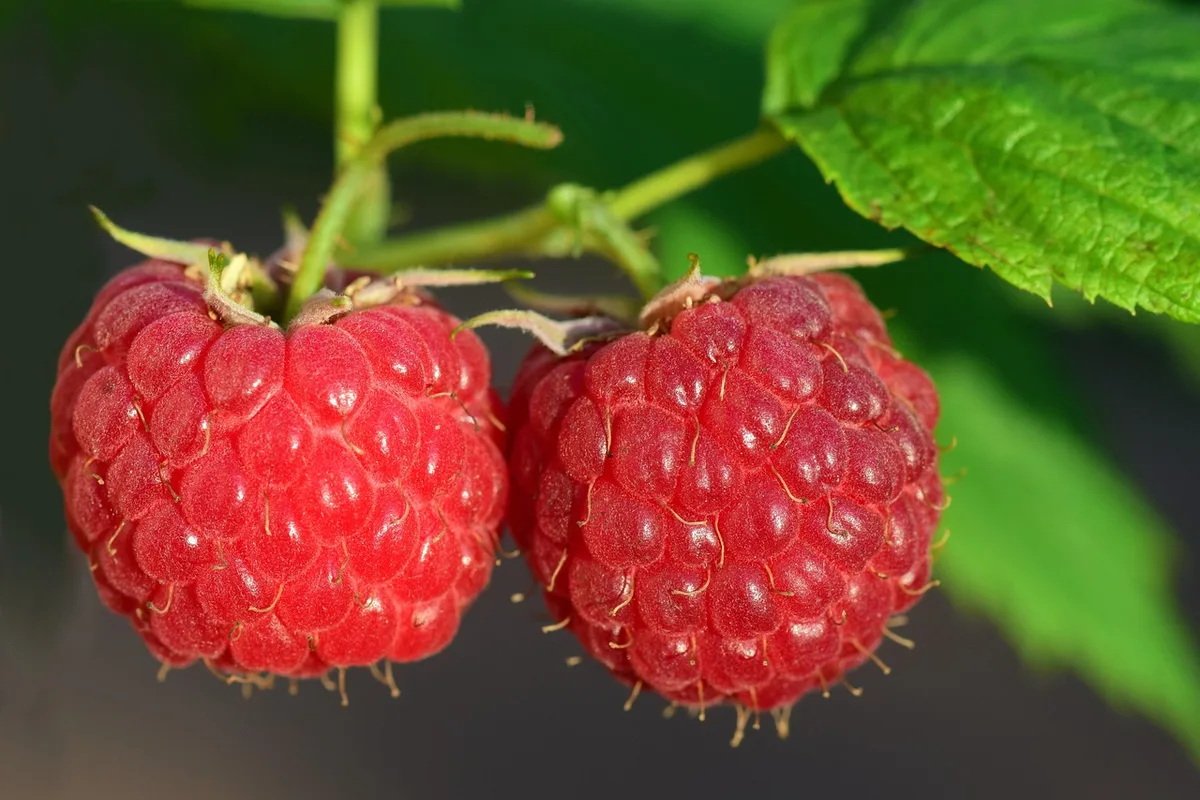
Image source: Pixabay / ulleo (Pixabay Content License)
How Raspberry Root Systems Spread and Regrow
Understanding the root structure helps you plan your removal strategy. Raspberry roots don't grow straight down like a taproot. They spread horizontally through the top 12 to 18 inches of soil.
In ideal conditions, roots can reach depths of 3 feet or more.
The suckering habit is the plant's survival strategy. When you cut a cane, the crown redirects energy to dormant buds along the root system. Those buds break through the soil surface as new suckers.
If you've ever mowed over a raspberry patch and thought you'd solved the problem, you've probably just encouraged denser regrowth.
Research from university extension services confirms that mechanical disturbance alone, like mowing or light tilling, often makes raspberry infestations worse. The plant responds to damage by sending up more shoots from its extensive root network. That's why complete root removal or a well-timed herbicide application is essential.
Choosing Your Removal Method: What Fits Your Situation
There's no single best way to remove raspberry bushes. The right method depends on your patch size, your timeline, and whether you're comfortable using herbicides. Here's how to match your situation to the right approach.
Manual Digging: Best for Small Patches and Organic Gardens
If you're dealing with a handful of bushes and want to keep things chemical-free, manual removal works well. You'll need a digging fork, a mattock, and patience. The goal is to extract the entire crown and as much of the root system as possible.
Pros:
- No chemicals involved
- Immediate results
- Preserves surrounding soil biology
Cons:
- Labor-intensive for patches larger than a few plants
- Easy to miss root fragments in dense soil
- Difficult in heavy clay or rocky ground
Herbicide Treatment: Best for Large or Established Patches
For patches that have been growing for several years, manual digging alone often isn't enough. Systemic herbicides like glyphosate or triclopyr, applied to freshly cut stumps in late summer or fall, travel down into the root system and kill it from the inside.
Pros:
- Effective on large, established root systems
- Less physical labor than full excavation
- High kill rate when applied correctly
Cons:
- Requires careful handling and timing
- Potential impact on nearby plants from drift
- Not suitable for organic gardens
Smothering and Solarization: Best for Low-Effort, Chemical-Free Control
If you're not in a hurry, smothering the patch with thick cardboard or landscape fabric deprives the plants of light. Over 6 to 12 months, the canes and roots die off. Solarization, using clear plastic to trap heat in moist soil, speeds this up during hot summer months.
Pros:
- Low cost and low effort
- No chemicals or heavy digging
- Improves soil health over time
Cons:
- Slow process, takes months
- Less effective on deep root systems
- Requires full coverage with no light gaps
Mechanical Removal: Best for Big Areas and Heavy Brush
For large-scale clearing, a brush mower or small excavator can make quick work of above-ground growth. But mechanical removal alone won't kill the roots. You'll still need to follow up with digging or herbicide treatment to prevent regrowth.
Pros:
- Fast for clearing large areas
- Handles dense, thorny growth easily
Cons:
- Doesn't address root regrowth
- Requires equipment access or rental
- Can damage surrounding landscape
Step-by-Step: How to Remove Raspberry Bushes Completely
Follow these steps for thorough removal. Skipping steps is the number one reason raspberries come back.
Step 1: Cut All Canes to Ground Level
Start by cutting every cane down to 2 to 3 inches above the soil surface. Use loppers for thinner canes and a brush cutter for dense, mature growth. Wear thick gloves, long sleeves, and eye protection.
Raspberry thorns cause real scratches.
Bag the cut canes immediately. Don't compost them, since viable root nodes on the canes can take root in a compost pile. Dispose of them in yard waste bags or trash.
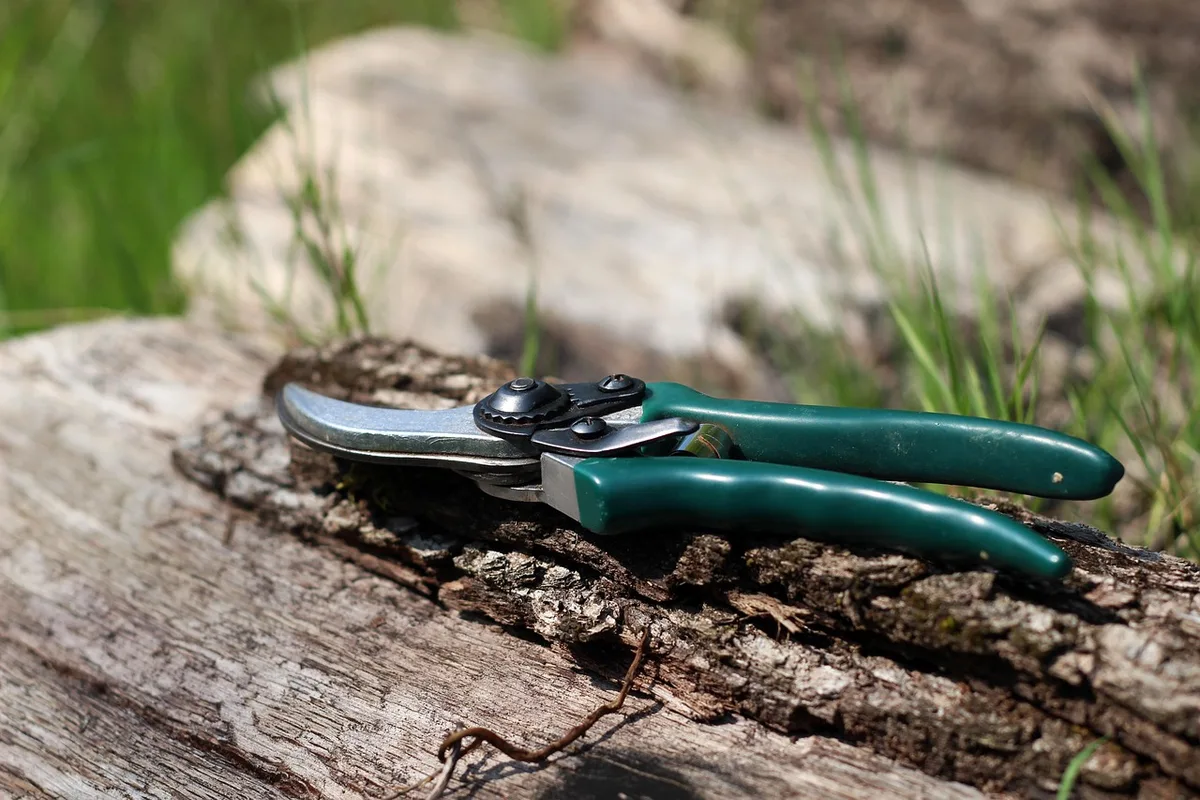
Image source: Pixabay / CarlottaSilvestrini (Pixabay Content License)
Step 2: Dig Out the Crown and Root Ball
Using a digging fork or garden spade, work around the base of each plant. Start about 12 inches out from the crown to avoid slicing through roots you want to extract. Pry the crown loose and lift it out of the soil.
Shake off loose soil and inspect the root mass.
For established plants, the crown can be surprisingly large. A bush that's been growing for 3 or more years may have a root ball the size of a dinner plate or bigger. Take your time here.
Rushing this step leaves roots behind.
Image source: Pixabay / buzukis (Pixabay Content License)
Step 3: Sift the Soil for Root Fragments
This is the step most people skip, and it's the reason raspberries come back. After removing the main root ball, sift through the surrounding soil by hand or with a garden fork. Look for white or light brown root pieces.
Even fragments 2 to 3 inches long can sprout new plants.
In sandy soil, this goes quickly. In clay, you may need to break up clods carefully. If the soil is dry, watering it lightly the day before makes digging and sifting much easier.
Step 4: Treat Cut Stumps (If Using Herbicide)
If you're using a systemic herbicide, apply it to the freshly cut stumps within minutes of cutting. The plant pulls the chemical down into the roots most effectively when the cut is fresh. Use a small brush or sponge applicator to paint the herbicide directly onto the cut surface.
This minimizes drift and protects nearby plants.
Late summer and early fall are the best times for herbicide application. The plant is moving nutrients down into the roots for winter storage, which carries the herbicide exactly where it needs to go. Always follow the product label instructions for concentration and safety precautions.
Step 5: Monitor and Follow Up for Regrowth
Your work isn't done after the initial removal. Check the area every 2 to 4 weeks throughout the growing season. New suckers will appear, especially around the edges of the original patch.
Dig these out immediately while they're small and their roots are shallow.
Most patches require at least two or three follow-up sessions before the root system is fully exhausted. By the second year, if you've been thorough, regrowth should be minimal.
Side-by-Side Comparison: Which Removal Method Is Right for You
| Method | Best For | Timeframe | Effort Level | Chemical-Free |
|---|---|---|---|---|
| Manual digging | Small patches (1–5 plants) | 1–2 days | High | Yes |
| Herbicide (cut-stump) | Large or established patches | 1–2 days + monitoring | Medium | No |
| Smothering/solarization | Patient gardeners, any size | 6–12 months | Low | Yes |
| Mechanical clearing | Large areas, heavy brush | Half day | Medium | Yes (but needs follow-up) |
If your patch is small and you don't mind getting your hands dirty, manual digging gives you immediate results. For anything larger than a few bushes, combining cutting with either herbicide treatment or thorough root removal saves you time and frustration in the long run.
Common Mistakes That Cause Raspberry Regrowth
Even with good intentions, these mistakes lead to raspberries coming back stronger than before.
- Mowing without removing roots. Cutting canes at ground level without addressing the root system just stimulates new sucker growth.
- Leaving root fragments in soil. Even small pieces left behind will sprout. Sift the soil carefully.
- Applying herbicide at the wrong time. Spring applications are far less effective than late summer or fall treatments when the plant is storing energy in its roots.
- Not monitoring for regrowth. One removal session is rarely enough. Plan for follow-up checks throughout the season.
- Composting the canes. Thorny canes with viable nodes can root in compost. Bag and dispose of them instead.
- Underestimating root spread. Start your digging radius wider than you think necessary. Roots extend well beyond the visible cane line.
Image source: Pixabay / ulleo (Pixabay Content License)
How Much Does It Cost to Remove Raspberry Bushes
For most homeowners, the cost of removing raspberry bushes comes down to tools, materials, and time.
| Expense | Estimated Cost |
|---|---|
| Digging fork or mattock | $25–$50 (if you don't own one) |
| Loppers | $20–$40 |
| Glyphosate or triclopyr herbicide | $15–$30 per application |
| Landscape fabric (for smothering) | $15–$30 per roll |
| Heavy-duty yard waste bags | $10–$15 |
| Professional removal service | $200–$800+ depending on patch size |
If you're hiring out, expect to pay more for established patches that require excavation. Most landscaping companies charge by the hour or by the project. Getting two or three quotes helps you find a fair price in your area.
Safety Tips: Handling Thorny Canes and Herbicides
Raspberry canes have sharp thorns that cause painful scratches. Wear thick leather gloves, long sleeves, and eye protection during cutting and handling. If you're using a brush cutter, add steel-toed boots and hearing protection to the list.
When working with herbicides, read the product label completely before use. Wear chemical-resistant gloves and avoid application on windy days. Keep children and pets away from treated areas for the time specified on the label.
Store all chemicals in their original containers, out of reach of children.
Before you start digging, call 811 to have underground utilities marked. Hitting a gas line or electrical cable while digging a root ball is a serious safety hazard. This free service is available throughout the US and takes just a few days to schedule.
When to Call a Professional Instead of DIY
Most raspberry removal is manageable as a DIY project. But there are situations where professional help makes sense.
- The patch covers more than a few hundred square feet. Large infestations require equipment and labor that go beyond typical homeowner capacity.
- Raspberries are growing near foundations or underground utilities. Professionals have the tools to work in tight spaces without causing damage.
- You're dealing with invasive wild raspberries on a wooded property. Thick, established brambles in rough terrain are a job for experienced crews.
- You need the area cleared quickly. A professional team with the right equipment can finish in hours what might take you several weekends.
Expert Tips for Stubborn Patches
If you've already tried digging and the raspberries keep coming back, a few adjustments make a big difference.
Water the area the day before digging. Moist soil releases roots more easily than dry, compacted ground. You'll extract more of the root system with less effort.
Use a digging fork instead of a shovel. The tines slide around roots rather than cutting through them. You'll pull out more intact root mass.
Work the edges of the patch first. Raspberry colonies expand outward via suckers. The newest growth at the edges has shallower roots and comes out easier. Clear the perimeter, then work toward the center.
Apply herbicide to fresh cuts only. Spraying foliage on raspberries has a lower kill rate than painting cut stumps. The chemical needs a direct path into the plant's vascular system.
Cover the cleared area with thick mulch. A 4 to 6 inch layer of wood chips after removal suppresses any remaining root fragments from sprouting. It also improves the soil for whatever you plant next.
Replanting After Raspberry Removal
Once the raspberry bushes are out, you'll want to put something in that space. But the soil needs attention first.
Raspberry roots leave behind allelopathic compounds that can inhibit new plant growth. These break down within a few months. In the meantime, work 2 to 3 inches of compost into the top 6 inches of soil.
This dilutes the residual compounds and restores organic matter.
Good replacement options include:
- Blueberries. They prefer similar acidic soil but don't spread aggressively.
- Currants or gooseberries. These stay compact and are easier to manage.
- Perennial flowers. Coneflowers, black-eyed Susans, and similar natives thrive in former berry patch soil.
- Vegetables. The nutrient-rich, well-drained soil that raspberries loved is perfect for tomatoes, peppers, or squash.
Avoid planting new raspberries or blackberries in the same spot. The soil may harbor fungal pathogens like Phytophthora root rot that affect all Rubus species. If you want berries again, choose a different location.
Long-Term Prevention: Keeping Raspberries from Coming Back
Even after thorough removal, a few stragglers may appear over the next year or two. Staying on top of them early prevents a full reinfestation.
Check the area monthly during the growing season. Look for small shoots with the distinctive raspberry leaf shape. Dig them out immediately while the root is still small.
Install a root barrier if raspberries are nearby. A 12 to 18 inch deep barrier made of metal or heavy-duty landscape fabric blocks underground runners from invading your cleared area. This is especially useful if a neighbor's raspberries are the source of reinfestation.
Maintain a thick mulch layer. Mulch suppresses seed germination and makes it easier to spot any new suckers that emerge. Refresh it annually.
Consider the source. If wild raspberries on adjacent property keep sending runners into your yard, talk to your neighbor about management. You can't control their plants, but you can stay vigilant on your side of the property line.
Final Recommendation: Your Decision Guide Based on Patch Size
Here's a straightforward way to choose your approach based on what you're dealing with.
Small patch, 1 to 5 plants, no chemicals preferred. Cut the canes, dig out the crown and roots, sift the soil. You'll finish in an afternoon. Monitor for one growing season.
Medium patch, 5 to 20 plants, open to herbicide. Cut canes, apply triclopyr or glyphosate to cut stumps within minutes, then dig out the dead root mass in a few weeks. This combination gives the highest kill rate for moderate-sized patches.
Large patch, 20+ plants or heavily established. Use a brush mower to clear above-ground growth, then follow up with cut-stump herbicide treatment. Plan for follow-up monitoring over two growing seasons. If the patch covers several hundred square feet, get a quote from a professional removal service.
Any size, organic approach, patient timeline. Smother the patch with cardboard and wood chips or clear plastic for 6 to 12 months. This works without chemicals or heavy labor, but it requires patience and full light-blocking coverage.
No matter which method you choose, the key is follow-up. Raspberries are persistent. The ones that come back are the ones you didn't finish the first time.
Stay consistent with monitoring, and you'll have that space cleared for good.
Frequently Asked Questions
How long does it take to remove raspberry bushes?
Manual removal of a small patch takes a few hours. Large patches with follow-up monitoring span one full growing season. Smothering methods take 6 to 12 months.
What is the best time of year to remove raspberry bushes?
Late fall or early spring works best. Fall herbicide applications are especially effective because the plant is storing energy in its roots for winter.
Will mowing over raspberry bushes kill them?
No. Mowing cuts the canes but leaves the root system intact. The plant responds by sending up more suckers, often creating a denser patch than before.
Can I compost raspberry canes after removal?
It's not recommended. Cane fragments with nodes can root in compost. Bag them and dispose of them in yard waste or trash instead.
Do I need to remove every root piece?
Yes, as much as possible. Root fragments left in the soil will produce new plants. Careful sifting after digging out the main root ball is essential for complete removal.
Is glyphosate safe to use near vegetable gardens?
Glyphosate breaks down in soil over time. But drift onto desirable plants causes damage. Use a sponge applicator on cut stumps rather than spraying.
Follow all label directions for safe use near food-growing areas.