Changing your yard’s grass type can revitalize your landscape, but it requires careful planning and execution. This guide walks you through the entire process, from selecting the right grass to preparing your soil and seeding or sodding. By following these steps, you can achieve a beautiful and thriving lawn that perfectly suits your climate and lifestyle, ensuring long-term success and curb appeal.
Tired of a lawn that looks patchy, struggles with the heat, or just doesn’t seem right for your region? Changing the type of grass in your yard might be the solution you’ve been looking for! It’s a rewarding project that can transform your outdoor space into a lush, vibrant, and resilient green carpet. But where do you start? This comprehensive guide will walk you through every step, from choosing the perfect grass variety to ensuring it thrives for years to come.
You’ll learn how to assess your needs, remove your old lawn effectively, prepare your soil for a fresh start, and finally, how to introduce your new grass through seeding or sodding. We’ll cover the best times to undertake this project and provide tips to overcome common challenges. Get ready to say goodbye to your current grass and hello to a beautiful new lawn!
- Understand Your Climate and Goals: Choosing the right grass depends on your region’s temperature, sunlight, and your lawn’s intended use.
- Remove Existing Grass Completely: Successfully replacing your lawn requires eradicating the old grass and any weeds to prevent them from competing with the new seeds.
- Prepare the Soil: Healthy soil is crucial for new grass. This involves testing, amending, and leveling the ground before planting.
- Select the Best Planting Method: Decide whether to use seeds or sod, each with its own pros, cons, and installation requirements.
- Proper Seeding or Sodding Techniques: Follow specific instructions for sowing seeds or laying sod to ensure good germination and establishment.
- Post-Planting Care is Essential: Consistent watering, appropriate mowing, and initial fertilization are vital for the successful establishment of your new grass.
- Be Patient and Persistent: Growing a new lawn takes time and consistent effort. Don’t get discouraged by early challenges.
Step 1: Assess Your Needs and Choose the Right Grass Type
Before you dig up anything, it’s crucial to understand what you want from your new lawn and what your local environment can support. This is the most important step because choosing the wrong grass type is a recipe for disappointment.
Consider Your Climate
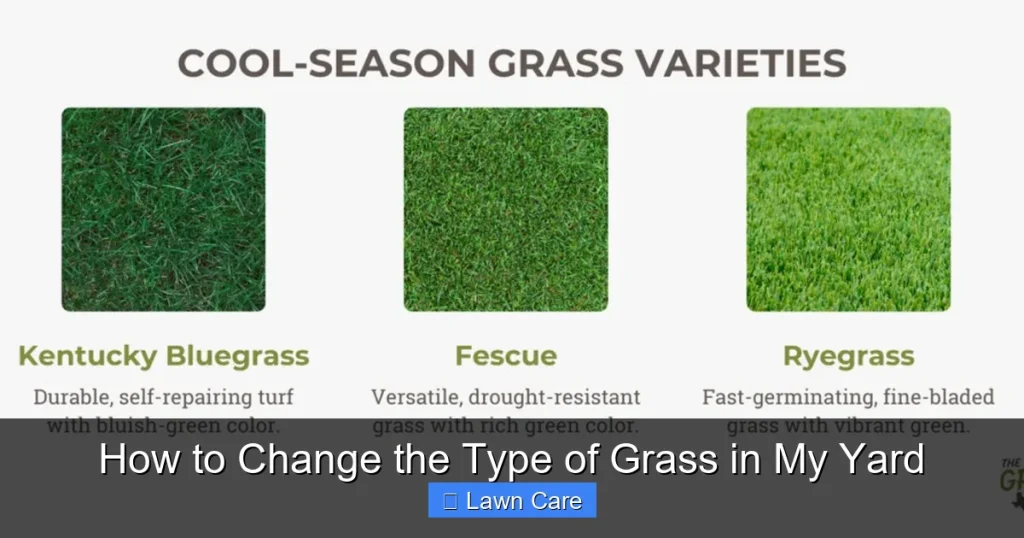
Grass types are broadly categorized into cool-season and warm-season grasses.
- Cool-Season Grasses: These thrive in regions with cold winters and moderate summers. Examples include fescue, bluegrass, and ryegrass. They grow actively in spring and fall and may go dormant in the heat of summer.
- Warm-Season Grasses: These are best suited for areas with hot summers and mild winters. Examples include Bermuda, Zoysia, and St. Augustine grass. They flourish in the heat and go dormant in the winter.
To determine which category your region falls into, consider your average winter lows and summer highs.
Evaluate Your Lawn’s Environment
- Sunlight Exposure: How much direct sunlight does your lawn receive throughout the day? Some grasses, like Fescue or Bermuda, tolerate partial shade, while others, like Kentucky Bluegrass or most warm-season grasses, need full sun to thrive.
- Soil Type and Drainage: Is your soil sandy, clay, or loamy? Does it drain well, or does water tend to stand after rain? Knowing this will help you choose a grass that can tolerate your soil conditions or inform how much amendment you’ll need. You can test your soil’s drainage by digging a hole about 1 foot deep and 1 foot wide, filling it with water, and then seeing how long it takes to drain. If it takes more than 4-6 hours, you have poor drainage. Addressing drainage issues might be necessary if you have frequent standing water.
- Foot Traffic and Use: Will your lawn be a high-traffic area for kids and pets, or is it more for aesthetics? Grasses like Tall Fescue and Bermuda are known for their durability and ability to withstand heavy use. Fine fescues or certain bluegrasses might be better for low-traffic, ornamental lawns.
Research Specific Grass Varieties
Once you have a good idea of your needs, research specific grass varieties that fit your criteria. For example, if you live in the southern US and need a durable, sun-loving grass, Bermuda grass might be a good choice. If you’re in the northern US and want a lawn that stays green most of the year with moderate shade tolerance, consider Tall Fescue. For help with this, you can check out this guide on how to choose the best grass type for your lawn.
Step 2: Remove the Existing Grass and Weeds
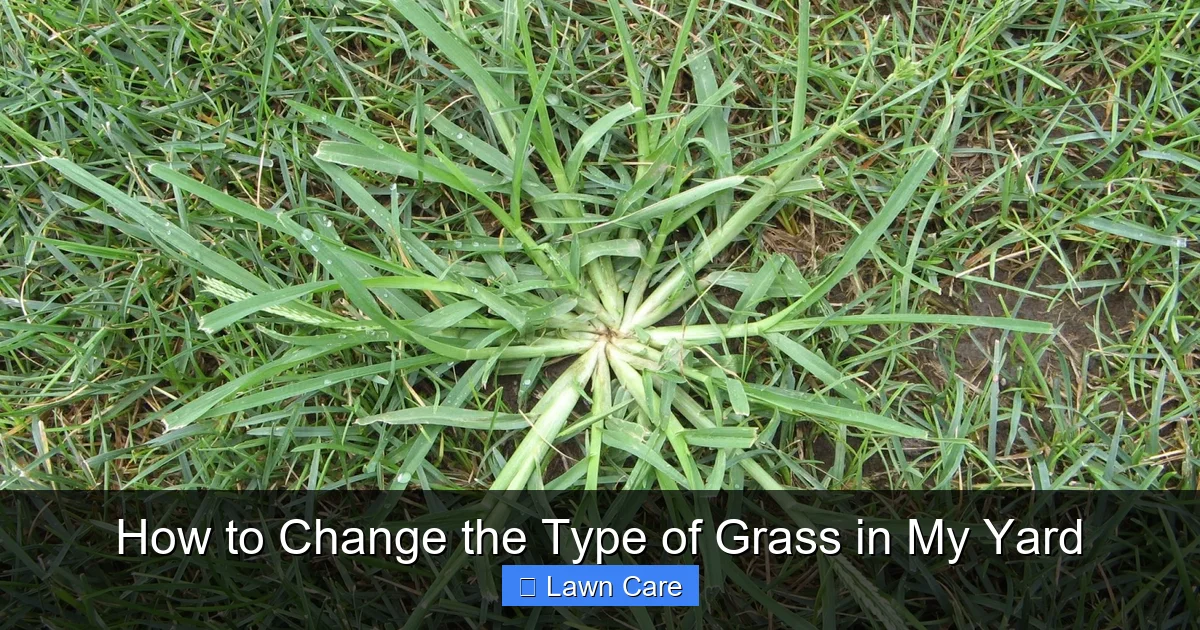
This is arguably the most critical step for a successful lawn renovation. If you don’t completely get rid of the old grass and any weeds, they will compete with your new grass, making it struggle to establish and potentially ruining your efforts. There are several methods for removal.
Method 1: Chemical Killers (Herbicides)
This is often the fastest and most effective method.
- Choose the Right Herbicide: You’ll need a non-selective herbicide, meaning it kills all plants it contacts. Glyphosate-based products are common and effective.
- Apply According to Instructions: Read the product label carefully and follow all safety precautions. Apply on a calm day when no rain is expected for at least 24 hours.
- Wait for Complete Dormancy: You must wait until the existing grass is completely dead and brown. This can take one to two weeks, sometimes longer, depending on the product and weather conditions. You might need a second application for stubborn weeds or grasses. If you’re dealing with tough grasses like Bermuda, you might need to follow specific guides on how to get rid of Bermuda grass in your lawn.
- Remove Dead Grass: Once everything is dead, you can rake it up and dispose of it.
Method 2: Sod Cutter or Tilling
This is a mechanical approach that physically removes the existing turf.
- Rent Equipment: You can rent a sod cutter or a tiller from a local equipment rental store. A sod cutter slices beneath the turf to lift it, while a tiller churns the soil.
- Sod Cutter: Operate the sod cutter according to the manufacturer’s instructions to slice under the grass roots. You can then roll up the sod strips and remove them. This can be hard physical labor.
- Tilling: A tiller will break up the soil and mix in the existing grass. While this removes the top layer of grass, it’s important to note that some grass roots and seeds may remain in the soil. You might need to repeat tilling.
Method 3: Sheet Mulching (Smothering)
This is an organic, no-dig method that takes longer but is excellent for soil health.
- Mow Low: Mow your existing lawn as short as possible.
- Layer Cardboard or Newspaper: Cover the entire area with overlapping layers of plain corrugated cardboard (remove all tape and labels) or several layers of newspaper. This blocks sunlight, killing the grass underneath.
- Add Organic Matter: Cover the cardboard/newspaper with a thick layer (4-6 inches) of compost, shredded leaves, or grass clippings.
- Wait: This method can take anywhere from 3 to 12 months, depending on the thickness of the organic layer and your climate. The grass and weeds will decompose, creating a rich soil bed.
Whichever method you choose, ensure all remnants of the old grass and any pervasive weeds, like clover or those found in how to get rid of clover in grass, are gone before proceeding.
Step 3: Prepare the Soil
Once the old lawn is gone, it’s time to make your soil hospitable to your new grass. This is where you build a foundation for a healthy, thriving lawn.
Test Your Soil
A soil test is invaluable. You can get a kit from a garden center or send a sample to your local cooperative extension office. A test will reveal your soil’s pH level and nutrient deficiencies.
Visual guide about How to Change the Type of Grass in My Yard
Image source: 1.bp.blogspot.com

Visual guide about How to Change the Type of Grass in My Yard
Image source: yardandgardenguru.com
- pH Level: Most grasses prefer a slightly acidic to neutral pH, typically between 6.0 and 7.0. If your pH is too high or too low, grass will struggle to absorb nutrients, even if they are present.
- Nutrient Levels: The test will indicate levels of essential nutrients like nitrogen, phosphorus, and potassium, as well as micronutrients.
Amend the Soil
Based on your soil test results, you’ll need to amend the soil.
- Adjusting pH: If the pH is too low (acidic), you’ll need to add lime. If it’s too high (alkaline), you’ll add sulfur or peat moss. Follow the recommendations from your soil test for precise amounts.
- Improving Structure: If you have clay soil (poor drainage) or sandy soil (poor water retention), incorporate organic matter like compost, well-rotted manure, or peat moss. Aim for a good mix of about 3-4 inches of organic material worked into the top 6-8 inches of soil. This also helps with boosting soil microbes for better overall health.
- Fertilization: If your soil is deficient in nutrients, add a balanced starter fertilizer. Look for one with a higher phosphorus content (the middle number in the N-P-K ratio) to encourage root development.
Rake and Level the Ground
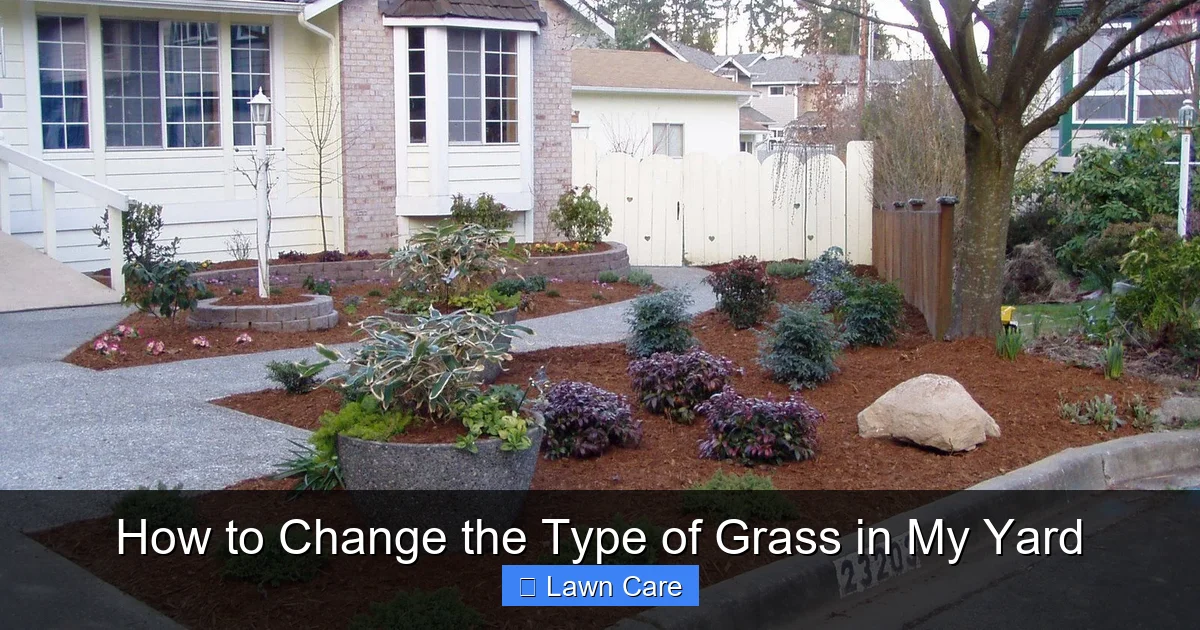
After amending, rake the soil thoroughly to break up any clumps and create a smooth, even surface. Remove any remaining rocks, roots, or debris. The goal is a fine, firm seedbed. You want the surface to be relatively flat to ensure even water distribution and prevent soil erosion. If you have significant grading issues, now is the time to address them, perhaps by filling in low spots or gently sloping areas away from your house.
Step 4: Choose Your Planting Method: Seed or Sod
You have two primary options for introducing your new grass: seed or sod. Each has its advantages and disadvantages.
Seeding
Seeding involves sowing grass seed directly onto the prepared soil. It’s generally more affordable but requires more patience and care during establishment.
Visual guide about How to Change the Type of Grass in My Yard
Image source: i.pinimg.com
- Pros: Lower cost, wider variety of grass types available, allows for better soil integration.
- Cons: Longer establishment time (weeks to months), more susceptible to weeds and pests during early stages, requires consistent moisture to germinate.
Sodding
Sod is pre-grown grass that is harvested in rolls or sections and then laid on your prepared soil. It provides an instant lawn.
- Pros: Instant lawn, helps prevent soil erosion immediately, fewer weed problems initially.
- Cons: Higher cost, limited grass types available locally, requires immediate installation after delivery.
The best method for you depends on your budget, timeline, and willingness to manage the establishment process.
Step 5: Plant Your New Grass
Now comes the exciting part – putting your new grass in the ground!
If You Choose to Seed
Timing is Key
The best time to seed depends on your grass type and climate. For cool-season grasses, fall is ideal, followed by early spring. For warm-season grasses, late spring or early summer, after the last frost, is best.
Seeding Process
- Spread the Seed: Use a broadcast spreader for even distribution. Follow the seeding rate recommended on the seed bag. It’s often beneficial to divide the seed in half and spread one half in one direction and the second half perpendicular to the first for maximum coverage.
- Lightly Rake In: Gently rake the seeded area to ensure good seed-to-soil contact. The seed should be just barely covered with soil, about 1/8 to 1/4 inch deep.
- Roll the Area: For best results, lightly roll the seeded area with a lawn roller to press the seeds into the soil and eliminate air pockets.
- Water Gently: Water the area lightly but frequently. The goal is to keep the top layer of soil consistently moist until germination occurs. Avoid heavy watering that can wash seeds away.
If You Choose Sod
Timing is Crucial
Sod should be laid as soon as possible after it’s harvested, ideally within 24 hours. Ensure your soil is prepared and ready before the sod arrives.
Sodding Process
- Prepare the Soil: Make sure the soil is moist but not soggy just before laying sod.
- Lay the Sod: Start at one edge of the lawn and lay the sod strips end to end, staggering the seams like brickwork. Ensure the edges are butted up tightly against each other with no gaps or overlaps.
- Press Down: Walk on the sod or use a roller to press it firmly into the soil, ensuring good contact. This is crucial for root establishment.
- Water Immediately: Water the newly laid sod thoroughly until the soil underneath is moist.
Step 6: Post-Planting Care and Establishment
The work isn’t over once the seed is down or the sod is laid. The establishment period is critical for your new lawn’s long-term health.
Watering
This is paramount. For newly seeded lawns, keep the top inch of soil consistently moist. This might mean watering multiple times a day with light sprinklings. As the grass grows, you can gradually water less frequently but more deeply to encourage deep root growth. For sod, water daily for the first week or two, then gradually reduce frequency.
Mowing
Wait until your new grass reaches about one-third taller than its ideal mowing height before the first mow. Never remove more than one-third of the grass blade at a time. Use a sharp mower blade to make clean cuts and avoid tearing the grass.
Fertilizing
If you used a starter fertilizer during soil preparation, you might not need to fertilize again for several weeks. If you didn’t, or if your soil test indicated deficiencies, apply a balanced fertilizer a few weeks after germination or sod establishment, following the product’s instructions.
Weed Control
Your new lawn will be vulnerable to weeds. Hand-pulling is the safest option initially. Wait until the grass is well-established (usually 6-8 weeks) before considering herbicides. Some weeds can be tricky; for instance, if you’re worried about persistent issues, you might want to research how to get rid of weeds in grass before starting.
Troubleshooting Common Issues
* Patchy Germination (Seed): This can be due to uneven watering, poor seed-to-soil contact, or insufficient seed density. Ensure consistent moisture and consider a second seeding in thin areas once the first has germinated.
* Sod Not Rooting: This is usually caused by poor soil contact or lack of water. Make sure the sod is pressed firmly into moist soil.
* Weeds Appearing: It’s normal for some weeds to emerge. Consistent mowing and proper watering will help your new grass outcompete them. Identify common weeds and tackle them proactively.
* Dormancy: If your new grass appears to be dying, check if it’s just going dormant due to heat or drought. Ensure it’s getting adequate water when needed.
Conclusion
Changing the type of grass in your yard is a significant undertaking, but the rewards of a healthy, beautiful lawn that perfectly suits your environment are well worth the effort. By carefully selecting your grass type, thoroughly removing the old lawn, preparing your soil meticulously, and providing diligent post-planting care, you set the stage for long-term success. Be patient, observe your lawn’s needs, and enjoy the transformation of your outdoor space into a lush green sanctuary.