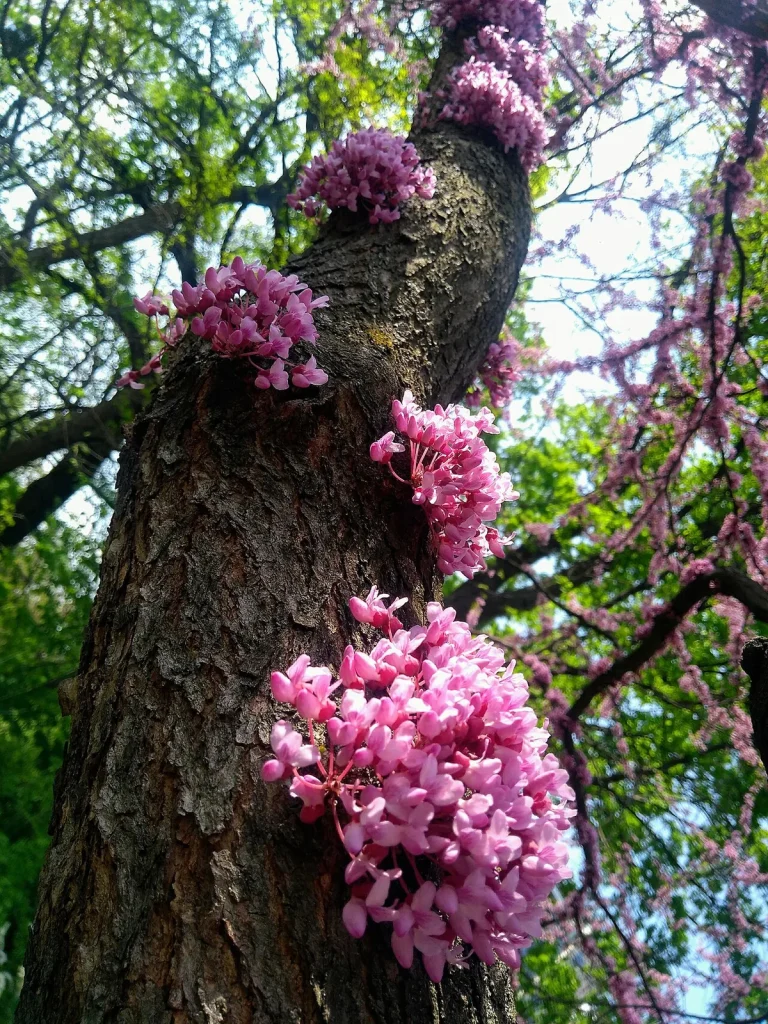
Can you start a redbud tree from a cutting? Yes, you absolutely can, but it's not as simple as sticking a branch in the ground and hoping for the best. Redbuds (Cercis canadensis) are moderately difficult to root from cuttings, and your success depends on a handful of specific conditions lining up.
If you get the timing, cutting type, and environment right, you can clone your favorite redbud for free.
Research from university extension programs and woody plant propagation literature suggests softwood cuttings taken at the right stage, treated with rooting hormone, and kept under controlled humidity can root at rates of 30 to 60 percent in home setups. That's not guaranteed, but it's far from hopeless. Let's walk through exactly what works, what doesn't, and how to give yourself the best shot.
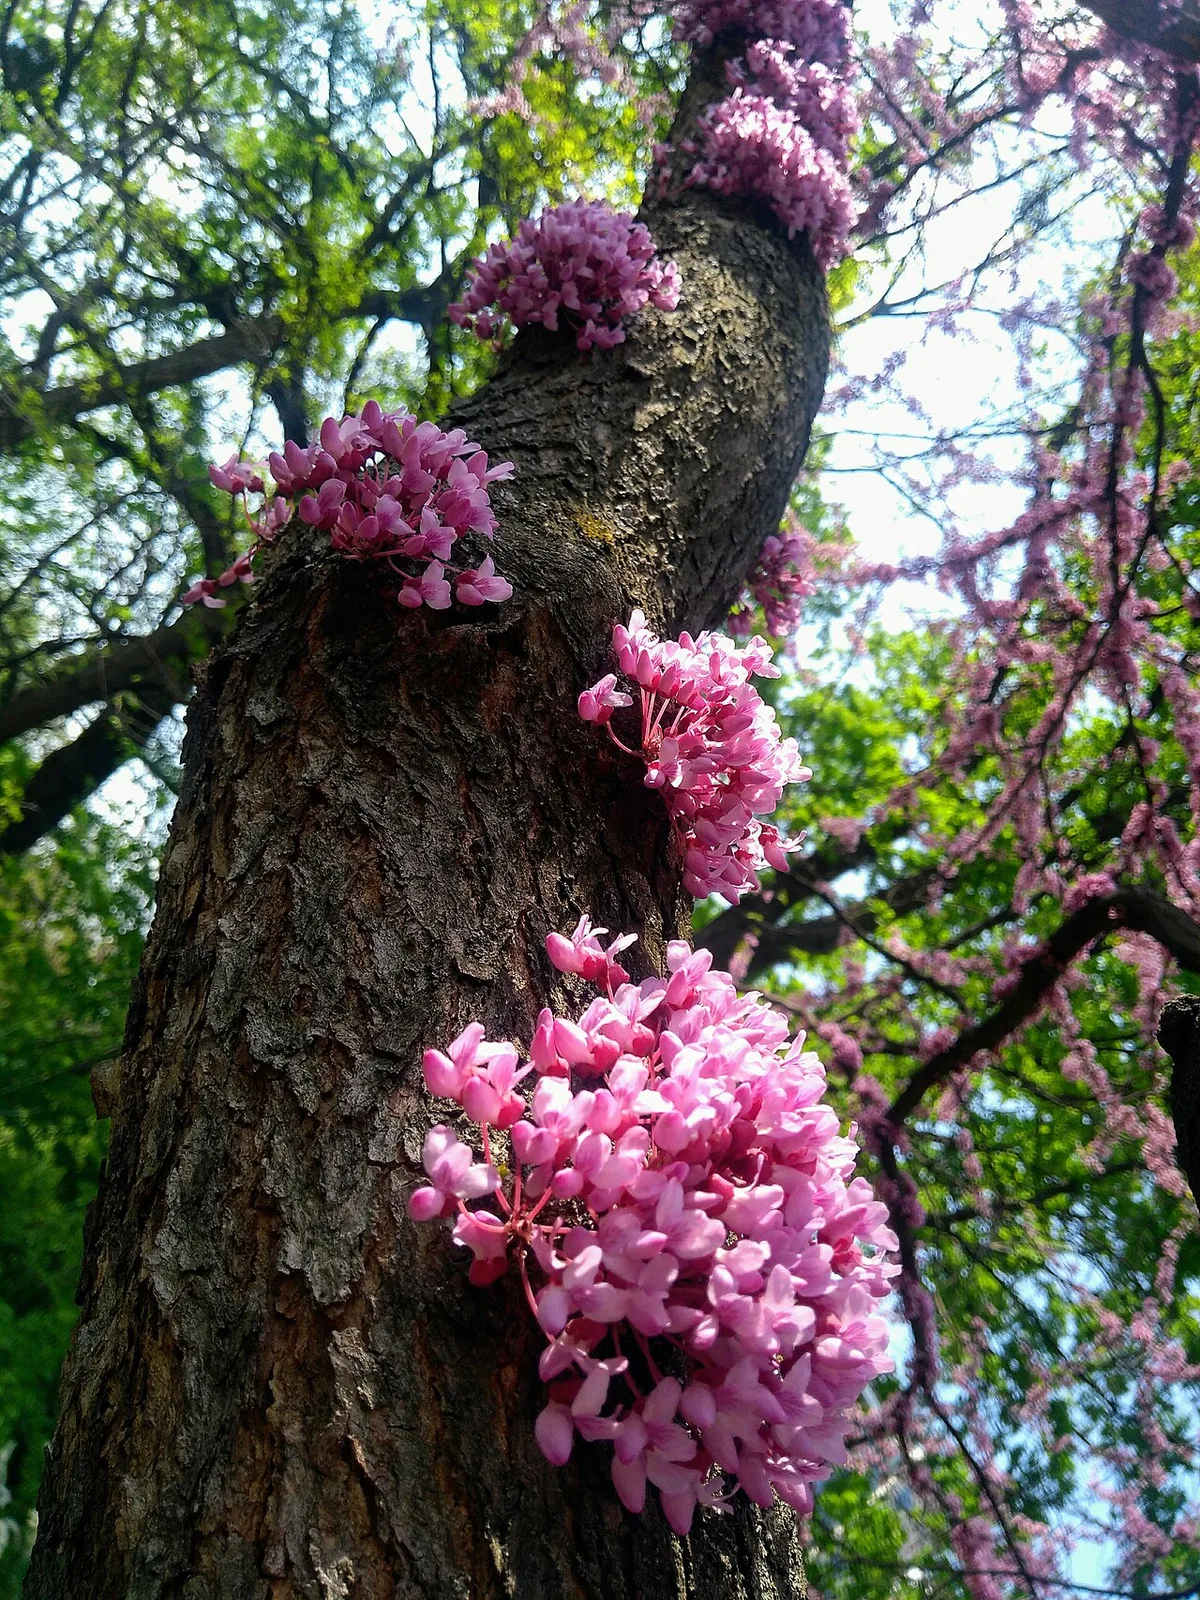
Image source: Wikimedia Commons / K. Chaikovska (Kate Chkv) (CC BY)
Quick Answer
Yes, you can start a redbud tree from a cutting. Softwood cuttings offer the best success rate. You need rooting hormone, a well-draining medium, and high humidity.
Expect a 30 to 60 percent success rate at home. Professional nurseries use grafting for named cultivars more reliably.
The Short Answer: Yes, But It's Not Easy
Here's the honest truth. Redbuds sit in that frustrating middle ground of woody plant propagation. They're not as easy as willows, which practically root themselves in a glass of water.
But they're not impossible either, like trying to root an oak.
The key is understanding that not all cuttings are created equal. The type of cutting you take, the time of year, and how you manage the rooting environment will make or break you. Most home gardeners who fail do so because they took the wrong type of cutting at the wrong time, or they let the cutting rot before it had a chance to root.
If you're willing to follow a specific process and accept that not every cutting will survive, propagating redbud from cuttings is a rewarding skill to learn. You'll end up with a genetic clone of the parent tree, which matters a lot if you're trying to preserve a specific cultivar like the purple-leaf 'Forest Pansy' or the weeping 'Lavender Twist.'
Why Redbuds Are Tricky to Root from Cuttings
Redbuds don't produce adventitious roots as readily as some other species. Adventitious roots are the type that form from stem tissue rather than from an existing root system. Some plants, like willows, have pre-formed root primordia already embedded in their stems.
Redbuds don't have that advantage.
The species also has a strong apical dominance tendency, meaning the growing tip suppresses root formation below it. You're essentially fighting the plant's natural programming when you try to coax roots from a stem cutting.
There's also the moisture problem. Redbud stems are soft and succulent during the growth season. They lose water fast.
Without roots to replace lost moisture, the cutting wilts and dies before rooting can occur. This is why humidity control isn't optional. It's the single most critical factor in whether your cutting lives or dies.
Fungal infection is the other big killer. Redbud cuttings are highly susceptible to botrytis and other rots in humid conditions. You need high humidity to prevent wilting, but too much moisture on the leaves and stem invites disease.
That's the balancing act you're signing up for.
What Actually Determines Success: The 4 Variables That Matter Most
Forget the generic propagation advice you've read online. With redbuds, four specific variables determine whether you'll succeed or end up with a handful of dead sticks.
1. Cutting type and timing. This is the biggest one. You need to match the cutting type to the growth stage of the parent tree.
Get this wrong and nothing else matters.
2. Rooting hormone concentration. Redbuds need synthetic auxins to trigger root formation. The wrong concentration, or skipping it entirely, drops your success rate dramatically.
3. Humidity and moisture management. The cutting must stay hydrated but not waterlogged. The medium must drain well while the air stays moist.
4. Temperature. Bottom heat at the right temperature accelerates root initiation. Air temperature that's too high pushes the cutting into stress mode.
Nail all four and you're in the game. Miss one and you're probably starting over.
Softwood vs. Semi-Hardwood vs. Hardwood Cuttings — Which Should You Use?
This is where most people go wrong. They grab a random branch in July and wonder why nothing happens. The cutting type dictates your entire process, so let's break down each option.
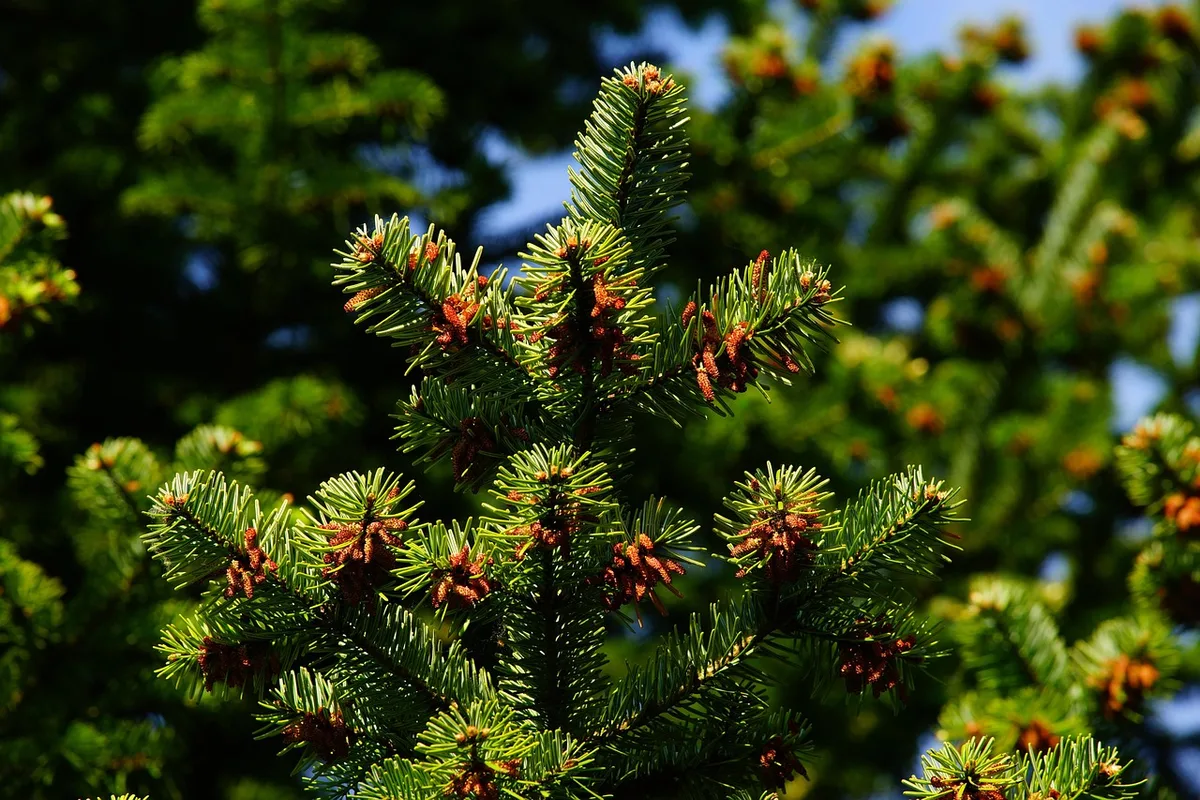
Image source: Pixabay / Kapa65 (Pixabay Content License)
Softwood Cuttings (Best Option)
Softwood cuttings are taken from new, current-season growth when the stems are still green and flexible. The telltale sign is that the stem bends and snaps cleanly rather than splintering or bending back. In most of the Eastern U.S., this window falls between late May and mid-June, depending on your zone.
This is the cutting type with the highest success rate for redbuds. The cells are actively dividing, which means they're primed to differentiate into root tissue. Research from the International Plant Propagators' Society indicates softwood cuttings of Cercis canadensis respond well to IBA treatments in the 1,000 to 3,000 ppm range.
The downside is the narrow window. You've got maybe three to four weeks when the wood is at the right stage. Too early and the cutting is so soft it wilts within hours.
Too late and it's already lignifying, which means the cells are hardening off and losing their ability to form roots.
Semi-Hardwood Cuttings (Second Choice)
Semi-hardwood cuttings come from growth that has started to mature. The base of the stem is beginning to harden while the tip is still somewhat soft. This stage typically runs from mid-July through August for redbuds.
Success rates are lower than softwood, generally in the 20 to 40 percent range under good conditions. The advantage is a slightly wider collection window and cuttings that are a bit more forgiving of minor humidity lapses. You'll want to bump the IBA concentration up to 2,000 to 5,000 ppm for semi-hardwood material.
Hardwood Cuttings (Not Recommended for Redbuds)
Hardwood cuttings are taken from dormant, fully mature wood in late fall or winter. This method works well for species like forsythia, grape, and elderberry. For redbuds, the success rate is poor, typically under 20 percent even with heavy IBA treatments at 3,000 to 8,000 ppm.
Most propagation guides for Cercis canadensis recommend against hardwood cuttings for this reason. If you're determined to try, you'll need a cold frame or heated greenhouse and a lot of patience. Roots, if they form at all, may not appear until the following spring.
Cutting Type Comparison
| Factor | Softwood | Semi-Hardwood | Hardwood |
|---|---|---|---|
| Best timing | Late May to mid-June | Mid-July to August | Late fall to winter |
| Success rate | 30–60% | 20–40% | Under 20% |
| IBA concentration | 1,000–3,000 ppm | 2,000–5,000 ppm | 3,000–8,000 ppm |
| Humidity sensitivity | Very high | Moderate | Low |
| Time to root | 4–8 weeks | 6–10 weeks | 3–6 months |
| Difficulty level | Moderate | Moderate to hard | Hard |
Step-by-Step: How to Propagate a Redbud from a Softwood Cutting
This is the process that gives you the best odds. Follow each step carefully. There's no room for improvisation here.
What You'll Need
- Sharp bypass prunals or a sterilized knife
- IBA rooting hormone powder or liquid (1,000, 3,000 ppm)
- Rooting medium: 50/50 peat and perlite, or perlite and vermiculite
- 4-inch pots or a propagation tray with drainage holes
- Clear humidity dome or vented plastic bag
- Heat mat set to 70, 75°F (21, 24°C)
- Spray bottle for misting
- Rubbing alcohol or 10% bleach solution for sterilizing tools
The Process
Step 1: Time it right. Check the parent tree daily starting in late May. You're looking for new growth that's firm enough to hold its shape but still snaps cleanly when bent. The leaves should be fully expanded but not yet darkening and thickening.
Step 2: Take cuttings early in the morning. The parent tree is most hydrated before the sun hits it. Select healthy, disease-free branches from the current season's growth. Avoid any branch with signs of insect damage, leaf spots, or dieback.
Step 3: Cut 4 to 6 inches. Make a clean cut just below a node at a 45-degree angle. The node is where roots are most likely to initiate. Remove the lower leaves, leaving two to four leaves at the top.
If the remaining leaves are large, cut them in half to reduce water loss.
Step 4: Apply rooting hormone immediately. Dip the cut end about three-quarters of an inch into the IBA powder or solution. Tap off excess powder. If using liquid IBA, dip for five seconds at the recommended concentration.
Don't contaminate your main hormone supply by dipping dirty cuttings into it. Pour a small amount into a separate container instead.
Step 5: Insert into pre-moistened medium. Make a hole in the medium with a pencil or dowel first so you don't scrape off the rooting hormone when you push the cutting in. Insert the cutting so at least one node is buried. Firm the medium gently around the base.
Step 6: Set up the environment. Place the pots on the heat mat. Cover with the humidity dome. Set it under bright, indirect light.
Never put cuttings in direct sun. They'll cook under the dome.
Step 7: Monitor daily. Check the humidity level inside the dome. You want condensation on the interior surface but not pooling water on the leaves. Mist the cuttings if the humidity drops.
Remove any cutting that shows signs of rot immediately. One rotting cutting can spread fungal spores to its neighbors.
Step 8: Check for roots after four weeks. Give the cutting a very gentle tug. If you feel resistance, roots have started forming. Don't pull hard enough to damage new root tips.
If there's no resistance, leave it alone and check again in a week.
Step 9: Harden off gradually. Once roots are one to two inches long, start venting the dome. Open it a little more each day over one to two weeks. This acclimates the cutting to normal room humidity.
Step 10: Transplant carefully. Move the rooted cutting into a 4-inch pot with standard potting mix. Water thoroughly and keep it in a sheltered spot out of direct sun for the first week. After that, treat it like a young nursery tree.
Rooting Hormone for Redbuds: What Concentration Works and Why It Matters
Skipping rooting hormone is the fastest way to fail with redbud cuttings. The science here is straightforward. Redbuds don't produce enough natural auxin in the cutting stem to reliably trigger root formation on their own.
You need to supplement with a synthetic auxin, and the concentration matters.
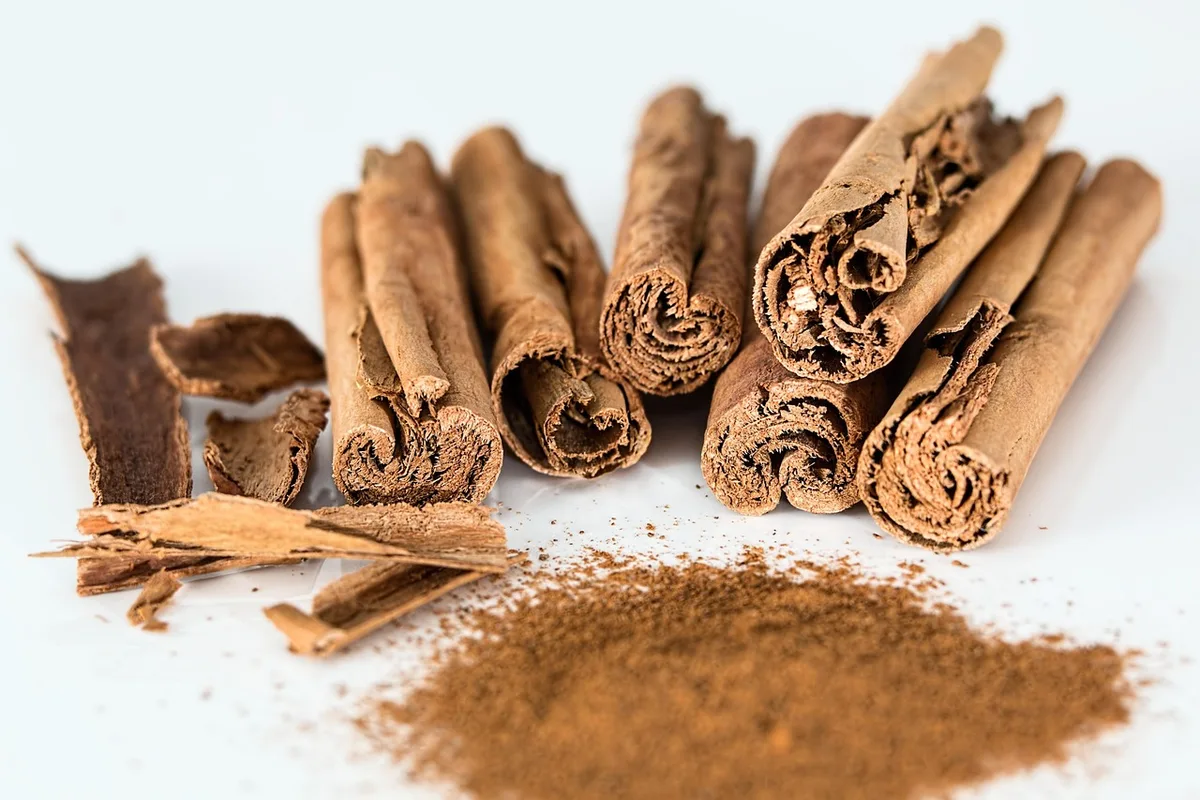
Image source: Pixabay / stevepb (Pixabay Content License)
IBA: The Gold Standard
Indole-3-butyric acid (IBA) is the most widely used auxin for woody plant propagation. It's effective, stable, and available in both powder and liquid forms. For redbud softwood cuttings, the sweet spot is 1,000 to 3,000 ppm.
Powder formulations are easier for home gardeners. The typical over-the-counter rooting powder contains IBA at around 1,000 to 3,000 ppm and works fine for redbuds. Liquid formulations give you more precise control over concentration but require mixing.
Concentration by Cutting Type
| Cutting Type | IBA (ppm) | Application Method |
|---|---|---|
| Softwood | 1,000–3,000 | 5-second liquid dip or powder dip |
| Semi-hardwood | 2,000–5,000 | 10-second liquid dip or powder dip |
| Hardwood | 3,000–8,000 | Quick dip to 1-minute soak |
What About Natural Alternatives?
Willow water, honey, and cinnamon are popular in online gardening forums. Willow water does contain natural auxins, but the concentration is inconsistent and far below what redbuds need. Honey and cinnamon have mild antifungal properties but no rooting hormones at all.
They might help with easy-to-root species. For redbuds, they won't give you a meaningful advantage over plain water. If you're serious about success, use a proper IBA product.
A small container costs five to fifteen dollars and lasts for years at the home-gardener scale.
The Rooting Environment: Humidity, Heat, and Light Done Right
This is where most cuttings die. You can take a perfect cutting, treat it with the right hormone, and still lose it because the environment wasn't dialed in. Let's get each element right.
Image source: Pixabay / JamesDeMers (Pixabay Content License)
Humidity: The Non-Negotiable Factor
Redbud softwood cuttings need 80 to 95 percent relative humidity for the entire rooting period. Without it, the cutting transpires water faster than it can absorb it through the bare stem. The leaves wilt.
The cambium desiccates. The cutting dies.
A clear humidity dome or a propagation tray with a fitted lid handles this well. If you're using a plastic bag, leave one corner open for slight air exchange. Stagnant, saturated air invites botrytis.
You want moist but moving air.
Mist the interior of the dome once or twice daily if condensation drops. Use distilled or tap water, not well water that might carry fungal spores. Keep the mist fine.
Large droplets sitting on leaves overnight are an open invitation for rot.
Bottom Heat: The Root Trigger
Root initiation in redbud cuttings is strongly temperature-dependent. The rooting medium should be kept at 70 to 75°F. This is warmer than typical room temperature, which is why a heat mat is standard equipment for serious propagation.
Bottom heat works because it stimulates metabolic activity at the cut base while keeping the aerial portion of the cutting cooler. This differential encourages the plant to push roots rather than new top growth. Without bottom heat, rooting is slower and less reliable.
Don't use a heating pad designed for human use. Those aren't built for constant moisture exposure and can be a fire hazard. A propagation heat mat with a thermostat is the right tool.
They run about twenty to forty dollars and last for years.
Light: Bright but Never Direct
Cuttings need light for photosynthesis, but they can't handle direct sun. The leaves are functioning, but without roots to supply water, any excess heat from direct light accelerates wilting.
Place your propagation setup in a spot that gets bright, indirect light. A north-facing windowsill works. So does a spot under grow lights set to twelve to sixteen hours per day.
If you're using fluorescent grow lights, keep them two to three inches above the dome.
Too little light and the cutting doesn't produce the carbohydrates it needs to build roots. Too much and it overheats. Aim for roughly 100 to 300 foot-candles.
That's roughly the brightness of a well-lit office, not a sunny patio.
Air Temperature
Ideally, keep the air around the cuttings at 65 to 75°F. If your home runs warmer, the dome helps buffer temperature swings. Just don't put the setup near a heating vent or an air conditioning return.
Rapid temperature fluctuations stress the cuttings and slow root development.