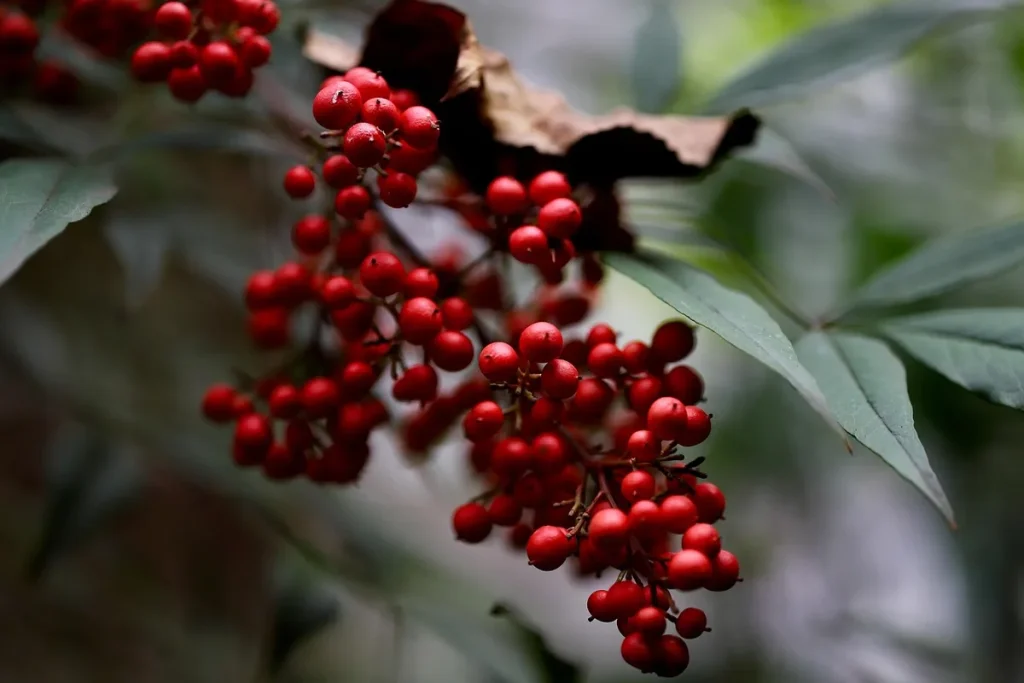
You walk outside one morning and your nandinas look terrible. Brown leaves, crispy tips, maybe bare canes sticking up like dead sticks. It's alarming, especially if those shrubs have been thriving for years.
But here's the thing: nandinas are tougher than they look, and what appears to be death is often something far less permanent.
The most common reasons nandinas look dead are cold damage, drought stress, root rot, or simple seasonal leaf drop. In our research, the majority of cases turn out to be cosmetic damage that the plant recovers from on its own. The key is knowing how to tell the difference between a shrub that's genuinely gone and one that's just going through a rough patch.
Let's walk through exactly how to figure out what's happening with yours.
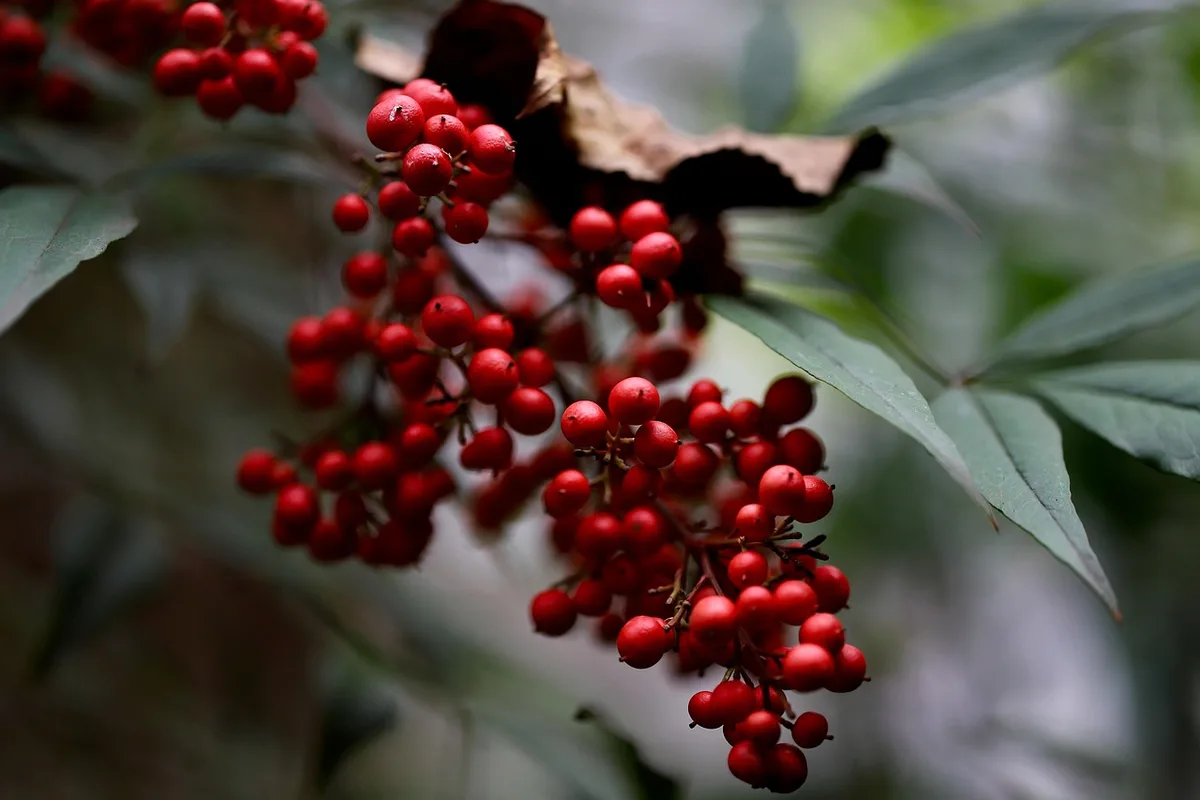
Image source: Pixabay / Nennieinszweidrei (Pixabay Content License)
Quick Answer
Nandinas often look dead after cold snaps, drought, or overwatering, but most recover. Scratch the canes with your fingernail. Green underneath means alive.
Brown and dry means that cane is dead. Check the base for new shoots. If you see fresh growth, the root system is healthy and the plant will likely bounce back within 4 to 8 weeks.
The Quick Scratch Test: Is Your Nandina Alive or Gone?
This is the single fastest way to diagnose your nandina, and it takes about ten seconds. Grab your fingernail or a pocket knife and scratch the outer bark on one of the canes near the top where the browning is worst.
If you see green tissue underneath, that cane is still alive. The plant is stressed but not dead. If the tissue is brown, dry, and brittle all the way through, move down and scratch a lower section.
Work your way down the cane toward the base. You're looking for any point where green shows up.
Here's what the results tell you:
- Green near the top: The plant is alive and likely recovering. Give it time.
- Green only at the base: The upper canes died back, but the root system is healthy. It will send up new shoots.
- Brown all the way to the ground: Check multiple canes. If every cane is brown to the soil line, the plant may be dead. But wait a few weeks before you dig it out. Nandinas can surprise you.
Also look at the base of the plant for new shoots emerging from the soil. Even if every above-ground cane looks dead, fresh basal growth means the roots are fine. The plant is essentially starting over from the ground up.
Image source: Pixabay / analogicus (Pixabay Content License)
What Season Is It? Why Timing Changes Everything
The time of year you're noticing the damage matters more than most people realize. Nandinas behave differently across seasons, and what looks like a death sentence in February might be completely normal.
Late winter and early spring are when nandinas look their worst in colder zones. If you're in USDA Hardiness Zone 6 or the colder edge of Zone 7, your nandinas may lose leaves and show significant browning after a hard freeze. This is especially true for varieties like 'Firepower' and 'Gulfstream' that are evergreen in milder climates but semi-evergreen where temperatures regularly drop below 10°F.
The plant sheds foliage to conserve energy. It's not dying. It's protecting itself.
Summer browning points to a different set of problems. If your nandinas looked fine through spring but started browning in July or August, think drought stress, heat damage, or root rot from overwatering during humid spells. Nandinas are drought-tolerant once established, but newly planted shrubs and container-grown nandinas need consistent moisture during their first two growing seasons.
Fall color change is normal. Many nandina varieties turn red, bronze, or deep purple as temperatures drop. This isn't a sign of decline.
It's the plant producing anthocyanin pigments in response to cooler weather. The leaves may drop partially, and that's fine too.
The bottom line: if your nandinas look dead right after the coldest part of winter, don't panic. Wait until mid to late spring before making any decisions. That's when you'll know what's truly coming back.
Cold Damage and Winter Burn: The Most Common Culprit
If you're in Zone 6 or 7 and your nandinas took a beating this past winter, cold damage is the most likely explanation. Nandina domestica is rated hardy to about Zone 6, but that rating assumes average winter conditions. A sudden polar vortex, a late hard freeze after a warm spell, or sustained temperatures below 0°F can push even established plants past their limit.
Cold damage shows up in a few predictable ways:
- Leaf scorch: The outer edges of leaves turn brown and crispy while the inner leaf stays green. This happens when cold wind desiccates foliage faster than the frozen roots can replace lost moisture.
- Top dieback: The upper portions of the canes die while the lower sections and base survive. You'll see bare, brown sticks at the top of an otherwise healthy-looking plant.
- Total leaf drop: In severe cold events, nandinas drop all their leaves. The canes may still be alive even without a single leaf on them.
The severity depends on the variety. 'Nana' and 'Compacta' types tend to handle cold better than the taller domestica varieties. Newer cultivars like 'Obsession' and 'Flirt' were bred for improved cold tolerance and hold their foliage better in Zone 6.
Here's the good news: cold-damaged nandinas almost always regenerate from the base. Even if every cane looks dead above ground, the root system is insulated by soil and snow cover. Once soil temperatures warm in spring, new shoots emerge from the crown.
This can take 4 to 8 weeks into the growing season, so patience is critical.
What to do about cold damage:
- Don't prune immediately. Wait until you see where new growth emerges.
- Once you can identify dead wood (no green under the bark, no new buds), cut it back to just above live growth.
- Apply a light layer of mulch around the base to regulate soil temperature.
- Avoid fertilizing stressed plants. Wait until you see active new growth.
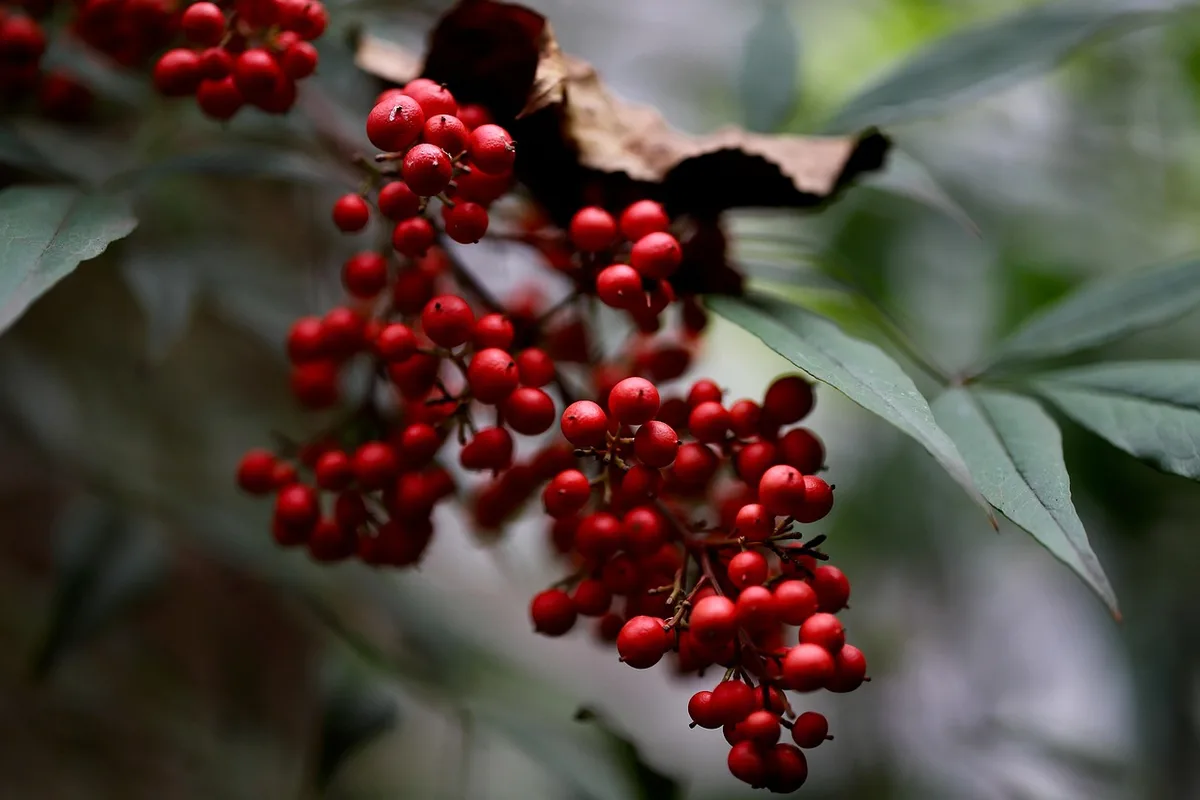
Image source: Pixabay / Nennieinszweidrei (Pixabay Content License)
Root Rot and Overwatering: When Too Much Love Kills
On the opposite end of the spectrum, too much water is just as deadly as too little. Root rot in nandinas is caused by Phytophthora and related soil-borne pathogens that thrive in waterlogged, poorly drained soil. It's one of the most common killers of nandinas in heavy clay landscapes and over-irrigated beds.
The tricky part is that root rot can look like drought stress from above. The leaves brown, wilt, and drop because the damaged roots can't take up water. Many gardeners see the browning and water more, which makes the problem worse.
Here's how to tell if root rot is the issue:
- Check the soil moisture. Stick your finger 3 to 4 inches into the soil near the base. If it's soggy or smells sour, you've found the problem.
- Examine the roots. Gently dig around the edge of the root zone. Healthy roots are white or light tan and firm. Rotted roots are dark brown or black, mushy, and may fall apart when touched. They often have a foul smell.
- Look at the pattern. Root rot typically affects the whole plant uniformly, not just the top or outer edges. The entire shrub declines at once rather than showing the top-down dieback pattern of cold damage.
- Review your watering habits. Nandinas need about 1 inch of water per week during establishment. After that, they're quite drought-tolerant. If you're running sprinklers on them daily or they're in a low spot that stays wet, root rot is a real possibility.
If you catch root rot early:
- Stop watering immediately and let the soil dry out.
- Improve drainage by amending the surrounding soil with compost or relocating the plant to a raised area.
- Remove severely rotted roots with clean pruners.
- Apply a fungicide labeled for Phytophthora if the infection is caught in early stages, though advanced cases are rarely salvageable.
If more than half the root system is gone, the plant likely won't recover. At that point, removal and replacement in a better-drained location is the practical move.

Image source: Pixabay / adege (Pixabay Content License)
Drought Stress and Heat Damage: The Other Extreme
Nandinas are drought-tolerant once established, but that doesn't mean they're immune to water stress. If your shrubs went through a prolonged dry spell, especially during their first or second year in the ground, drought could be why they're looking rough.
Drought stress shows up differently than cold damage. The browning usually starts at the leaf tips and margins, working inward. Leaves may curl or cup before they drop.
Unlike root rot, the soil will be dry, not soggy. The canes themselves often stay pliable and green underneath the bark even when the foliage looks scorched.
Heat damage is closely related. In zones 8 and 9, intense summer sun can scorch nandina leaves, particularly on plants in full sun with reflected heat from pavement or walls. Varieties with red or bronze foliage, like 'Firepower', tend to show heat stress more than green-leafed types because the darker pigments absorb more thermal energy.
How to tell drought stress apart from other problems:
- Soil is dry several inches down, not wet.
- Browning follows a pattern: worst on the sun-facing side and top of the plant.
- Canes are still flexible and green under the bark.
- The decline happened gradually over weeks, not overnight after a freeze.
The fix is straightforward. Deep water the root zone slowly, letting moisture penetrate 8 to 10 inches down. A soaker hose running for 30 to 45 minutes does the job better than a quick blast from a wand.
Mulch 2 to 3 inches deep around the base to retain moisture and cool the roots. Avoid overhead watering during the heat of the day, as wet foliage in direct sun can make scorching worse.
Established nandinas usually bounce back from drought stress within a few weeks of consistent watering. Newly planted ones may lose more foliage but should push out new growth from the base if the roots survived.
Nandina Foliage Disease: The One You Can't Fix
This is the diagnosis nobody wants to hear. Nandina foliage disease, or NFD, is a viral infection caused by Nandina mosaic virus and related pathogens. It was first identified in the early 2000s and has become increasingly common in landscape plantings across the Southeast and Mid-Atlantic states.
NFD is a progressive, incurable disease. Once a plant is infected, it will decline over 1 to 3 years and eventually die. There is no treatment.
The symptoms are distinctive once you know what to look for:
- Bright red or pink new growth that looks almost ornamental but is actually abnormal. Healthy nandina new growth is light green or bronze, not vivid red.
- Stunted leaves that are smaller than normal and may be distorted or cupped.
- Witches' broom growth, where multiple weak shoots cluster together at the cane tips.
- Gradual decline over multiple seasons, with the plant producing fewer and smaller leaves each year.
NFD spreads through infected propagation material, meaning many plants sold at nurseries may already carry the virus. It can also spread via pruning tools. If you suspect NFD, sanitize your pruners with a 10% bleach solution or 70% isopropyl alcohol before working on other plants.
Unfortunately, the only responsible course of action with a confirmed NFD infection is removal. Do not compost the plant material. Bag it and dispose of it with household waste to reduce the chance of spreading the virus to nearby nandinas.
If you're replacing nandinas in an area where NFD was present, choose virus-indexed cultivars from reputable growers. Varieties like 'Obsession', 'Flirt', and 'Lemon Lime' have been bred with improved disease resistance, though no variety is fully immune.
Transplant Shock and Recent Changes
Did you move or plant your nandinas within the last year? Transplant shock is a very common reason newly relocated nandinas look dead or dying. The plant's root system was disturbed during the move, and it simply can't take up water and nutrients fast enough to support the existing foliage.
Transplant shock looks like sudden browning, leaf drop, and wilting, often within days or weeks of planting. The canes may still be alive, but the plant is shedding leaves to reduce water demand while the roots recover.
Other recent changes can trigger similar stress responses:
- Construction or grading near the root zone that severed roots or changed drainage patterns.
- Herbicide drift from lawn treatments, which causes distorted, cupped, or yellowed growth.
- Soil compaction from foot traffic or equipment, which suffocates roots.
- Sudden exposure change, like removing a nearby tree that previously provided shade.
The best approach with transplant shock is patience and consistent care. Water deeply once or twice per week, depending on rainfall. Mulch around the base but keep it a few inches away from the canes to prevent rot.
Do not fertilize a stressed transplant. Wait until you see active new growth before feeding.
Most nandinas recover from transplant shock within one growing season. If the plant was healthy when installed and you're providing adequate water, give it until the following spring before writing it off.
Step-by-Step: How to Diagnose What's Wrong With Your Nandina
Now let's put it all together into a clear diagnostic workflow. Work through these steps in order. Each one narrows down the cause.
Step 1: Check the season and recent weather.
Was there a hard freeze in the last few weeks? A heat wave? An unusually dry spell?
The timing of the damage is your biggest clue.
Step 2: Do the scratch test.
Scratch canes from top to bottom. Note where green tissue appears and where it doesn't. This tells you how much of the plant is still alive.
Step 3: Inspect the base.
Look for new shoots emerging from the soil line. Even a few small shoots mean the root system is functional.
Step 4: Check soil moisture.
Dig down 3 to 4 inches near the root zone. Is it bone dry, soggy, or somewhere in between? This immediately rules out or confirms water-related issues.
Step 5: Examine the roots.
If soil is wet and the plant is declining, gently dig at the edge of the root ball. Look for dark, mushy, foul-smelling roots. That's root rot.
Step 6: Review recent changes.
Any construction, transplanting, chemical applications, or landscape modifications in the last 6 to 12 months? These are often the hidden cause.
Step 7: Look for disease signs.
Check for abnormally red new growth, stunted leaves, or clustered weak shoots. These point to NFD.
Step 8: Assess the pattern.
Is the damage uniform across the plant, concentrated at the top, or worst on one side? Top-down dieback suggests cold damage. Uniform decline suggests root rot or disease.
One-sided damage suggests environmental stress like reflected heat or herbicide exposure.
Write down what you find at each step. The pattern of evidence will point you to the right answer far more reliably than guessing based on appearance alone.
What to Do Based on What You Find
Once you've worked through the diagnostic steps, here's how to respond to each likely outcome.
If it's cold damage:
Wait. Don't prune until mid-spring when new growth shows you exactly what's alive and what's not. Cut dead wood back to the nearest live bud or green tissue.
Mulch the base. The plant will likely fill in on its own.
If it's drought stress:
Start deep watering on a regular schedule. Apply 1 inch of water per week if rainfall is insufficient. Mulch heavily.
Trim only the dead foliage once the plant shows signs of recovery.
If it's root rot:
Stop watering. Improve drainage immediately. If the infection is minor, let the soil dry and see if the plant stabilizes.
If more than half the roots are compromised, remove the plant. Replant in a better-drained location with a fresh nandina or an alternative shrub.
If it's NFD:
Remove the plant. Dispose of it in the trash, not compost. Replace with a virus-indexed cultivar from a reputable nursery.
Sanitize all tools used on the infected plant.
If it's transplant shock:
Water consistently. Mulch. Do not fertilize.
Wait at least one full growing season before judging the plant's long-term outlook.
If the plant is truly dead:
If every cane is brown to the base, no new shoots are emerging by mid-spring, and the roots are mushy or absent, it's time to replace it. Before replanting, amend the soil and address whatever drainage or environmental issue caused the original failure.
Mistakes to Avoid When Your Nandinas Look Dead
The biggest mistake is acting too fast. People see brown foliage and immediately start pruning, fertilizing, or yanking the plant out. Almost none of those responses help, and most of them make things worse.
Don't prune in the middle of winter or early spring. You can't tell what's truly dead yet. Cutting too early removes wood that might have leafed out in a few weeks.
Wait until you see where new growth emerges, then trim back to live tissue.
Don't fertilize a stressed plant. Fertilizer pushes new growth, and a plant that's already struggling can't support it. Wait until you see active recovery before feeding.
Don't overwater brown nandinas. If the problem is cold damage or seasonal leaf drop, adding more water won't help and could trigger root rot. Always check soil moisture before reaching for the hose.
Don't assume the whole plant is dead because the top is brown. Nandinas regenerate from the base more reliably than almost any other landscape shrub. Give it until mid-spring before making a final call.
When to Wait, When to Prune, and When to Replace
Here's a simple decision guide based on what you've found.
Wait if:
- The scratch test shows green anywhere on the canes.
- New shoots are emerging at the base.
- The damage happened recently (within the last 4 to 6 weeks).
- Soil moisture is adequate and drainage is good.
Prune if:
- You can clearly identify dead wood after new growth has started.
- Dead canes are brittle, brown under the bark, and show no buds.
- You're removing NFD-infected material (sanitize tools immediately after).
Replace if:
- Every cane is brown to the ground and no basal shoots appear by mid-spring.
- The root system is mostly rotted and the plant pulls out of the soil easily.
- NFD is confirmed and the plant is in a location where it could infect others.
When you do prune, cut dead canes at a 45-degree angle just above a live bud or branch collar. Use sharp bypass pruners. Ragged cuts invite disease.
How to Prevent This From Happening Again
Once you've dealt with the immediate problem, a few simple practices will keep your nandinas healthy long-term.
Plant in the right spot. Nandinas prefer well-drained soil and partial to full sun. Avoid low spots where water collects. If you have heavy clay, amend the planting area with compost or build a raised bed.
Water wisely. Deep, infrequent watering is better than frequent shallow watering. Once established, nandinas need supplemental water only during extended dry spells.
Mulch annually. A 2 to 3 inch layer of shredded bark or pine straw regulates soil temperature, retains moisture, and suppresses weeds. Keep mulch a few inches away from the cane bases.
Choose the right variety for your zone. If you're in Zone 6, stick with cold-hardy cultivars like 'Compacta' or 'Nana'. In warmer zones, you have more flexibility with color and form.
Sanitize your tools. Clean pruners between plants, especially if you suspect disease. A quick wipe with rubbing alcohol takes seconds and prevents spreading problems.
Watch for NFD. Inspect new growth each spring. If you see abnormally red or stunted leaves, remove the plant before the virus spreads to neighbors.
Frequently Asked Questions
How long does it take for nandinas to recover from cold damage?
Most cold-damaged nandinas show new growth within 4 to 8 weeks after soil temperatures warm in spring. Full recovery of the canopy can take an entire growing season. Be patient and don't prune until you see where new buds are forming.
Should I cut my nandinas back to the ground?
Only if every cane is confirmed dead all the way to the base. If there's any green tissue left, the plant will recover faster on its own than if you cut it to stubs. Nandinas are remarkably good at regenerating from partial dieback.
Can nandinas come back after losing all their leaves?
Yes. Nandinas can drop every leaf and still be alive. The canes and root system often survive even when the foliage doesn't.
Do the scratch test and check for basal shoots before assuming the worst.
What does nandina root rot look like above ground?
Above ground, root rot looks like uniform wilting, browning, and leaf drop across the entire plant. The key diagnostic step is checking the roots themselves. Healthy roots are white and firm.
Rotted roots are dark, mushy, and smell bad.
Are nandinas invasive?
Nandina domestica produces berries that birds spread into natural areas, and it's listed as invasive in several southern states including Florida and Texas. Sterile cultivars like 'Firepower', 'Obsession', and 'Lemon Lime' don't produce viable seed and are safer choices for landscaping.
When is the best time to prune nandinas?
Late winter to early spring, just before new growth starts, is ideal. This gives you a clear view of the plant's structure and lets you remove any winter-damaged wood without sacrificing live growth. Avoid heavy pruning in fall, as it can stimulate tender new growth that gets hit by frost.