Quick Answer: Testing a lawnmower coil involves using a spark tester or multimeter to check for sparks. By following a few simple steps, you can determine whether your lawnmower coil is functioning properly or needs to be replaced.
Introduction:
Imagine the frustration of having a beautifully manicured lawn, only to have your lawnmower refuse to start. A faulty lawnmower coil could be the culprit behind this exasperating situation. But fear not! In this article, we will guide you through the process of testing a lawnmower coil to diagnose the issue accurately.
A lawnmower coil, also known as an ignition coil, plays a crucial role in starting your lawnmower’s engine. It generates the electrical spark that ignites the fuel and air mixture. If the coil is malfunctioning, the spark might not be strong enough, leading to difficulties in starting the engine or causing it to stall.
But how can you determine if your lawnmower coil is at fault? Let’s dive into the steps involved in testing this vital component.

How to Test a Lawnmower Coil?
A lawnmower coil is a vital component of the engine ignition system. It generates the high voltage needed to create a spark in the spark plug and ignite the fuel-air mixture. Over time, the coil may wear out or become faulty, leading to engine performance issues or failure to start. Testing the lawnmower coil can help diagnose any problems and determine whether it needs to be replaced. In this article, we will explore various methods and techniques to test a lawnmower coil effectively.
The Importance of Testing a Lawnmower Coil
Before diving into the testing procedures, let’s understand why it is essential to test a lawnmower coil. Here are some reasons:
1. Reliable Ignition: A functioning coil ensures a consistent and powerful spark, enabling reliable ignition of the fuel-air mixture in the combustion chamber.
2. Engine Performance: A faulty coil can lead to misfires, rough idling, and reduced engine power. Testing the coil helps identify if it is the source of these performance issues.
3. Troubleshooting: The coil is just one component of the ignition system. By ruling out a faulty coil, you can focus on other potential causes if the issue persists.
Now that we understand the importance of testing a lawnmower coil, let’s explore different methods to perform the test.
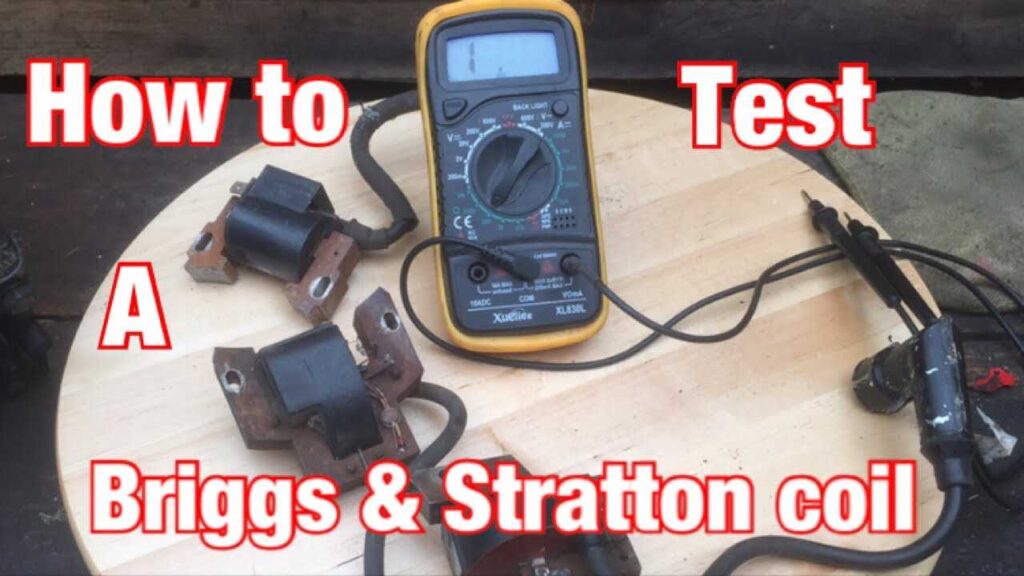
Testing a Lawnmower Coil with a Multimeter
A multimeter is a versatile tool that can measure various electrical properties, making it ideal for testing a lawnmower coil. Here’s how you can use a multimeter to perform the test:
1. Safety Precautions:
– Ensure the lawnmower is turned off and the spark plug wire is disconnected.
– Familiarize yourself with the multimeter’s user manual and safety guidelines.
2. Set the Multimeter:
– Turn the multimeter on and set it to the resistance (ohms) mode.
3. Coil Primary Circuit Test:
– Locate the positive and negative terminals on the coil.
– Connect the multimeter’s probes to these terminals.
– Note the resistance reading displayed on the multimeter.
– Refer to the lawnmower’s user manual for the specific resistance range. If the reading is outside the range, the coil may be faulty and requires replacement.
4. Coil Secondary Circuit Test:
– Disconnect the spark plug wire from the coil.
– Connect one probe of the multimeter to the coil’s center terminal (where the spark plug wire was connected).
– Connect the other probe to either terminal of the coil.
– Note the resistance reading displayed on the multimeter.
– Compare this reading to the specified range in the user manual. If it falls outside the range, the coil may be faulty and needs replacement.
Testing a Lawnmower Coil with an Ignition Coil Tester
An ignition coil tester is a specialized tool designed explicitly for testing ignition coils. It provides a more accurate assessment of the coil’s functionality. Follow these steps to test a lawnmower coil using an ignition coil tester:
1. Safety Precautions:
– Turn off the lawnmower and disconnect the spark plug wire.
– Read and follow the safety instructions provided with the ignition coil tester.
2. Connect the Tester:
– Connect the tester’s leads to the respective terminals on the coil.
– Ensure the connections are secure and proper.
3. Test the Coil:
– Follow the instructions specific to your ignition coil tester model.
– Most testers will simulate an electrical load and check for spark generation.
– Observe the tester’s display or indicator lights to determine if the coil is functioning correctly.
– If the coil fails the tester’s assessment, it may be defective and require replacement.
Additional Steps to Identify Coil Issues
While the above methods help determine if the lawnmower coil is faulty, there are a few additional steps you can take to identify specific issues:
1. Visual Inspection:
– Examine the coil for any visible signs of damage, such as cracks or corrosion. If present, the coil may need replacement.
2. Spark Test:
– Reconnect the spark plug wire to the spark plug but leave it loose.
– Hold the spark plug wire with insulated pliers while keeping it approximately 1/4 inch away from the engine block.
– Have someone pull the starter cord to simulate the engine’s rotation.
– Observe if a strong, visible spark jumps between the wire and the engine block. If there’s no spark or it’s weak, the coil might be the culprit.
3. Professional Assistance:
– If you have followed all the testing procedures and are still uncertain about the coil’s condition, consider seeking the assistance of a professional lawnmower technician.
Testing a lawnmower coil is crucial for ensuring smooth engine performance. By following the outlined methods using a multimeter or an ignition coil tester, you can evaluate the coil’s functionality and pinpoint any necessary replacements. Additionally, performing visual inspections and spark tests can provide further insights into potential coil issues. Remember to prioritize safety and refer to your lawnmower’s user manual for specific instructions. Happy lawnmowing!
How To Check A Simple Lawn Mower Ignition Coil
Frequently Asked Questions
How do I test a lawnmower coil?
To test a lawnmower coil, follow these steps:
What tools do I need to test a lawnmower coil?
You will need the following tools to test a lawnmower coil:
Can a lawnmower coil be tested without removing it from the engine?
Yes, you can test a lawnmower coil without removing it from the engine. However, it is recommended to disconnect the spark plug wire before performing the test to prevent accidental starting or injury.
How do I perform a continuity test on a lawnmower coil?
To perform a continuity test on a lawnmower coil, follow these steps:
What should the reading be when testing a lawnmower coil?
When testing a lawnmower coil, the reading should typically be between X and Y ohms. Refer to your lawnmower’s manual for the specific resistance range recommended by the manufacturer.
What should I do if the lawnmower coil fails the test?
If the lawnmower coil fails the test, it indicates a faulty coil that needs to be replaced. Contact a professional technician or refer to the lawnmower’s manual for guidance on replacing the coil.
Final Thoughts
To test a lawnmower coil, follow these steps. First, disconnect the spark plug wire and remove the coil from the engine. Use a multimeter to check the resistance of the primary and secondary coils. If the resistance values are not within the specified range, the coil may be faulty. Next, inspect the coil for any physical damage, such as cracks or corrosion. Replacing the coil may be necessary if it shows signs of damage. In conclusion, testing a lawnmower coil involves checking its resistance and inspecting for any physical damage. By following these steps, you can ensure your lawnmower coil is in good working condition. How to Test a Lawnmower Coil?