Image source: Bing (Web (fair-use with source credit))
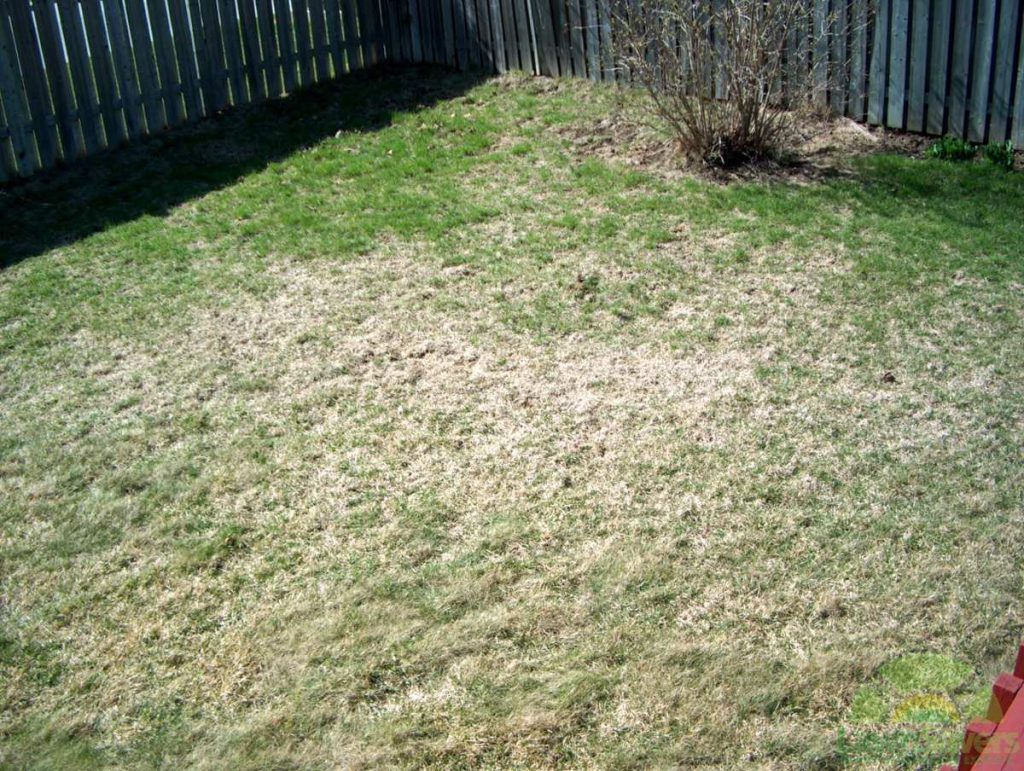
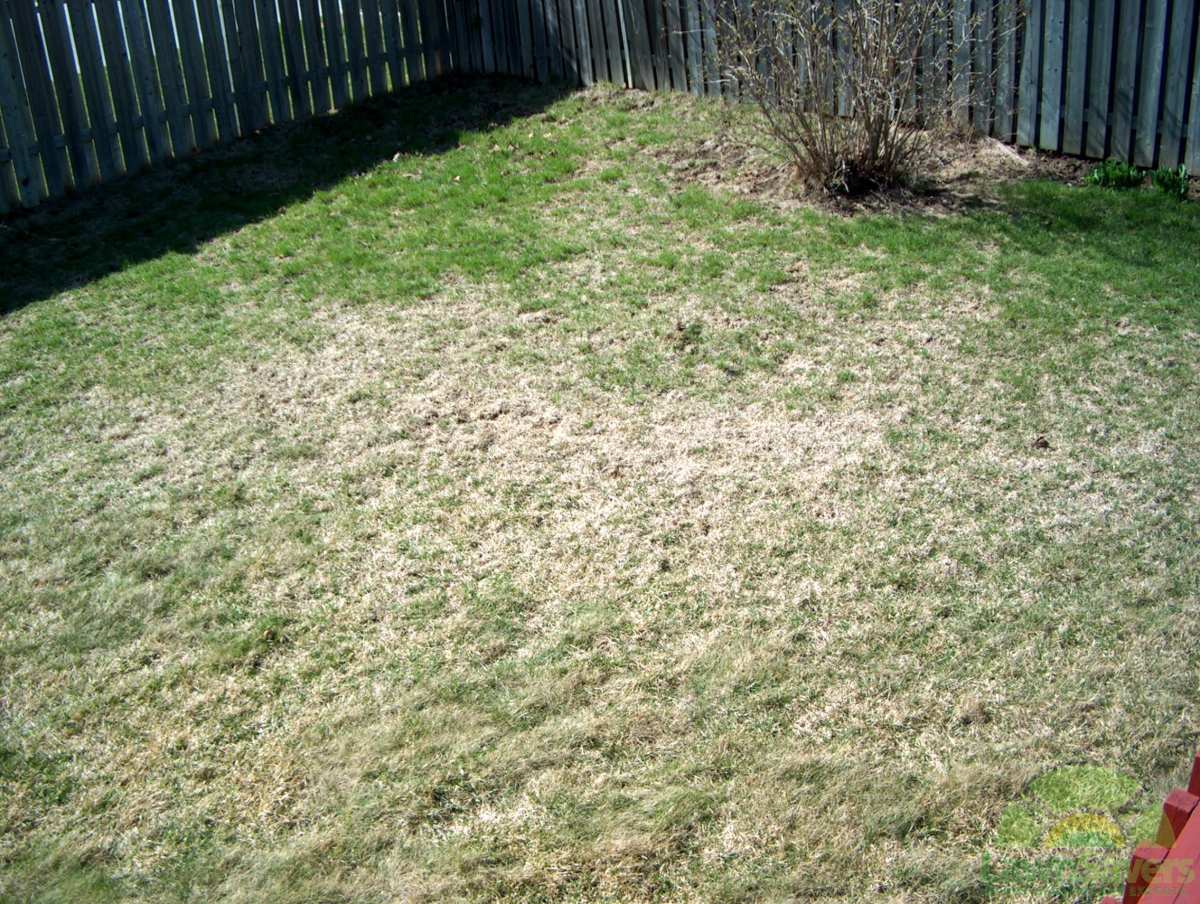
You're staring at a patch of lawn that looks wrong. Maybe it's brown and dying, maybe the turf feels spongy underfoot, or maybe you woke up to raccoons tearing up your yard overnight. Before you spend money on treatments or tear out sod, you need to know what's actually going on underground.
Learning how to check for lawn grubs is the single most important step, because most people treat for the wrong problem entirely.
Here's the thing. Grub damage looks almost identical to drought stress, fungal disease, and irrigation problems. The only way to know for sure is to get your hands in the soil and count what's there.
Research from university extension programs consistently shows that the economic threshold for treatment on cool-season grasses like fescue and Kentucky bluegrass is around 5 to 10 grubs per square foot. Below that number, your lawn can usually outgrow the damage. Let's walk through exactly how to find out what you're dealing with.
Quick Answer
To check for lawn grubs, start with a tug test on damaged turf. If the grass pulls up easily, roll back a square foot of sod and count the C-shaped larvae underneath. Compare your count to the threshold for your grass species.
Repeat in multiple spots across the lawn for an accurate picture.
Why Your Lawn Might Not Actually Have Grubs
This is where most people go wrong. They see brown patches and immediately assume grubs. Then they spend money on insecticide they don't need, and the lawn keeps dying because the real problem never got addressed.
Grub damage has a few telltale features. The turf lifts up like a loose carpet because the roots have been chewed away. You can grab a handful of grass and pull, and it rolls right back with almost no resistance.
The damage often appears in irregular patches that expand over weeks. Animals like raccoons, skunks, and armadillos dig at night to feed on the larvae, leaving behind cone-shaped holes or rolled-back sections of sod.
But here's what else causes brown patches. Drought stress creates uniform thinning across sun-exposed areas. Fungal diseases like brown patch or dollar spot produce distinct patterns, often with visible mycelium or lesions on grass blades.
Dog urine creates small dead spots with a dark green ring around the perimeter. Compacted soil leads to thin, struggling turf that never quite thrives.
The key difference is what's happening below the surface. Grubs eat roots, so the grass loses its anchor. Everything else affects the blades, the soil surface, or the water supply.
That's why a physical check is non-negotiable. You can't diagnose this from the sidewalk.
The Quick Tug Test: Your First 30-Second Check
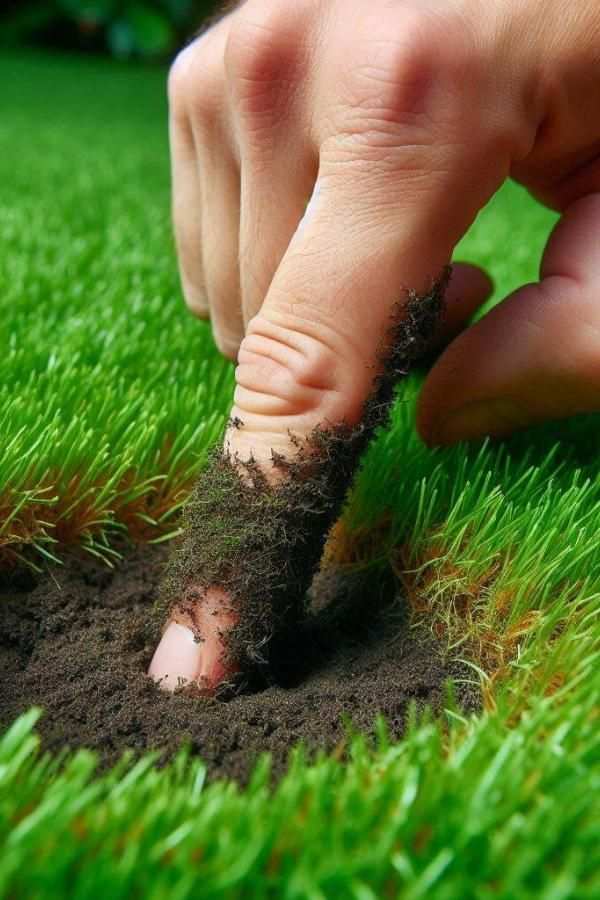
Image source: Bing (Web (fair-use with source credit))
Before you grab any tools, start with the simplest field test in turf management. The tug test takes about thirty seconds and tells you whether root damage is likely.
Walk to the edge of the damaged area, right where brown turf meets green. Grab a handful of grass and pull upward with moderate force. Healthy turf resists.
The blades stretch and some might tear, but the roots hold firm in the soil. Grub-damaged turf lifts easily, almost like peeling back a rug. The roots have been severed, so there's nothing anchoring the sod to the ground.
If the grass holds tight, grubs are probably not your issue. Look at irrigation, soil compaction, or disease instead. If the grass rolls back with little to no resistance, you've got root damage.
That doesn't automatically confirm grubs, but it tells you to keep investigating.
The tug test works best in late summer and early fall when grub feeding is most active. In spring, grubs are often deeper in the soil profile or have already pupated, so the test is less reliable. If you're checking in August or September and the turf lifts like a carpet, that's a strong signal to move to the next step.
When the Tug Test Isn't Enough: The Square-Foot Sod Roll
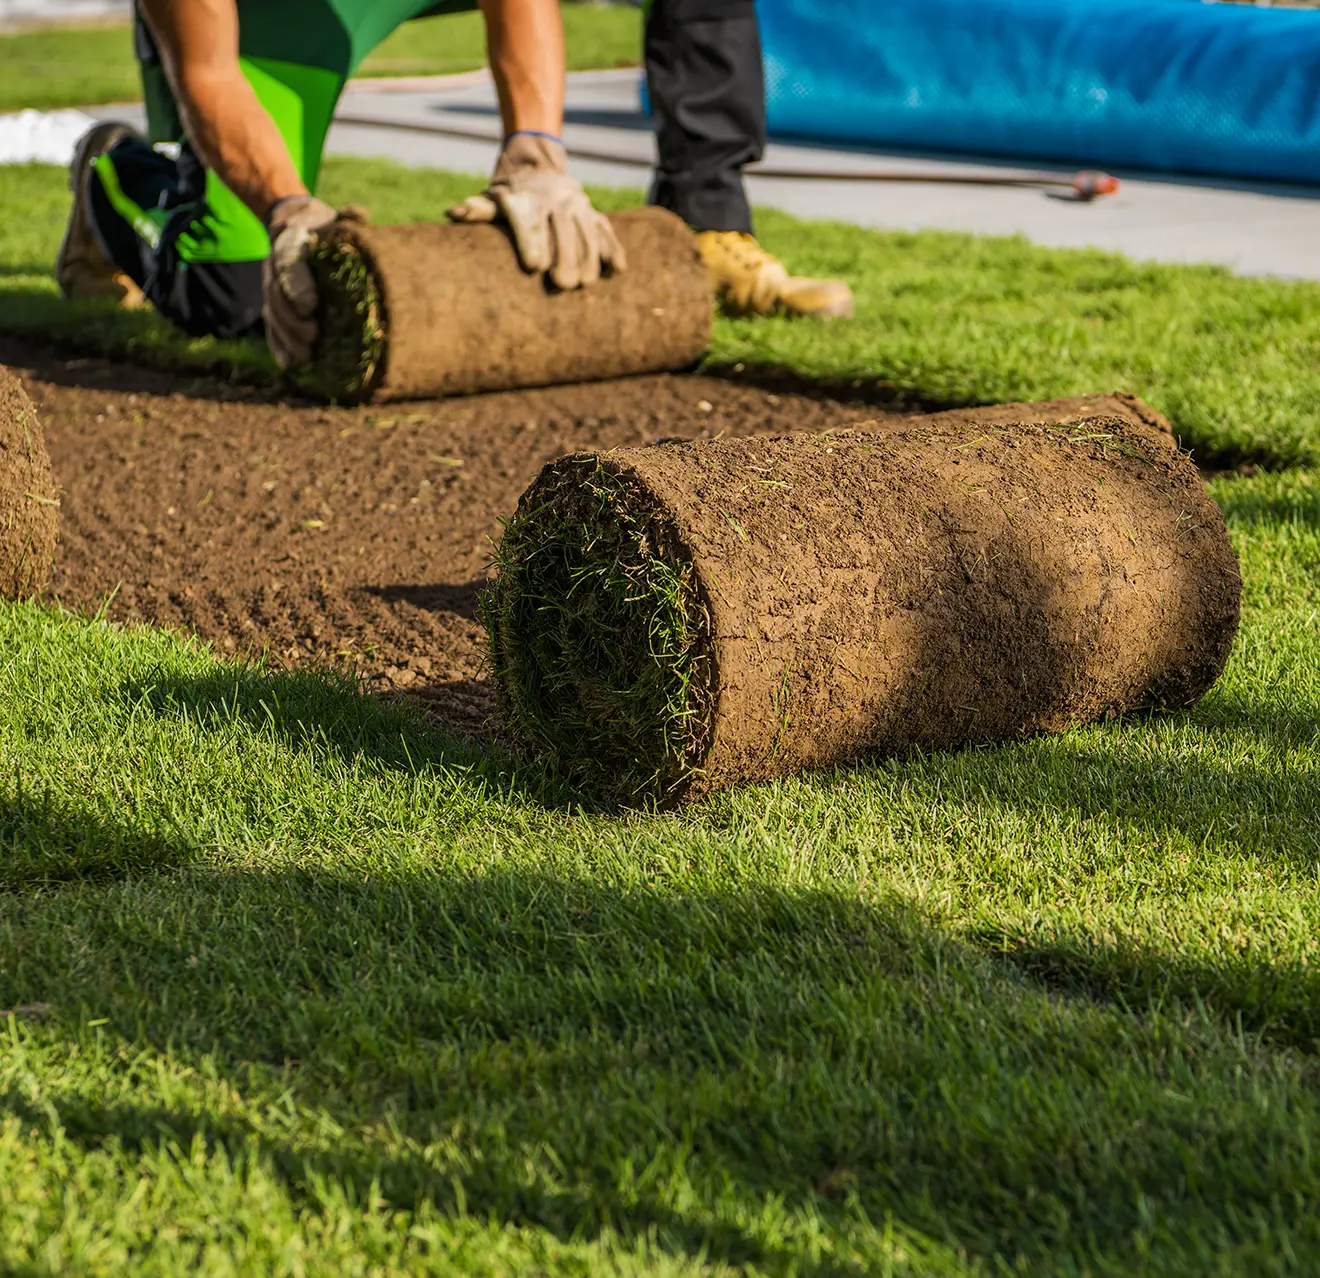
Image source: Bing (Web (fair-use with source credit))
The tug test tells you something is wrong with the roots. The square-foot sod roll tells you exactly what's causing it. This is the standard sampling method used by extension services and turf professionals, and it's the only way to get a reliable grub count.
Grab a flat-bladed spade or a sturdy knife. Cut a square outline about 12 inches by 12 inches in the turf, right at the boundary between damaged and healthy grass. Go down about 3 to 4 inches deep.
Then carefully roll back the sod like opening a book. The underside is where you'll find the larvae.
Break apart the soil underneath with your fingers or a trowel. Grubs live in the top few inches of soil, usually right at the thatch layer or just below it. Count every C-shaped larva you see in that square-foot area.
Then press the sod back into place and water it. The turf will re-root within a week or two if the roots are still partially intact.
Repeat this process in at least three to five spots across your lawn. Grub populations are rarely uniform. One area might have 15 grubs per square foot while another has zero.
Sampling multiple locations gives you an average that's actually meaningful.
For larger lawns, aim for five to eight samples. Focus on the edges of damaged patches, not the dead centers. Grubs feed outward from a central point, so the highest concentrations are usually where green grass meets brown.
How Many Grubs Is Too Many? Thresholds That Actually Matter
Finding a grub or two doesn't mean you need to treat. Lawns tolerate low levels of feeding without visible damage. The question is whether the population has crossed the threshold where root loss outpaces the grass's ability to recover.
Here are the general thresholds used by university extension programs:
| Grass Type | Threshold (grubs per sq ft) | Notes |
|---|---|---|
| Cool-season (fescue, Kentucky bluegrass, perennial ryegrass) | 5 to 10 | Higher tolerance due to deeper root systems |
| Warm-season (bermuda, zoysia, St. Augustine) | 2 to 5 | Shallower roots, less tolerance for feeding |
| Mixed or transition zone lawns | 5 to 8 | Depends on dominant species |
| High-traffic or stressed lawns | Lower end of range | Compaction, drought, or heat stress reduces tolerance |
If your count falls below the threshold for your grass type, you can usually skip treatment. The lawn will recover with proper watering, fertilization, and overseeding in fall. If you're at or above the threshold, treatment is worth considering, especially if you're seeing active damage.
One important caveat. These thresholds assume the grubs are actively feeding. Late in fall, larvae move deeper into the soil and stop feeding.
A high count in October might not require action because the damage window is closing. Timing matters as much as the number.
What You're Actually Looking For: Identifying Real Grubs vs. Look-Alikes
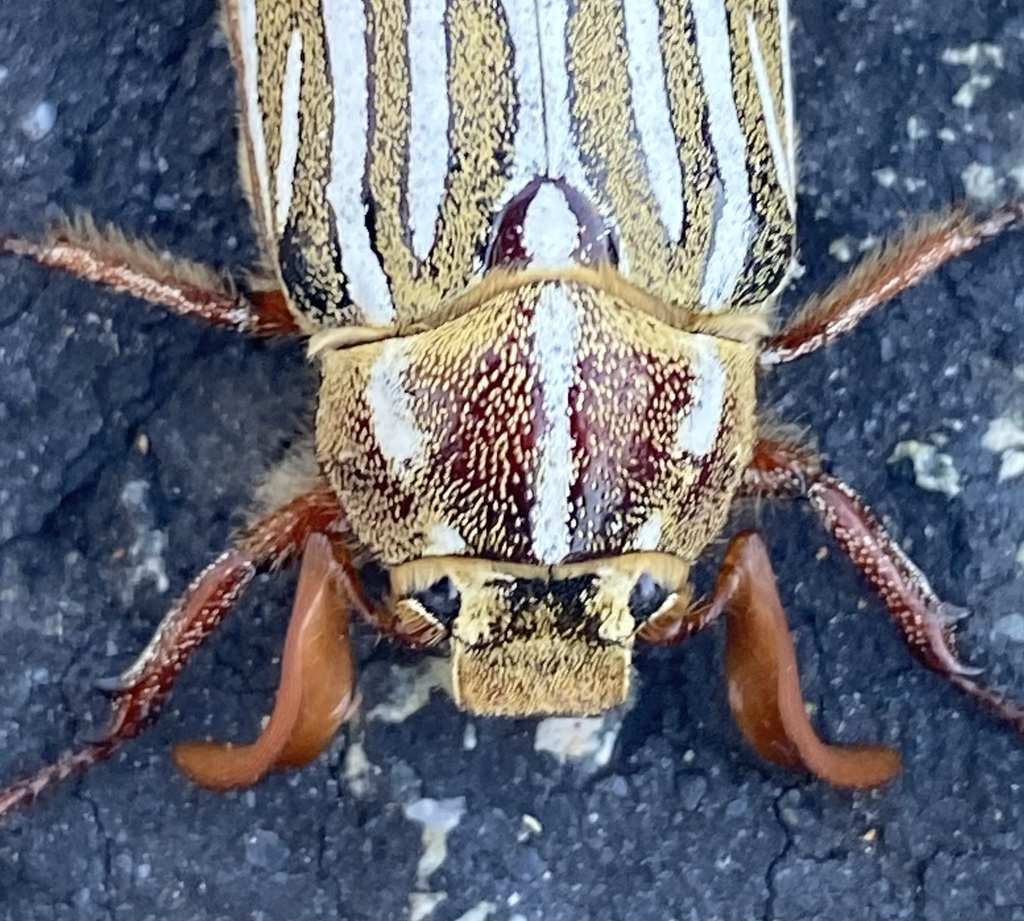
Image source: iNaturalist / Irene
Not every white larva in your lawn soil is a turf-damaging grub. Several insects look similar to the untrained eye, and treating for the wrong pest wastes time and money.
True white grubs are the larval stage of scarab beetles. They share a few consistent features. The body is C-shaped, soft, and creamy white to grayish.
The head capsule is tan or brown and noticeably darker than the body. You'll see six small legs clustered near the head end. The rear end often appears slightly darker due to soil particles visible through the body wall.
Size varies by species and age. Newly hatched larvae are tiny, about 1/8 inch long. By late summer, mature grubs of species like Japanese beetle and European chafer reach 3/4 inch to 1 inch.
Green June beetle grubs can exceed 1.5 inches.
Here's where it gets tricky. Several other insects live in the same soil zone. Ground beetle larvae are elongated, fast-moving, and have large mandibles.
They're actually beneficial predators that eat pest insects. Soldier fly larvae are grayish, segmented, and tapered at both ends. Crane fly larvae, sometimes called leatherjackets, are legless, grayish-brown, and have no distinct head capsule.
Sod webworm larvae are not grubs at all. They're caterpillars with distinct body segments and visible prolegs, and they feed on grass blades above ground, not roots below.
If you're unsure about what you've found, a hand lens or phone camera with macro mode helps. The raster pattern, a series of tiny spines on the underside of the grub's last abdominal segment, is the definitive identification feature for scarab larvae. Extension offices and university diagnostic labs can also confirm species if you bring in a sample.
Getting the identification right matters because treatment timing and product selection depend on the species. Japanese beetle grubs and European chafers have similar life cycles and respond to the same controls. Black turfgrass ataenius, common on golf courses in the Northeast, has a faster generation cycle and requires different timing.
Green June beetle grubs surface at night to feed on organic matter and are harder to control with standard soil insecticides.
Timing Your Check: When Grub Testing Actually Works
Checking for grubs at the wrong time of year leads to false negatives and wasted effort. The larvae move through the soil profile as temperatures change, and their size and feeding activity shift dramatically across seasons.
The ideal window for testing is mid-August through early October in most regions. That's when larvae are young, small, and feeding aggressively near the soil surface. They're easy to find, easy to count, and still vulnerable to curative treatments if your numbers warrant action.
In the Northeast and Midwest, this window aligns with Japanese beetle and European chafer life cycles. Eggs hatch in mid to late July, and the tiny grubs start feeding on roots by early August.
Spring testing is less reliable. Overwintered grubs move deeper into the soil to survive freezing temperatures. By April and May, they return to the root zone but are now large, mature, and preparing to pupate.
Feeding damage slows down, and the larvae are harder to kill with insecticides. You might find them, but the treatment window has largely closed.
Late fall and winter checks rarely make sense. Once soil temperatures drop below about 50°F, grubs descend below the frost line and become inactive. You could dig all day and find nothing, even if the population was high two months earlier.
One exception. If you're planning a preventive treatment for the following year, a late summer count gives you the data to make that decision. High numbers in August often justify a preventive application the next June or July before eggs hatch.
Reading the Secondary Signs: Animals, Spongy Turf, and Brown Patches
Sometimes the grubs themselves are hard to find, but the evidence they leave behind tells the story. Learning to read these secondary signs helps you decide where to sample and whether grubs are likely involved.
Animal activity is one of the most common triggers for grub checks. Raccoons, skunks, and armadillos feed on larvae by night, leaving behind patches of disturbed turf. Raccoons tend to peel back sod in neat sections.
Skunks dig small, cone-shaped holes about 3 to 4 inches deep. Armadillos create broader, shallower excavations. Birds like starlings and grubs peck at the soil surface, leaving tiny holes across a wider area.
Here's the catch. Animals sometimes dig in lawns for earthworms, ants, or other insects, not just grubs. If you're seeing animal damage, it's worth checking, but don't assume grubs are the culprit until you've confirmed with a sod roll.
Spongy turf is another clue. Walk across the affected area and pay attention to how the ground feels. Healthy turf feels firm underfoot.
Grub-damaged turf feels soft and springy because the root structure that holds soil together has been compromised. This is especially noticeable in the morning when dew makes the thatch layer more apparent.
Brown patches from grub damage have a distinct characteristic. Unlike drought stress, which often follows sun exposure patterns or sprinkler coverage gaps, grub damage appears in irregular shapes that expand outward from a central point. The dead turf pulls up easily because the roots are gone.
If you can roll back a dead patch like carpet and find larvae underneath, you've confirmed the diagnosis.
Species-Specific Clues: Japanese Beetles, Chafers, and June Bugs
Not all grubs are the same, and knowing which species you're dealing with affects both your treatment decision and your timing. The three most common turf-damaging species in North America each have distinct patterns.
Japanese beetle grubs are the most widespread pest east of the Rocky Mountains. Adults are metallic green and copper, about 3/8 inch long, and feed on over 300 plant species above ground. The larvae are the real turf threat.
They follow a one-year life cycle. Adults lay eggs in mid to late July, eggs hatch within two weeks, and larvae feed on roots from August through October. They overwinter deep in the soil and return to feed briefly in spring before pupating.
European chafer grubs are common in the Northeast, Great Lakes region, and parts of the Midwest. Adults are tan or light brown, slightly smaller than Japanese beetles, and less showy. The larvae look nearly identical to Japanese beetle grubs in the field.
The life cycle is similar, but egg laying often starts a week or two earlier. Chafer damage tends to be more severe in sandy soils and drought-stressed lawns.
May and June beetle grubs have a longer life cycle, often two to three years from egg to adult. The larvae are larger, sometimes exceeding 1.5 inches when mature. They're more common in the Midwest and parts of the Southeast.
Because of the extended life cycle, damage can persist for multiple years in the same area. Adults are brown or black, chunky, and often attracted to porch lights in late spring.
Black turfgrass ataenius is a smaller species that primarily affects golf courses and high-maintenance lawns in the Northeast and Midwest. The larvae are only about 1/4 inch long but can reach damaging numbers in closely mown turf. This species has two generations per year, so the damage window is longer than with single-generation species.
Green June beetle grubs behave differently from the others. They feed on organic matter in the thatch layer and surface soil rather than roots alone. At night, they crawl across the lawn surface, leaving behind small mounds of soil.
The damage is often superficial, but the surface activity and mounds create an unsightly appearance.
Common Mistakes That Lead to Wrong Diagnosis
Even when people check for grubs, several common errors lead to incorrect conclusions. Avoiding these mistakes saves time, money, and unnecessary pesticide use.
Sampling only the dead center of a brown patch is the most frequent error. Grubs feed outward from a central point, so the highest concentrations are at the advancing edge, not the middle. By the time turf is completely dead in the center, the larvae have often moved on to fresh feeding territory nearby.
Always sample where green grass meets brown.
Checking too early in the season causes false negatives. In June and early July, larvae are either still eggs or so tiny that they're easy to miss. You might dig up a square foot and find nothing, then conclude the lawn is fine.
Wait until mid-August when larvae are large enough to see and feeding near the surface.
Ignoring soil moisture during sampling leads to inaccurate counts. Dry, compacted soil holds grubs tighter and makes them harder to extract. Moist soil, ideally after a rain or light irrigation, allows larvae to separate more easily from the root zone.
If conditions are dry, water the area lightly the evening before you plan to sample.
Treating based on a single sample is risky. Grub populations are patchy. One square foot might have 12 grubs while another 20 feet away has none.
Multiple samples across the lawn give you an average that reflects the actual situation.
Confusing grub damage with other problems leads to wasted treatment. Fungal diseases, irrigation failure, and nutrient deficiency all produce brown patches. If the turf doesn't pull up easily and you find no larvae after a thorough check, look elsewhere for the cause.
Applying insecticide without confirming grubs is the costliest mistake. Curative products containing trichlorfon or carbaryl are effective when used correctly, but they're not cheap. Treating a lawn that has 2 grubs per square foot when the threshold is 10 is money thrown away.
What to Do After You Confirm Grubs: Treatment vs. Wait-and-See
You've done the sampling, counted the larvae, and compared your numbers to the threshold. Now comes the decision. Do you treat, or do you let the lawn recover on its own?
If your count is below the threshold for your grass type, skip the chemicals. Focus on cultural practices that help the lawn outgrow the damage. Water deeply and infrequently to encourage deep rooting.
Apply a fall fertilizer with moderate nitrogen to support recovery. Overseed thin or bare areas in early September for cool-season grasses or the following spring for warm-season species. A healthy, well-maintained lawn tolerates low-level grub feeding without lasting harm.
If your count is at or above the threshold and larvae are still actively feeding, curative treatment is worth considering. Products containing trichlorfon work quickly and kill larvae within one to three days. Carbaryl is another curative option with a slightly longer window of effectiveness.
Apply these products in late summer or early fall when larvae are small and near the surface. Water the product into the soil according to label directions to move it into the root zone where grubs are feeding.
Biological controls offer an alternative for homeowners who prefer not to use synthetic insecticides. Beneficial nematodes, specifically Heterorhabditis bacteriophora, seek out and kill grubs in the soil. They require moist conditions and soil temperatures above 60°F to be effective.
Milky spore disease, caused by Paenibacillus popilliae, targets Japanese beetle grubs specifically and can persist in the soil for years. However, milky spore takes several years to build up to effective populations and works best in warmer climates.
If you're past the curative window and grubs have moved deep for winter, mark the damaged areas and plan for fall recovery. Reseed or sod bare patches. Consider a preventive treatment the following June if counts were high this year.
Preventive products containing imidacloprid or chlorantraniliprole are applied before eggs hatch and provide season-long protection.
When to Call in a Pro vs. Handling It Yourself
Most homeowners can handle grub checking and basic treatment on their own. But some situations warrant professional help.
Call a lawn care professional if your lawn is large and the damage is widespread across multiple areas. Sampling a quarter-acre lawn thoroughly takes time and effort. Professionals have the tools and experience to assess the full scope quickly.
Get expert help if you've treated and the damage continues. That suggests either misdiagnosis, product failure, or a secondary issue like fungal disease compounding the problem. A certified turfgrass specialist can identify what's really going on.
Consider professional assessment if you're dealing with a species you can't identify. Black turfgrass ataenius and some less common scarab species require microscopic examination for accurate ID. University extension diagnostic labs and certified lawn care operators have access to that expertise.
DIY is perfectly fine for most situations. If you can follow the sampling steps, count larvae, and compare to thresholds, you have the information needed to make a sound decision. Curative insecticides are available at most garden centers and come with detailed label instructions.
Frequently Asked Questions
Can I check for grubs in spring?
You can, but spring checks are less reliable. Grubs are deeper in the soil and often preparing to pupate. Late summer and early fall give you the most accurate picture of population levels.
How deep do grubs live in the soil?
Most turf-damaging grubs stay in the top 2 to 4 inches of soil during active feeding. In winter, they can descend 6 to 8 inches or more to escape freezing temperatures.
Do I need to treat if I find just a few grubs?
No. Lawns tolerate low populations without visible damage. Treatment thresholds start at 5 to 10 grubs per square foot for cool-season grasses and 2 to 5 for warm-season species.
Will grub damage repair itself?
Often, yes. If the root system isn't completely destroyed, fall watering and fertilization help the lawn recover. Severely damaged areas may need overseeding or sodding.
How long after treatment can I reseed?
With curative insecticides like trichlorfon, you can reseed within a few days. Some preventive products have longer intervals before overseeding is safe. Always check the product label for specific timing.
Are beneficial nematodes effective against grubs?
Yes, when applied correctly. Heterorhabditis bacteriophora nematodes actively seek out grubs in the soil. They need moist conditions and soil temperatures above 60°F to work well.