
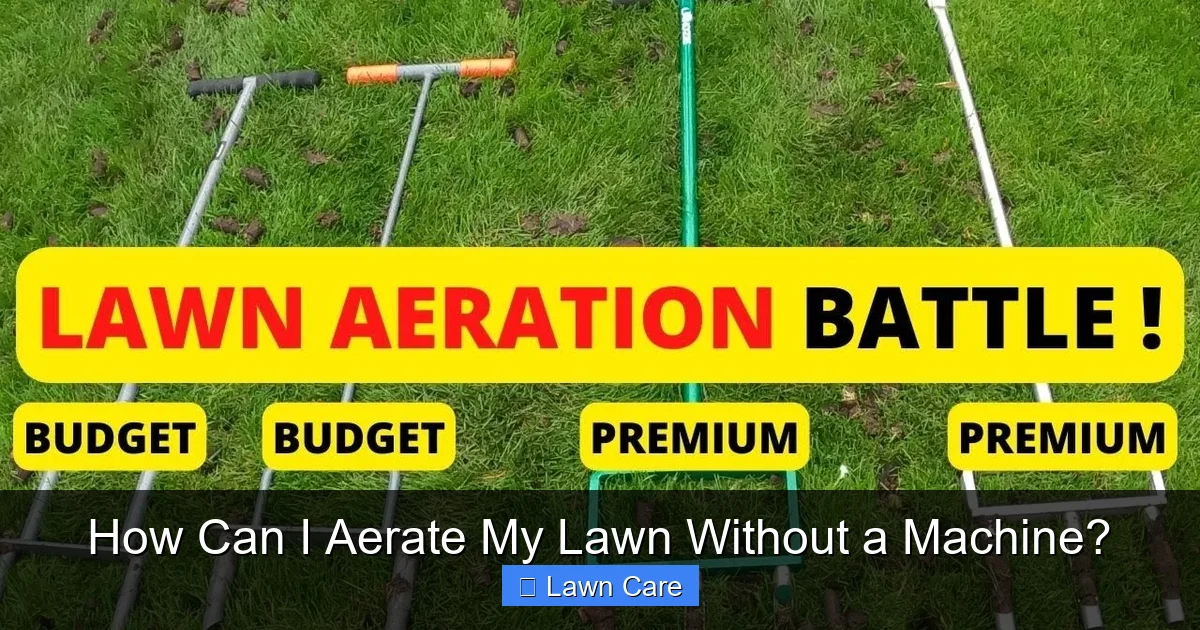
Don’t have a lawn aerator machine? No problem! You can still achieve a healthier, more vibrant lawn with simple, manual techniques. This guide explores several effective methods to aerate your soil without specialized equipment, promoting better water and nutrient absorption for lush grass.
Having a beautiful, green lawn is something many of us dream about. But sometimes, the reality of lawn care can feel a bit overwhelming, especially when you see lists of specialized equipment needed for tasks like aeration. If you’ve ever looked at a power aerator and thought, “There has to be an easier, less expensive way,” you’re in luck! You absolutely can aerate your lawn without a machine.
This might sound like a lot of extra work, but trust me, it’s totally doable and can make a huge difference in your lawn’s health. Compacted soil is a common problem for many lawns, and it prevents essential elements like water, air, and nutrients from reaching your grass’s roots. This can lead to weak, struggling grass, increased pest problems, and a generally unimpressive yard. Manual aeration is a fantastic way to combat this.
So, let’s dive into how you can achieve a beautifully aerated lawn without ever needing to rent or buy a bulky machine. We’ll cover simple, effective methods that are perfect for any homeowner looking to improve their turf.
Key Takeaways
- Manual Aeration is Achievable: You don’t need expensive machinery to aerate your lawn; simple tools and techniques can do the job effectively.
- Benefits of Aeration: Loosening compacted soil allows water, air, and nutrients to reach grass roots, leading to a healthier, more resilient lawn.
- Fork Aeration: Using a garden fork to poke holes is a simple and effective method for small to medium-sized lawns.
- DIY Aerator Tools: Creating your own spike aerator from PVC pipes or other materials can be a cost-effective solution.
- Footwear Aerators: Special sandals with spikes can be worn while walking to aerate the lawn, combining exercise with lawn care.
- Timing is Key: Aerate when the grass is actively growing and the soil is moist but not waterlogged for best results.
Quick Answers to Common Questions
What is the main benefit of aerating my lawn?
The main benefit is loosening compacted soil, which allows water, air, and nutrients to penetrate deeply and reach the grass roots more effectively. This promotes healthier, stronger growth.
How often should I aerate my lawn manually?
For most lawns, aerating once a year is sufficient. If your lawn experiences heavy foot traffic or has particularly clay-heavy soil, you might consider aerating twice a year (spring and fall).
Can I aerate my lawn when it’s very dry?
No, it’s not recommended. Dry soil is hard and difficult to penetrate, which can damage your tools and be ineffective. Always moisten the soil before manual aeration.
What should I do after aerating my lawn?
After aerating, you can rake to break up soil cores, overseed thin areas, and apply fertilizer. Continue with your regular watering schedule.
Are there any downsides to manual lawn aeration?
The primary downside is that it requires more physical effort and can be time-consuming, especially for larger lawns, compared to using a machine.
📑 Table of Contents
Why Aerate Your Lawn Manually?
Before we get into the “how,” let’s quickly touch on the “why.” Aeration is the process of creating small holes or removing plugs of soil from your lawn. This might seem counterintuitive – why poke holes in a perfectly good lawn? The answer lies in what happens underneath the surface. Over time, foot traffic, mowing, and the natural decomposition of organic matter can compact the soil. This compaction creates a dense barrier that’s hard for anything to penetrate.
When your soil is compacted, your grass suffers. Here’s what happens:
- Reduced Water Penetration: Water can’t soak in easily, leading to runoff and uneven watering. Your grass might look dry even if you’re watering regularly.
- Limited Airflow: Roots need oxygen to thrive. Compacted soil suffocates them, leading to stunted growth and a weaker root system.
- Nutrient Blockage: Fertilizers and essential nutrients struggle to reach the roots when the soil is too dense.
- Increased Thatch Buildup: While some thatch is normal, excessive compaction can contribute to a thick layer of dead grass that further impedes water and air.
- Greater Susceptibility to Pests and Diseases: Stressed grass is an open invitation for problems.
Manual aeration directly combats these issues. By creating these small openings, you’re essentially giving your lawn a breath of fresh air. This allows water to reach deeper, air to circulate freely, and nutrients to be absorbed efficiently by the root system. The result is stronger, healthier, more vibrant grass that’s better equipped to handle stress from heat, drought, and foot traffic. It’s a fundamental step towards a truly gorgeous lawn, and you can achieve these benefits without a machine.
The Humble Garden Fork: Your Aeration Ally
If you’ve got a garden fork lying around, you’re already halfway to aerating your lawn! This is perhaps the most accessible and straightforward method for manual aeration. It’s best suited for smaller to medium-sized lawns or for tackling particularly compacted areas.
How to Use a Garden Fork for Aeration
The process is simple:
- Prepare Your Lawn: Before you start, make sure your lawn is mowed and free of any debris like rocks or twigs. You want a clear surface to work on.
- Moisten the Soil: This is crucial! Aerating dry, hard soil is incredibly difficult and can damage your fork. Water your lawn thoroughly a day or two before you plan to aerate. The soil should be moist but not waterlogged. If you can easily push the fork into the ground, it’s ready.
- Start Poking: Begin inserting the tines of your garden fork into the soil. Push the fork down about 2-4 inches deep, depending on the length of the tines and the depth of your soil’s compaction.
- Wiggle and Lift (Optional): Once the tines are in, gently wiggle the fork back and forth, or even lift slightly. This helps to shatter the soil slightly around the opening, creating a larger void for air and water. Be careful not to over-loosen the soil; you’re just creating pathways.
- Move to the Next Spot: Pull the fork out and move to the next spot. Aim to create holes about every 3-6 inches, depending on how compacted your lawn is. Work in a grid pattern to ensure even coverage.
- Clean Up: You’ll notice soil plugs being pushed up. You can break these up with your foot or a rake, or simply leave them to decompose naturally. They actually add nutrients back to the soil.

Visual guide about How Can I Aerate My Lawn Without a Machine?
Image source: i.pinimg.com
Tips for Fork Aeration
- Choose the Right Fork: A sturdy, standard garden fork with strong, straight tines is ideal. Avoid pitchforks with curved tines, as they won’t penetrate the soil effectively.
- Work in Sections: Don’t try to do your entire lawn in one go if it’s large. Break it down into manageable sections over a few days.
- Take Breaks: This method involves physical labor, so pace yourself.
- Consider Lawn Health: This is an excellent way to aerate your lawn during a drought without damaging it, as long as you ensure the soil is moist enough to allow for penetration without excessive stress on the turf.
This is a fantastic starting point for anyone asking how can I aerate my lawn without a machine. It’s effective, inexpensive, and readily available for most homeowners.
DIY Spike Aerators: Get Creative!
If you want something a bit more specialized than a garden fork but still want to avoid buying a machine, you can get creative and build your own spike aerator! This is a great option if you have a larger lawn or want a slightly more efficient process than individual fork pokes.
PVC Pipe Aerator
This is a popular DIY method:
- Gather Materials: You’ll need a length of sturdy PVC pipe (about 3-4 feet long), a cap for one end, and a piece of threaded rod or a strong bolt that can fit inside the pipe. You’ll also need some smaller diameter PVC pipes or even metal rods that can be inserted through the main pipe to create spikes.
- Prepare the Main Pipe: Drill holes around the circumference of the main PVC pipe, spaced evenly. These holes should be just large enough for your “spike” material to fit snugly.
- Create the Spikes: Cut your smaller PVC pipes or metal rods to a suitable length (about 3-4 inches). These will be your spikes.
- Assemble the Aerator: Insert the spikes through the holes you drilled in the main pipe. You can secure them with adhesive if needed.
- Add Weight: Screw the threaded rod or bolt into the cap. This allows you to fill the pipe with weight (like sand or concrete) for better penetration. You can also simply hold onto the threaded rod for leverage.
- Use It: Moisten your soil as you would for the fork method. Place the weighted PVC pipe on the ground and step or push down on it to embed the spikes into the soil. Lift and move to the next spot.
Visual guide about How Can I Aerate My Lawn Without a Machine?
Image source: i.ytimg.com
Other DIY Ideas
You can also adapt other tools. For example, you might attach sturdy metal rods to a piece of wood to create a larger, more stable spike tool. The key is to have something that can be driven into the ground to create holes. If you’re interested in how can I aerate my lawn cheaply, DIY projects like these are ideal.
Remember, the goal is to create holes that go deep enough to make a difference, so ensure your DIY spikes are robust and long enough.
Footwear Aerators: Walk Your Way to a Healthier Lawn
For a truly unique and surprisingly effective method, consider footwear aerators, also known as lawn aerator sandals or spike shoes. These are essentially sandals with long, sturdy spikes attached to the bottom. You wear them like shoes and walk around your lawn.
How to Use Footwear Aerators
Using these is as straightforward as it gets:
- Get the Right Fit: Purchase a pair of lawn aerator sandals that fit comfortably. Ensure the straps are adjustable and secure.
- Moisten the Soil: As with other methods, moist soil is essential for effective aeration. Water your lawn a day or two beforehand.
- Put Them On and Walk: Simply put on the sandals and start walking around your lawn. As you step, the spikes will penetrate the soil, creating aeration holes.
- Walk Consistently: Cover your entire lawn, walking back and forth in a systematic pattern, much like you would when mowing. The more you walk, the more you aerate.
- Consider Your Activities: You can even wear them while doing other yard chores, like raking or picking up debris, turning a simple task into an aeration opportunity.
Visual guide about How Can I Aerate My Lawn Without a Machine?
Image source: weedaway.com
Benefits of Footwear Aerators
- Convenient: Combines exercise with lawn maintenance.
- No Heavy Equipment: Completely manual and requires no power source.
- Targeted Aeration: You can easily focus on specific areas that seem particularly compacted.
- Cost-Effective: A relatively inexpensive purchase compared to renting or buying a machine.
This method is perfect for those who want a low-effort, continuous approach to aeration. It’s a fun way to get your steps in while also improving your lawn’s health. If you’re looking for a solution to “how can I aerate my lawn without a machine” that’s also a bit of a workout, this is it!
The “Spike Tool” Method
This is a slightly more robust manual tool than a simple fork, but still far less complicated than a machine. You can buy dedicated manual spike aerators, or you can even fashion one yourself.
What is a Spike Tool?
A manual spike aerator typically consists of a long handle with a footplate at the bottom. Attached to this footplate are hollow or solid tines that are designed to be pushed into the soil. Some models have a lever mechanism to help extract the soil cores.
How to Use a Spike Tool
- Moisten the Soil: Again, moist soil is key. Water your lawn 24-48 hours before you plan to aerate.
- Position and Step: Place the spike tool on the ground where you want to create a hole. Position your foot on the footplate.
- Apply Pressure: Push down firmly with your foot to drive the tines into the soil. If your tool has a lever, engage it to help extract the soil core.
- Lift and Move: Lift the tool and move it to the next spot, spacing your holes about 3-6 inches apart.
- Work in Sections: Cover your entire lawn systematically.
Where to Find Them
You can find these manual spike aerators at most garden centers or home improvement stores. They are a step up in efficiency from a garden fork, offering more consistent hole depth and spacing. They are a great middle-ground for those asking how can I aerate my lawn without a machine but want something more dedicated than household tools.
Timing and Best Practices for Manual Aeration
No matter which manual method you choose, timing and a few best practices will ensure you get the most bang for your buck (or effort!).
When to Aerate
The best time to aerate your lawn is during its active growing season. This allows the grass to recover quickly from the process and take advantage of the improved conditions.
- Cool-Season Grasses (e.g., Fescue, Ryegrass, Kentucky Bluegrass): The ideal times are early fall (September-October) and early spring (March-April).
- Warm-Season Grasses (e.g., Bermuda, Zoysia, St. Augustine): The best times are late spring or early summer (May-June) when the grass is actively growing and can recover well.
Soil Moisture
As mentioned repeatedly, moist soil is crucial. Aim for soil that is moist about 2-4 inches deep. If the soil is too dry, it will be difficult to penetrate and could damage your tools. If it’s too wet, you risk tearing up large chunks of sod and creating a muddy mess. A good rule of thumb is to water your lawn thoroughly a day or two before aerating.
Post-Aeration Care
- Rake and Remove Debris: After aerating, you can rake over the lawn to break up any soil cores and remove any loose thatch or debris.
- Fertilize (Optional): Aeration is a great time to apply fertilizer, as the nutrients can now reach the root zone more effectively.
- Overseed (Optional): If you’re looking to fill in thin patches, this is an excellent time to overseed. The new seed can fall into the aeration holes and establish better contact with the soil.
- Watering: Continue to water your lawn as usual, ensuring deep watering to take advantage of the improved soil structure.
By following these best practices, you can maximize the benefits of manual aeration and enjoy a healthier, more resilient lawn. It’s a satisfying way to care for your lawn and truly understand what it needs to thrive.
So, there you have it! You can absolutely achieve excellent lawn aeration results without any machines. Whether you choose the trusty garden fork, a DIY solution, or even footwear aerators, the key is consistent effort and understanding your lawn’s needs. Your grass will thank you for it with better growth, improved color, and greater resistance to common lawn problems. Happy aerating!
Frequently Asked Questions
How deep should the holes be when aerating manually?
Ideally, the holes should be about 2 to 4 inches deep. This depth ensures that you are loosening the soil where the grass roots primarily reside and are suffering from compaction.
Can I aerate my lawn with a screwdriver?
While a screwdriver can make small holes, it’s generally not recommended for effective lawn aeration. It’s too small to create sufficient pathways for water and air, and it can be very time-consuming and physically demanding for any significant area.
What is the best time of year to aerate a lawn?
The best time depends on your grass type. For cool-season grasses, aim for early fall or early spring. For warm-season grasses, late spring or early summer is ideal, coinciding with their active growth periods.
Will aerating my lawn help with drainage issues?
Yes, aerating can significantly improve drainage. By creating channels in the compacted soil, water is able to seep into the ground more easily, reducing surface pooling and runoff.
How can I tell if my lawn needs aeration?
Signs your lawn needs aeration include: water pooling on the surface after rain, grass looking generally unhealthy or stressed, a thick layer of thatch, or soil that feels hard and compacted when you try to insert a tool into it.
Is it okay to aerate right after fertilizing?
It’s actually beneficial to aerate before or shortly after fertilizing. Aeration creates channels that allow the fertilizer to reach the root zone more effectively, making it more efficient for your grass.