Scalping Bermuda grass is a crucial annual practice performed in late winter to early spring, just before its active growth phase begins. This aggressive mowing removes dormant leaf blades, thatch, and allows sunlight and nutrients to reach new growth effectively. Proper timing—when soil temperatures consistently hit 55°F and the threat of frost has passed—is key to promoting a dense, vibrant, and resilient lawn for the upcoming warm season.
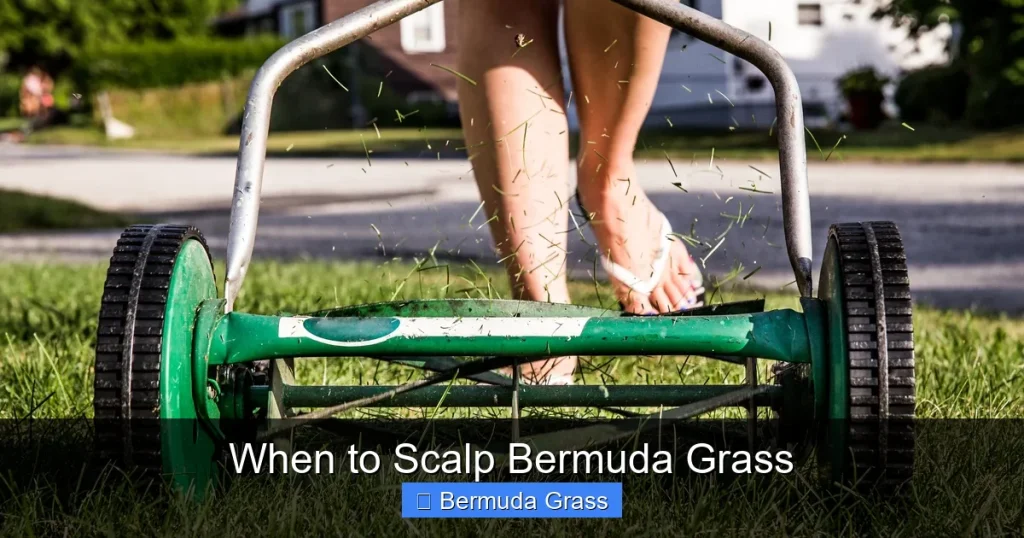
When to Scalp Bermuda Grass
Welcome to the ultimate guide on when to scalp Bermuda grass! If you’re aiming for that perfectly manicured, golf-course-quality lawn, understanding the art of scalping is absolutely essential. Scalping Bermuda grass might sound intimidating, but it’s a critical annual practice that sets your lawn up for a spectacular spring and summer. It’s like hitting the reset button for your turf.
In this comprehensive guide, we’ll walk you through everything you need to know about when to scalp Bermuda grass. We’ll cover the optimal timing, explain why this practice is so beneficial, provide a step-by-step process for proper execution, and even discuss common mistakes to avoid. By the end, you’ll feel confident in knowing exactly when and how to give your Bermuda lawn the best start to its growing season, ensuring it bounces back stronger, greener, and denser than ever before. Let’s dig in!
Key Takeaways
- Timing is Everything: Scalp Bermuda grass in late winter to early spring, typically when soil temperatures consistently reach 55°F (13°C) and the last frost date has passed.
- Purpose of Scalping: It removes dormant, straw-colored leaf blades and thatch, preparing the lawn for vigorous spring growth, improving sunlight penetration, and encouraging lateral spread.
- Mow Aggressively: Set your mower to its lowest safe setting (0.5-1.5 inches depending on mower type) and make multiple passes if necessary to achieve a nearly bare look.
- Remove Clippings: Always bag or thoroughly rake up all clippings after scalping to prevent new thatch buildup and ensure light reaches the soil.
- Post-Scalping Care: Immediately follow with a light application of spring fertilizer and pre-emergent herbicide (if not overseeding) to feed new growth and prevent weeds.
- Gradual Recovery: After scalping, gradually raise your mowing height over several weeks as the grass actively grows back, maintaining its ideal summer height.
- Don’t Scalp Too Early or Late: Scalping too soon risks cold damage, while scalping too late can stress the grass during active growth and promote weed invasion.
Understanding the Bermuda Grass Growth Cycle
Before we talk about *when* to scalp Bermuda grass, it’s important to understand a little about this remarkable turf. Bermuda grass (Cynodon dactylon) is a warm-season grass, meaning it thrives in hot temperatures and goes dormant when conditions get cold.
During the active growing season (typically late spring through early fall), Bermuda grass grows vigorously, spreading through stolons (above-ground runners) and rhizomes (underground runners). This aggressive growth is what gives it excellent wear tolerance and quick recovery, but it also means it produces a lot of plant material.
As temperatures drop in late fall and early winter, Bermuda grass transitions into dormancy. Its vibrant green color fades to a straw-like brown or tan. This is a natural protective mechanism to survive the cold. During this dormant period, growth completely stops, and the grass conserves energy until warmer conditions return. The goal of scalping Bermuda grass is to take advantage of this dormant state and prepare the lawn for its grand re-awakening.
When to Scalp Bermuda Grass: The Golden Window
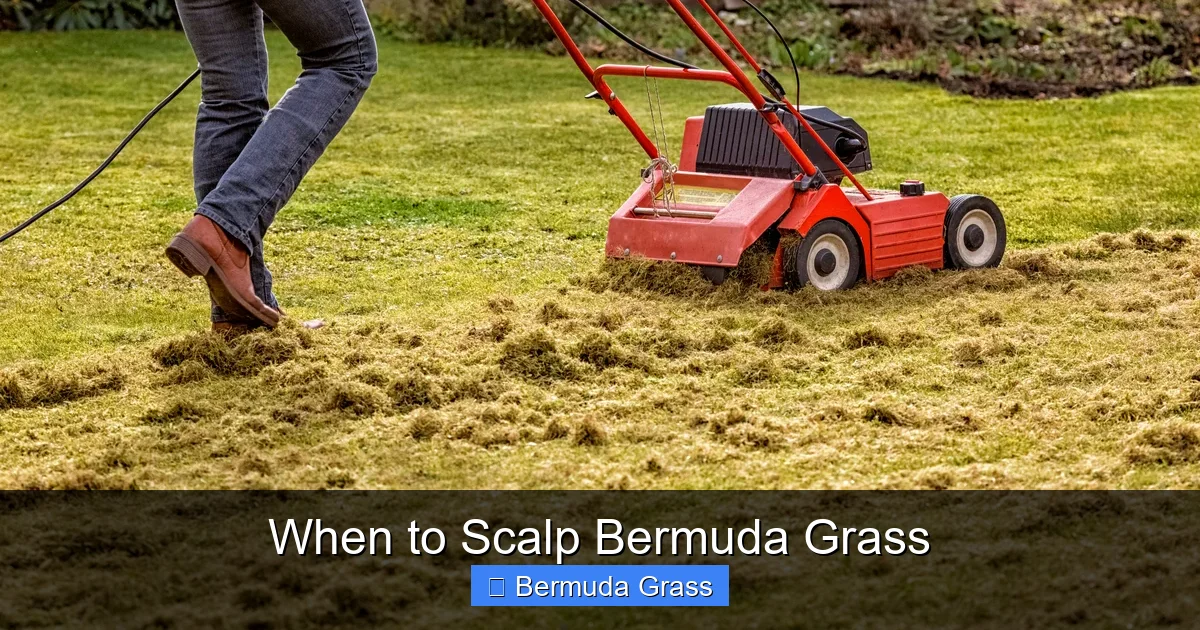
Visual guide about When to Scalp Bermuda Grass
Image source: happysprout.com
The absolute most crucial aspect of scalping Bermuda grass is *timing*. Do it too early, and you risk exposing the crown of the plant to damaging frosts. Do it too late, and you can stress the grass as it tries to actively grow, potentially promoting weeds. The sweet spot is a narrow window in late winter to early spring.
Key Timing Indicators
To know precisely when to scalp Bermuda grass, you need to pay attention to a few environmental cues:
- Soil Temperature: This is arguably the most reliable indicator. Bermuda grass typically begins to break dormancy and show signs of green-up when soil temperatures consistently reach around 55°F (13°C) at a depth of 2-4 inches. You can purchase an inexpensive soil thermometer to monitor this. Aim to scalp just before these temperatures are consistently met, or as they are just beginning to rise.
- Last Frost Date: Check your local average last frost date. You want to ensure the severe threat of freezing temperatures has passed. Scalping removes the protective layer of dormant grass blades, making the crowns more vulnerable to a late freeze. Waiting until after your region’s typical last frost date is a smart move.
- Subtle Green-Up: Visually inspect your lawn. You might notice the faintest hint of green emerging from the crown of the dormant grass blades. This indicates the grass is waking up. This is a perfect time to scalp Bermuda grass.
In many southern U.S. states, this window often falls between late February and mid-March, but it can vary significantly based on your specific climate and yearly weather patterns. Always prioritize soil temperature and frost risk over a calendar date.
Why This Timing Matters So Much
Understanding *why* this timing is critical will help reinforce its importance:
- Maximizes Spring Green-Up: By scalping just before active growth, you remove all the old, brown material. This allows sunlight to penetrate directly to the soil, warming it faster and stimulating the new green shoots to emerge more quickly and uniformly.
- Reduces Thatch: Over time, dormant grass blades, stolons, and rhizomes can accumulate as thatch. Scalping Bermuda grass helps physically remove a significant portion of this thatch, which can otherwise impede water, nutrient, and air movement into the soil.
- Encourages Lateral Growth: Bermuda grass is a low-growing, spreading turf. Scalping encourages the plant to send out more lateral shoots (stolons) rather than focusing energy on vertical blade growth. This leads to a denser, tighter lawn.
- Minimizes Weed Pressure: By scalping and then applying a pre-emergent herbicide (more on this later) just as the soil warms, you can effectively prevent many summer annual weeds from germinating. If you scalp too late, weeds may already have a foothold.
- Prevents Cold Shock: Scalping too early, while there’s still a significant risk of frost, can severely damage the exposed grass crowns, delaying green-up or even killing parts of the lawn.
Preparation is Key: Setting Up for Success
Proper preparation is vital for a successful scalping experience. Don’t just jump straight into it; a little planning goes a long way.
Equipment Check
- Sharp Mower Blades: This cannot be stressed enough! Whether you have a rotary or reel mower, ensure your blades are freshly sharpened. Dull blades will tear the grass, leaving ragged edges that are prone to disease and make for a less clean cut. This is especially important when you scalp Bermuda grass so aggressively.
- Mower Height Adjustment: Familiarize yourself with how to adjust your mower to its absolute lowest setting.
- Safety Gear: Always wear appropriate safety glasses, closed-toe shoes, and hearing protection when operating a lawn mower. Scalping can kick up more debris than usual.
Clear the Lawn
Before you scalp Bermuda grass, walk your lawn and remove any debris. This includes fallen leaves, branches, toys, or anything that could get caught in the mower or pose a safety hazard. A clean lawn allows for a smooth, unobstructed scalping pass.
A Final Mow Before the Big Cut (Optional but Recommended)
If your lawn is particularly shaggy from the dormant season, consider doing one “normal” low mow a few days before the actual scalp. This will remove some of the bulk and make the final scalping process easier on your mower and on you. It also means less material to bag in the main scalping event.
How to Scalp Bermuda Grass Correctly
Now for the main event: the actual process of how to scalp Bermuda grass. Remember, this is an aggressive cut, so don’t be shy!
Set Mower to Lowest Possible Setting
This is where the magic happens.
- Rotary Mowers: For most rotary mowers, this will typically be between 1 to 1.5 inches. Some higher-end rotary mowers can go lower.
- Reel Mowers: If you have a reel mower, you can go significantly lower, often down to 0.5 to 1 inch. Reel mowers are designed for very low cuts and provide the cleanest finish for Bermuda grass.
The goal is to cut the grass down to the crowns, leaving behind mostly brown or straw-colored stems and exposing the soil surface. This will look dramatic, almost like you’ve mowed dirt – that’s what you want!
Make Multiple Passes (If Necessary)
If your lawn has a significant amount of dormant material, trying to cut it all down in one pass at the lowest setting can bog down your mower or leave an uneven cut.
- Gradual Reduction: It’s perfectly fine to make an initial pass at a slightly higher setting (e.g., 2 inches), bag the clippings, and then drop the mower to its lowest setting for a second or even third pass. This reduces the load on your mower and ensures a cleaner, more even scalping.
- Overlap: Overlap your mowing strips by about one-third to ensure complete coverage.
Bag or Rake Clippings – Do NOT Mulch!
This step is absolutely critical when you scalp Bermuda grass. All the brown, dormant clippings MUST be removed from the lawn.
- Why Remove?: Leaving the clippings on the lawn will defeat the purpose of scalping. They will form a thick layer of thatch that blocks sunlight, prevents soil warming, and hinders new growth. You want maximum sunlight penetration to the soil.
- Bagging: Most mowers come with bagging attachments. This is the easiest and most efficient way to collect the clippings.
- Raking: If your mower doesn’t bag, you’ll need to meticulously rake up all the clippings. This can be a significant amount of work, especially on a larger lawn. Consider purchasing a bagging attachment if you don’t have one.
Inspect the Results
After you’ve finished scalping and removed all the clippings, your lawn should look mostly bare, with a predominant straw-colored hue. You might see some faint green specks, which is fine, but the overall appearance should be quite drastically cut down. This bare look confirms you’ve effectively removed the dormant layer and exposed the soil for the upcoming growth.
After the Scalp: Nurturing New Growth
Once you’ve successfully scalped your Bermuda grass, the next steps are crucial for encouraging rapid and healthy green-up. Think of it as a post-workout recovery plan for your lawn.
Fertilization
- Timing: Apply fertilizer within a few days of scalping, once you’re confident that severe frost is no longer a threat.
- Type: Use a high-quality “starter” fertilizer or a balanced slow-release fertilizer that is suitable for spring application on warm-season grasses. Look for an N-P-K ratio like 16-4-8 or similar, providing a good kick of nitrogen for green-up, along with phosphorus for root development. Avoid excessive nitrogen at this very early stage, as it can push too much top growth before the roots are fully ready.
- Application: Follow the manufacturer’s instructions carefully for application rates to avoid over-fertilizing.
Watering
After scalping and fertilizing, your lawn will need consistent, but not excessive, moisture to encourage new growth.
- Light and Frequent: Water lightly and frequently initially, just enough to keep the top inch or two of soil moist. This helps activate the fertilizer and supports the emerging shoots.
- Avoid Overwatering: Don’t saturate the lawn, as this can lead to disease or simply wash away nutrients. As the grass greens up, you can transition to deeper, less frequent watering.
Weed Control (Pre-Emergent)
This is a critical step to prevent a flush of summer annual weeds (like crabgrass) from taking over your newly exposed lawn.
- Timing: Apply a pre-emergent herbicide *after* you scalp Bermuda grass but *before* soil temperatures consistently reach 60-65°F (15-18°C) at a 4-inch depth (the optimal germination temperature for many summer weeds). Applying it too early might mean it breaks down before the weeds germinate; too late, and they’ve already started.
- Application: Follow product instructions meticulously. Ensure even coverage.
- Caution for Seeding/Sprigging: If you plan to overseed your Bermuda grass (which is less common after scalping, but possible for repair) or sprig new areas, be aware that pre-emergents will prevent *all* seed germination, including desirable grass seed. Plan accordingly.
Mowing Gradually Back Up
Once your Bermuda grass starts actively greening up and shows significant growth (usually within 2-4 weeks after scalping), you’ll want to start mowing again.
- First Mow: Set your mower a notch or two higher than your scalping height for the first post-scalping mow.
- Gradual Increase: Over the next few weeks, gradually increase your mowing height until you reach your desired summer cutting height. For common Bermuda grass, this might be 1.5-2.5 inches. For hybrid Bermuda varieties, it could be as low as 0.75-1.5 inches.
- Frequent Mowing: Maintain a frequent mowing schedule (every 3-7 days, depending on growth rate) to prevent removing more than one-third of the blade height at any one time. This encourages density and discourages weeds.
Common Scalping Mistakes and How to Avoid Them
Even with the best intentions, mistakes can happen. Knowing what to watch out for can save you a lot of headache and help you achieve the best results when you scalp Bermuda grass.
1. Scalping Too Early
- The Mistake: Scalping while there is still a significant risk of a hard freeze.
- The Consequence: Exposing the tender grass crowns to freezing temperatures can cause severe damage or even kill portions of your lawn, leading to delayed green-up, bare spots, and an overall weaker turf.
- How to Avoid: Always monitor soil temperatures and check your local forecast for the average last frost date. Err on the side of caution and wait if cold weather is still expected.
2. Scalping Too Late
- The Mistake: Waiting until your Bermuda grass is already actively growing and significantly green.
- The Consequence: This puts immense stress on the grass, forcing it to expend energy recovering from an aggressive cut rather than channeling it into healthy growth. It can also create an open environment for weeds to germinate rapidly in the areas where you removed too much active blade.
- How to Avoid: Pay attention to those early signs of green-up and rising soil temperatures. Act promptly within that ideal window.
3. Not Removing Clippings
- The Mistake: Leaving the large volume of dormant clippings on the lawn after scalping.
- The Consequence: The clippings form a thick layer that acts as thatch, blocking sunlight, preventing the soil from warming up, and hindering new growth. This negates the primary benefits of scalping.
- How to Avoid: Always bag or thoroughly rake and remove all clippings. It’s extra work, but it’s non-negotiable for a healthy lawn.
4. Dull Mower Blades
- The Mistake: Using dull or unsharpened mower blades for the scalping process.
- The Consequence: Dull blades tear and shred the grass blades instead of making a clean cut. This stresses the plant, makes it more susceptible to disease, and leaves your lawn looking ragged.
- How to Avoid: Sharpen your mower blades (or have them professionally sharpened) before you scalp Bermuda grass. It makes a huge difference in the health and appearance of the cut.
5. Neglecting Post-Scalping Care
- The Mistake: Assuming the job is done once the grass is scalped, and then not providing proper follow-up care.
- The Consequence: Your lawn won’t receive the nutrients it needs to recover strongly, leaving it vulnerable to weeds and slow to green up.
- How to Avoid: Follow up with appropriate fertilization, consistent watering, and a timely pre-emergent application. These steps are just as important as the scalping itself.
6. Scalping a Weak or Unhealthy Lawn
- The Mistake: Aggressively scalping a lawn that is already stressed, diseased, or has underlying health issues.
- The Consequence: The stress of scalping can push an already weak lawn over the edge, leading to significant damage, prolonged recovery, or even death of turf areas.
- How to Avoid: If your lawn is struggling, address the underlying issues (e.g., pests, disease, nutritional deficiencies) first. Ensure the grass is generally healthy and robust before attempting to scalp Bermuda grass.
Conclusion
Scalping Bermuda grass is not just a chore; it’s an investment in the health and beauty of your lawn. By carefully timing this annual practice, you set the stage for a lush, dense, and vibrant turf that will be the envy of your neighborhood throughout the warmer months. Remember the golden window: late winter to early spring, guided by consistent soil temperatures around 55°F and the passing of the last hard frost.
Arm yourself with sharp blades, meticulous cleanup, and a diligent post-scalping care routine, and you’ll unlock the full potential of your Bermuda grass. Don’t fear the seemingly drastic cut; embrace it as the crucial step toward that carpet-like lawn you’ve always dreamed of. Happy scalping!