
Planting Bermuda grass seed at the right time is the single most important factor for success. The golden window is when soil temperatures consistently reach 65-75°F (18-24°C), typically late spring to early summer after the last frost. This ensures rapid germination and establishment for a dense, healthy Bermuda grass lawn.
When to Put Bermuda Grass Seed Down
Welcome, fellow lawn enthusiast! Are you dreaming of that vibrant, emerald-green lawn that can stand up to summer heat and heavy foot traffic? If you’ve chosen Bermuda grass, you’re on the right track for a tough, beautiful turf. But here’s the secret sauce to making that dream a reality: timing.
Knowing exactly “when to put Bermuda grass seed down” is perhaps the single most important decision you’ll make in your lawn care journey. Plant too early, and your seeds might just sit there, or worse, rot. Plant too late, and your young grass won’t have the strength to survive its first winter. This comprehensive guide will walk you through everything you need to know to hit that perfect window, ensuring your Bermuda grass seed germinates successfully and establishes into a lush, resilient lawn.
We’ll cover the ideal conditions, how to prepare your soil, the seeding process itself, and crucial aftercare. By the end, you’ll be armed with the knowledge to give your Bermuda grass seed the best possible start. Let’s dig in!
Key Takeaways
- Timing is Everything: The most crucial factor for successful Bermuda grass seed germination and establishment is planting at the correct time, specifically when soil temperatures are optimal.
- Optimal Soil Temperature: Aim to plant Bermuda grass seed when the soil consistently measures between 65-75°F (18-24°C) at a depth of 2-4 inches. This usually occurs late spring to early summer.
- Avoid Early & Late Seeding: Planting too early exposes seeds to cold, delaying germination or causing failure. Planting too late doesn’t allow enough time for establishment before fall dormancy, making the turf vulnerable.
- Warm-Season Grass Nature: Remember that Bermuda grass is a warm-season variety, thriving in heat. It needs prolonged warm weather to germinate and grow robustly.
- Preparation is Key: Before seeding, perform a soil test, eliminate weeds, and amend the soil as needed. Proper site preparation significantly boosts germination rates and overall lawn health.
- Consistent Moisture Post-Seeding: After spreading Bermuda grass seed, maintain consistent, light moisture until germination occurs and seedlings are established. Drying out is detrimental to young sprouts.
- Patience and Persistence: Bermuda grass can take 7-30 days to germinate. Be patient and consistent with care to ensure a successful, dense lawn.
Understanding Bermuda Grass: A Warm-Season Wonder
Before we talk about timing, it’s essential to understand what makes Bermuda grass tick. Bermuda grass (Cynodon dactylon) is a warm-season grass, which means it absolutely thrives in heat. Unlike cool-season grasses (like fescue or bluegrass) that peak in spring and fall, Bermuda grass loves the long, hot days of summer. It grows most actively when temperatures are consistently warm, enters dormancy in colder months, and turns brown. This characteristic is crucial for determining when to put Bermuda grass seed down.
Because it loves warmth, your Bermuda grass seed needs warm soil to germinate properly and efficiently. Attempting to plant when the soil is too cold is a recipe for disappointment and wasted effort.
The Golden Window: When to Put Bermuda Grass Seed Down
This is the core question, and the answer revolves around one critical factor: soil temperature.
H3: Soil Temperature is King
The most important rule for seeding Bermuda grass is to wait until your soil temperature consistently registers between 65-75°F (18-24°C). This isn’t just a suggestion; it’s a non-negotiable requirement for optimal germination.
Why is soil temperature so vital?
- Germination Trigger: Warm soil signals to the Bermuda grass seed that conditions are favorable for growth, prompting it to break dormancy and sprout.
- Rapid Growth: Once germinated, the warm soil encourages rapid root development and vigorous top growth, allowing the young seedlings to establish quickly.
- Disease Prevention: Cold, wet soil can lead to fungal diseases that attack dormant or slow-to-germinate seeds. Warm soil reduces this risk.
H3: How to Measure Soil Temperature
Don’t guess! You can easily measure your soil temperature with an inexpensive soil thermometer, available at most garden centers or online.
- When to Check: Check the soil temperature in the morning, around 9-10 AM, for a consistent reading.
- Where to Check: Measure at a depth of 2-4 inches in several spots across your lawn.
- Consistency is Key: Look for several consecutive days of readings within the 65-75°F range, not just a single warm day.
H3: Optimal Air Temperatures and Time of Year
While soil temperature is paramount, air temperature provides a good general indicator. For Bermuda grass seed, you’ll want daytime air temperatures to be consistently above 80°F (27°C) and nighttime temperatures to stay above 60°F (15°C).
This typically translates to:
- Late Spring to Early Summer: For most regions, this means late April, May, or early June, *after* all danger of frost has passed.
- Geographical Variation:
- Southern States (USDA Zones 8-11): You might be able to seed as early as April or even late March in some areas.
- Transition Zone (USDA Zones 6-7): May through early June is generally the sweet spot. You need to ensure a long enough growing season for the Bermuda grass to establish before cooler weather returns.
H3: Avoiding Early and Late Seeding
It’s equally important to know when *not* to put Bermuda grass seed down.
- Too Early (Late Winter/Early Spring):
- Risk: Cold soil means seeds won’t germinate or will germinate very slowly and weakly. They’re more susceptible to rot and diseases.
- Consequence: Wasted seed, uneven patchy growth, and frustration.
- Too Late (Late Summer/Early Fall):
- Risk: While the soil might still be warm enough for germination, the days are getting shorter, and temperatures will soon drop.
- Consequence: Young Bermuda grass seedlings won’t have enough time to develop a strong root system before winter dormancy. This makes them highly vulnerable to winter kill, and your new lawn may not survive until spring. Always aim for at least 90 days of warm growing conditions after germination before the first frost.
Practical Tip: A good rule of thumb is to look at your local average last frost date. Wait at least 2-4 weeks after that date, then start checking your soil temperature daily.
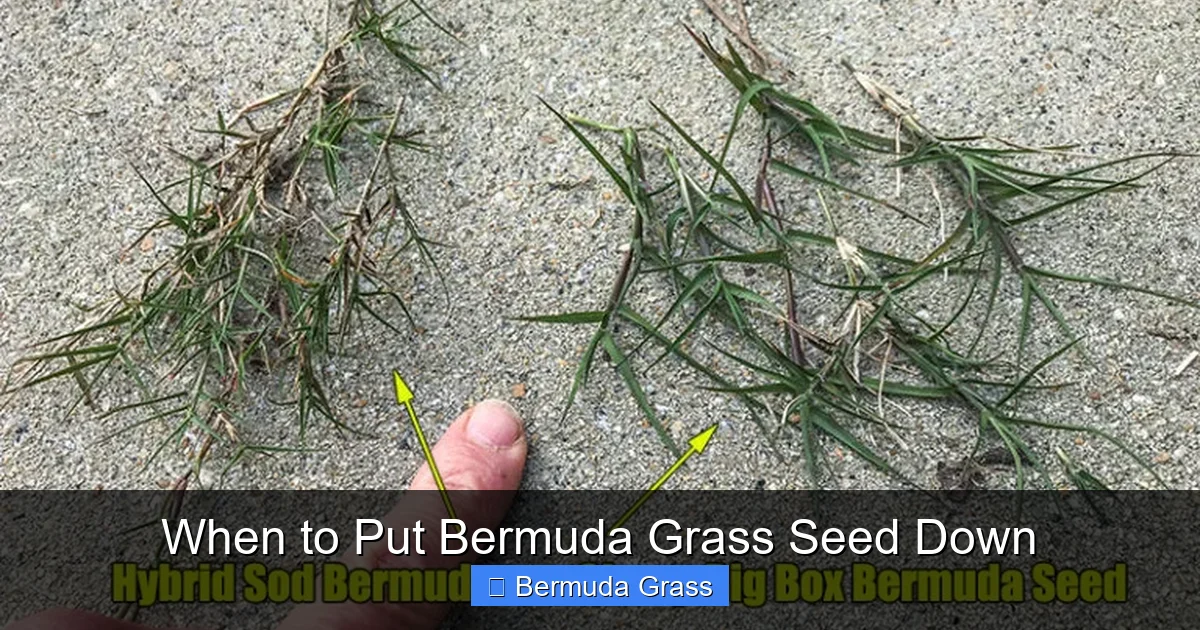
Visual guide about When to Put Bermuda Grass Seed Down
Image source: howtowithdoc.com
Preparing Your Soil for Bermuda Grass Seed
Successful germination of Bermuda grass seed isn’t just about timing; it’s also about giving those seeds the best possible home. Proper soil preparation can significantly increase your success rate.
H3: Step 1: Soil Testing
This is non-negotiable. A soil test will tell you your soil’s pH and nutrient levels, informing you about any necessary amendments. Bermuda grass prefers a soil pH between 6.0 and 7.0.
Practical Tip: Contact your local cooperative extension office for inexpensive and accurate soil testing kits and recommendations.
H3: Step 2: Weed Control
Weeds are the arch-nemesis of newly sown Bermuda grass seed. They compete for sunlight, water, and nutrients, often outgrowing and smothering delicate seedlings.
- Eliminate Existing Weeds: Use a non-selective herbicide (like glyphosate) several weeks before seeding, ensuring it has time to work and dissipate. Alternatively, manual removal is effective for smaller areas.
- Pre-Emergent Herbicides: DO NOT use a pre-emergent herbicide before seeding Bermuda grass. These products prevent *all* seeds from germinating, including your grass seed. Wait until your new lawn has been mowed several times (typically 2-3 months) before considering a pre-emergent for future weed control.
H3: Step 3: Soil Preparation and Leveling
A smooth, well-prepared seedbed is essential for good seed-to-soil contact.
- Clear Debris: Remove any rocks, sticks, or other debris.
- Till or Aerate: For new lawns or very compacted areas, till the top 4-6 inches. For overseeding existing thin lawns, aeration can be sufficient. This loosens the soil and improves drainage.
- Amend Soil: Based on your soil test, incorporate necessary amendments like compost (to improve organic matter), lime (to raise pH), or sulfur (to lower pH).
- Grade and Level: Rake the area smooth, ensuring a slight slope away from structures for drainage. Fill in any low spots.
The Seeding Process
Once your timing is right and your soil is prepared, the actual seeding is straightforward.
H3: Step 1: Spreading the Bermuda Grass Seed
- Read the Label: Always follow the seeding rate recommendations on your Bermuda grass seed package. Over-seeding can lead to weak, crowded plants, while under-seeding results in a sparse lawn.
- Use a Spreader: A broadcast or drop spreader ensures even distribution. For better coverage, divide your seed in half and apply in two passes, crisscrossing the lawn.
H3: Step 2: Lightly Covering the Seed
Bermuda grass seed needs good seed-to-soil contact but should not be buried too deeply.
- Light Raking: Gently rake the seeded area to ensure the seeds are lightly covered with about 1/8 to 1/4 inch of soil. You should still be able to see some seeds on the surface.
- Roll (Optional): For larger areas, a light rolling with a lawn roller can improve seed-to-soil contact.
H3: Step 3: Applying a Starter Fertilizer
A starter fertilizer, high in phosphorus, provides young seedlings with the nutrients they need for strong root development. Apply according to product instructions.
Crucial Post-Seeding Care
The work isn’t over once the seeds are down. The first few weeks after seeding are critical for the survival and establishment of your new Bermuda grass lawn.
H3: Consistent Watering is Paramount
This is the single most important post-seeding task.
- Keep it Moist, Not Soggy: The top 1 inch of soil must remain consistently moist. This usually means light watering 3-5 times a day for short durations (5-10 minutes each), especially during warm, sunny weather.
- Avoid Puddling: Do not let water puddle or run off, as this can wash away your seeds.
- Reduce Frequency Gradually: Once germination begins (typically 7-30 days for Bermuda grass seed) and seedlings are 1-2 inches tall, you can gradually reduce watering frequency while increasing duration to encourage deeper root growth. Aim for once or twice a day, then eventually transition to deeper, less frequent watering (e.g., 1 inch of water 2-3 times a week) as the lawn matures.
H3: First Mowing
Wait until your new Bermuda grass is 2-3 inches tall and has been established for a few weeks before its first mow.
- Sharp Blades: Ensure your mower blades are very sharp to avoid tearing the delicate young grass.
- High Setting: Set your mower to its highest setting for the first few cuts.
- Dry Grass: Mow when the grass is dry.
H3: Fertilization After Establishment
Once your Bermuda grass has been mowed a few times and is actively growing, you can switch to a regular fertilization schedule suitable for warm-season grasses. A balanced fertilizer (e.g., 16-4-8 or 15-5-10) is a good starting point.
H3: Weed Management in Young Lawns
Weeds will inevitably appear.
- Manual Removal: For the first 6-8 weeks, manual pulling of weeds is often the safest method.
- Selective Herbicides: Most selective herbicides for broadleaf weeds cannot be used on newly seeded Bermuda grass until it is well-established (after 2-3 mowings). Always check product labels carefully.
Troubleshooting Common Bermuda Grass Seeding Issues
Even with the best intentions, sometimes things don’t go exactly as planned. Here are a few common issues and how to address them.
H3: Poor or Uneven Germination
- Cause: Inconsistent soil temperature, inadequate watering (either too much or too little), burying seeds too deep, or poor seed-to-soil contact.
- Solution: Re-check soil temperature. Ensure consistent, light watering. If seeds were buried too deep, very lightly rake the area again. For patchy spots, lightly reseed those areas once conditions are right, and continue consistent watering.
H3: Weed Infestation
- Cause: Inadequate weed control before seeding, or using a pre-emergent too early.
- Solution: For young lawns, careful manual removal is often the best approach. Once the Bermuda grass is well-established (after several mowings), you can introduce selective herbicides safe for Bermuda grass.
H3: Seedlings Dying Off
- Cause: Usually related to watering (drying out between waterings), extreme heat or cold after germination, or fungal disease from prolonged wetness.
- Solution: Re-evaluate your watering schedule. Ensure soil is consistently moist but not waterlogged. If a fungal issue is suspected (e.g., damping off), improve air circulation and consider a fungicide if necessary, but careful watering is usually enough.
Conclusion
Putting Bermuda grass seed down successfully is all about timing, preparation, and diligent aftercare. By understanding that your Bermuda grass needs consistently warm soil (65-75°F or 18-24°C), typically occurring from late spring to early summer, you set the stage for success. Combine this perfect timing with thorough soil preparation, even seed distribution, and consistent, light watering, and you’ll be well on your way to enjoying a beautiful, resilient Bermuda grass lawn that’s the envy of the neighborhood. Be patient, stay consistent, and watch your hard work grow into a lush green carpet!