
Dispersing grass seed evenly is key to a beautiful lawn. This guide will walk you through the entire process, from preparing your soil to applying the seed and providing essential aftercare. By following these steps, you’ll ensure optimal germination and a thicker, healthier lawn.
Dispersing grass seed is more than just tossing seeds onto the ground. It’s a process that, when done correctly, sets the foundation for a lush, green, and healthy lawn. Whether you’re starting a new lawn from scratch, overseeding thin patches, or completely renovating your yard, understanding how to disperse grass seed effectively is a vital skill for any homeowner. This comprehensive guide will take you through every step, from preparing your soil to the final moments of aftercare, ensuring your grass seed has the best possible chance to thrive.
Getting your lawn to look its best starts with the right approach to seeding. Many factors contribute to successful germination and growth, and how you disperse your grass seed is one of the most important. We’ll cover everything you need to know, including the best times to seed, different dispersal methods, and how to give your new grass the best start in life. Let’s dive into how to disperse grass seed for a lawn you can be proud of.
- Proper soil preparation is crucial: Loosen compacted soil, remove debris, and level the ground to create an ideal seedbed.
- Choose the right time: Seeding is best done during cooler, moist periods, typically spring or fall, when temperatures are moderate.
- Select the correct dispersal method: Options include hand-spreading, using a broadcast spreader, or a drop spreader, each suited for different lawn sizes and needs.
- Apply seed evenly: Overlapping passes and using half the seed for one direction and half for a perpendicular direction ensures uniform coverage.
- Lightly cover the seed: A thin layer of soil or straw helps retain moisture and protects seeds from birds and erosion, but shouldn’t be too thick.
- Consistent watering is vital: Keep the soil consistently moist, not waterlogged, to encourage germination and seedling growth.
- Ongoing care promotes success: Once grass establishes, transition to a regular watering schedule and consider fertilization.
Step 1: Prepare Your Seedbed
Before you even think about spreading seed, you need to prepare the ground. This is perhaps the most critical step. A prepared seedbed ensures good soil contact for the seeds, which is essential for germination.
Clear the Area
Start by removing any existing debris from the area. This includes rocks, sticks, old leaves, and any weeds. If you are establishing a new lawn or dealing with a severely overgrown area, you might need to remove existing grass or weeds completely. This can be done manually or with a sod cutter, or by using a non-selective herbicide and waiting for it to kill the existing vegetation before clearing it away.
Loosen the Soil
Grass seed needs loose soil to root properly. Compacted soil makes it hard for roots to penetrate, and it also hinders water drainage and air circulation. Use a tiller, garden fork, or dethatcher to break up any compacted soil to a depth of at least 4-6 inches. If you have clay soil, you might want to mix in some compost or other organic matter to improve its texture and drainage. This is also a good time to incorporate any necessary soil amendments, based on a soil test, to ensure your grass has the nutrients it needs. Choosing the right soil is crucial for new grass seed.
Level the Ground
Once the soil is loosened, you need to level the area. Rake the soil to break up any large clumps and remove any remaining small stones or debris. Fill in any low spots and gently break down any high spots. A smooth, level surface will ensure more even seed distribution and prevent water from pooling in certain areas. A final pass with a garden rake will create a smooth, firm seedbed. You want the soil to be firm enough to walk on without sinking deeply, but still loose enough for root growth.
Step 2: Choose the Right Time to Seed
The timing of your grass seed dispersal can significantly impact its success. Different grass types have optimal seeding times based on temperature and moisture.
Cool-Season Grasses
Cool-season grasses, like fescues, ryegrass, and bluegrass, thrive in cooler temperatures. The best time to seed these is typically in the early fall, from late August to mid-October, or in early spring, from March to May, once the soil has begun to warm up. Fall is often preferred because the soil is still warm from summer, providing good germination conditions, and cooler temperatures and increased rainfall in fall and winter help establish the grass before summer heat arrives. This also gives weeds less of a competitive advantage.
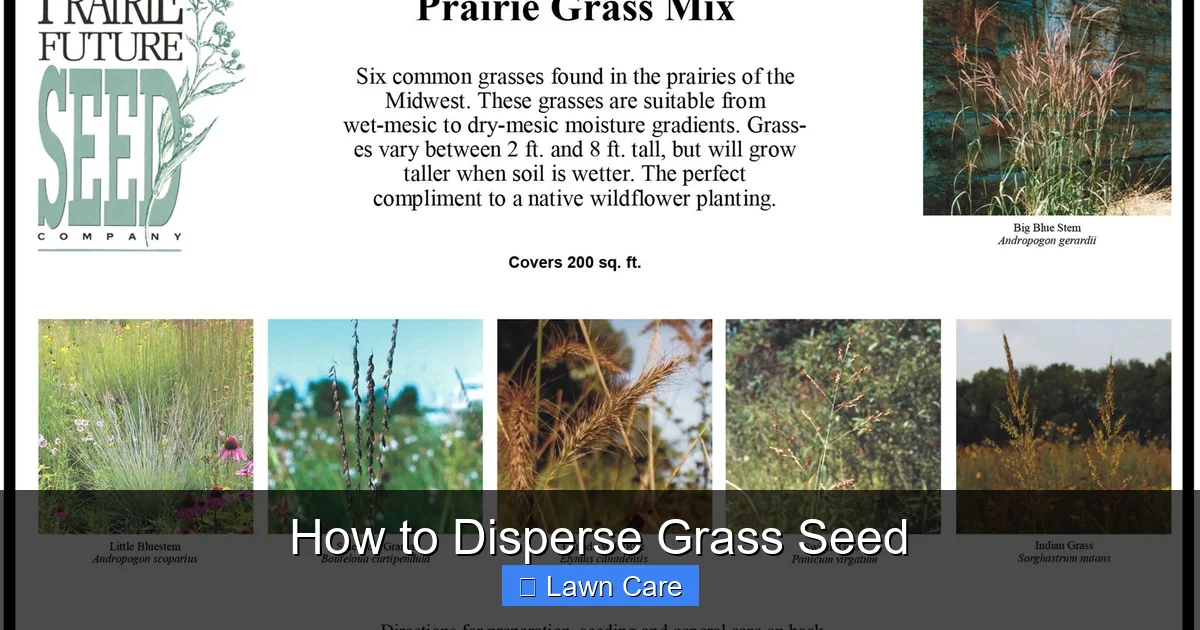
Visual guide about How to Disperse Grass Seed
Image source: prairiefutureseed.com
Warm-Season Grasses
Warm-season grasses, such as Bermuda grass, zoysia grass, and centipede grass, prefer warmer temperatures. The ideal time to seed these is in late spring or early summer, generally from May to July, when soil temperatures are consistently warm. Planting too early means the seeds won’t germinate well, and planting too late might not give the grass enough time to establish before cooler weather sets in. For example, [how to plant Bermuda grass seed in Texas] is a common query because Texas has specific climate considerations for warm-season grasses.
Consider Weather Conditions
Beyond the season, consider the immediate weather. Aim for a period of consistent, mild temperatures and no extreme heat or frost. A few days of overcast skies or light, consistent rain in the forecast can be beneficial. Avoid seeding during periods of heavy rain or strong winds, as this can wash away the seeds or prevent even dispersal. It’s also important to note [how cold is too cold to plant grass seed], as extreme cold can prevent germination or kill seedlings.
Step 3: Select Your Grass Seed
Before you disperse, make sure you have the right seed for your lawn and climate.
Choose the Right Seed Mix
Select a grass seed mix that is suitable for your climate zone, the amount of sunlight your lawn receives, and how you use your lawn (e.g., high traffic vs. low traffic). Look for seed mixes recommended for your region. For example, if you are in a region that experiences hot summers and mild winters, you might be looking at [how to choose the best grass seed for your lawn] that can withstand these conditions.
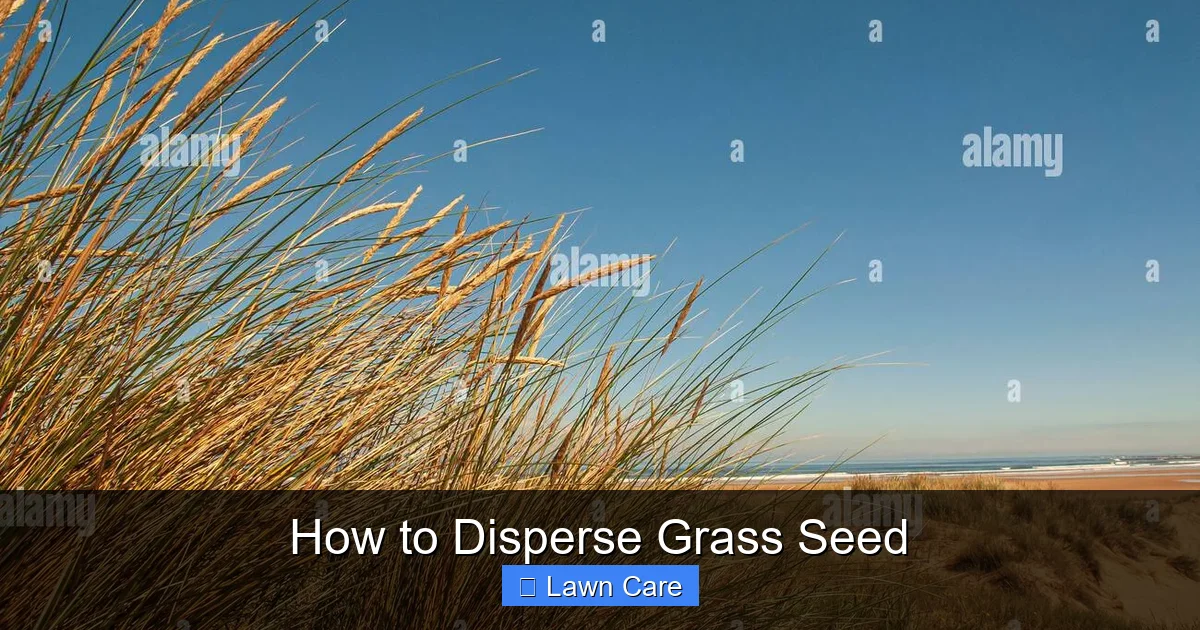
Visual guide about How to Disperse Grass Seed
Image source: c8.alamy.com
Check Seed Quality
Purchase fresh seed from a reputable supplier. Check the seed tag for the germination rate and the weed seed content. A higher germination rate means more seeds are likely to sprout, and a low weed seed content will prevent you from introducing unwanted plants into your lawn. Ensure the seed is not expired.
Step 4: Disperse the Grass Seed
This is where the magic happens – getting the seed onto your prepared seedbed. There are several effective methods, and the best one for you depends on the size of your lawn and your preference.
Method 1: Hand-Spreading (for small areas)
For very small areas, like a bare patch or a small garden bed, you can disperse grass seed by hand.
How to Hand-Spread
- Measure out the recommended amount of seed for the area you are seeding. Seed bags usually provide coverage rates.
- Hold a small handful of seed and scatter it evenly over the soil surface.
- Try to toss the seed with a slight flick of your wrist to get a wider, more even distribution.
- Walk back and forth across the area, overlapping your passes slightly to ensure no spots are missed and no areas are over-seeded.
This method requires a bit of practice to achieve even coverage, so be patient and try to visualize yourself as a seed-spreading machine.
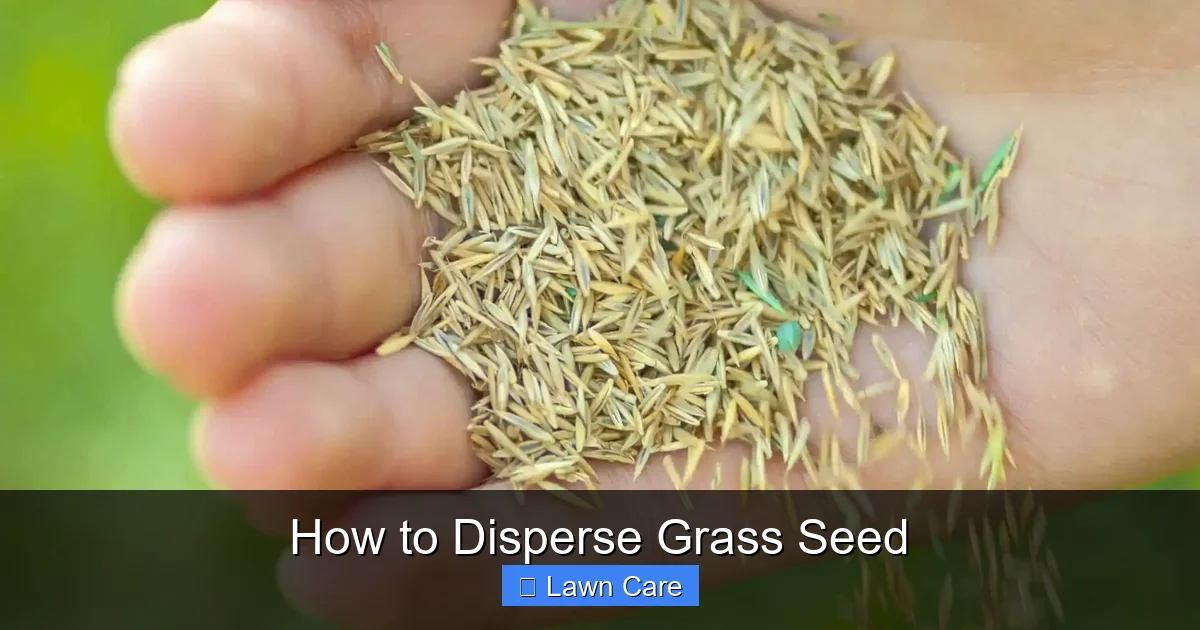
Visual guide about How to Disperse Grass Seed
Image source: snappyliving.com
Method 2: Using a Broadcast Spreader (for medium to large lawns)
A broadcast spreader is an excellent tool for distributing seed over larger areas. It casts seeds out in a wide arc.
How to Use a Broadcast Spreader
- Calculate the total amount of seed needed for your lawn area.
- Adjust the spreader settings according to the instructions on the seed bag. Most seed manufacturers provide recommended settings for common spreader models.
- Fill the hopper with seed. Do not overfill, as this can make the spreader heavy and difficult to maneuver.
- Start spreading from the edge of the area you are seeding.
- Walk at a steady pace. Engage the spreader and walk back and forth in a pattern, slightly overlapping each pass to ensure even coverage. Think of it like mowing your lawn – use parallel lines and overlap each pass.
- For very thorough coverage, many people recommend applying half the seed in one direction (e.g., north-south) and the other half in a perpendicular direction (e.g., east-west). This is a very effective way to [disperse grass seed] evenly.
- Avoid spreading seed on windy days, as this can lead to uneven distribution.
Broadcast spreaders are efficient but can sometimes lead to clumping if not used carefully. Overlapping your passes is key to a uniform distribution.
Method 3: Using a Drop Spreader (for precise application)
A drop spreader releases seed directly in a straight line from the hopper. This method offers more precision and is useful for smaller, more defined areas or for very accurate overseeding.
How to Use a Drop Spreader
- Calculate the amount of seed needed and set the spreader according to the seed manufacturer’s recommendations.
- Start by walking along the edges of the area, letting the seed drop just inside the border.
- Proceed to spread the seed in parallel lines, ensuring the seed from one pass slightly overlaps the seed from the previous pass.
- Again, consider spreading half the seed in one direction and the other half in a perpendicular direction for the most even coverage.
- Drop spreaders are excellent for avoiding overlapping and double-seeding, which can lead to grass growing too thick and competing with itself. This precision is especially helpful when you’re looking to [how to patch lawn with leftover grass seed] in specific spots.
Drop spreaders are great for straight lines and precise control, making them ideal for smaller lawns or when you need to be extra careful about coverage.
Step 5: Lightly Cover the Seed
Once the seed is dispersed, it needs a little help to stay in place and germinate.
Incorporating the Seed
After spreading, you want to ensure good seed-to-soil contact. You can gently rake the area to lightly push the seed into the top layer of soil. Be careful not to bury the seed too deep; most grass seeds need to be at a depth of about 1/8 to 1/4 inch. Too deep, and they won’t sprout; too shallow, and they might dry out or be washed away.
Using a Roller or Light Top Dressing
For small areas, you can use a lawn roller or even your feet to gently firm the soil over the seeds. For larger areas, a lightweight lawn roller can be used. Alternatively, you can apply a very thin layer of straw or compost over the seeded area. This helps retain moisture, protects the seeds from birds and erosion, and moderates soil temperature. Be sure the layer is thin enough that light can still reach the seeds. An excessive amount of straw can smother the emerging grass. A good rule of thumb is to be able to see about 50-70% of the soil through the straw layer. This is especially important when considering [how much straw to cover grass seed].
Step 6: Water Consistently
Watering is absolutely critical for seed germination and the survival of young grass seedlings. The goal is to keep the soil consistently moist but not saturated.
Initial Watering
Immediately after dispersing and covering the seed, water the area thoroughly but gently. Use a fine spray setting on your hose or sprinkler to avoid washing the seeds away. The goal is to moisten the soil deeply.
Ongoing Watering
For the next 2-3 weeks, or until the grass is well-established (about 1-2 inches tall), you need to water frequently. This might mean watering once or twice a day, depending on the weather conditions and your soil type. Check the soil moisture by digging a finger into the ground; if it feels dry an inch down, it’s time to water. Consistent moisture is key to successful germination and growth. [How often to water Bermuda grass seed] will differ from other types, so always check specific recommendations. Proper watering helps answer the question of [how to get grass seed to grow].
Adjust Watering as Grass Grows
As the grass seedlings grow taller, you can gradually reduce the frequency of watering but increase the duration of each watering session. This encourages the roots to grow deeper, making the lawn more drought-tolerant. Once the grass is about 3 inches tall, you can transition to a more typical lawn watering schedule. Learning [how to water new grass seed properly] is a cornerstone of a healthy lawn.
Step 7: Ongoing Care and Maintenance
Once your grass starts to grow, the job isn’t quite done. Ongoing care will ensure your new lawn thrives.
First Mowing
Wait until the new grass reaches about 3 inches in height before mowing for the first time. Set your mower to its highest setting and only cut off the top third of the grass blades. This prevents shocking the young grass. Avoid mowing when the grass is wet.
Fertilizing
Your new grass will benefit from a starter fertilizer applied when you seed, or a few weeks after germination. Follow the fertilizer package instructions carefully. As the grass matures, you’ll transition to a regular fertilizing schedule suitable for your grass type.
Weed Control
New grass seedlings are vulnerable to weeds. Keep your lawn well-watered and healthy to help it outcompete weeds. If necessary, use a weed control product specifically labeled for use on new lawns, or hand-pull weeds.
Troubleshooting Common Seeding Issues
Sometimes, despite your best efforts, problems can arise. Here are a few common issues and how to address them.
Uneven Germination
Cause: Uneven seed distribution, inconsistent watering, or poor soil contact.
Solution: For future seeding, pay extra attention to even dispersal and watering. For existing patches, you might need to overseed those areas in the next appropriate seeding window. You can also try to [how to patch lawn with leftover grass seed] in the affected spots.
Birds Eating the Seed
Cause: Birds are attracted to the readily available food source.
Solution: Using a thin layer of straw or netting can help deter birds. Sometimes, simply ensuring the seed is lightly pressed into the soil can make it less appealing. There are also specific products designed to [how to stop birds from eating grass seed].
Washing Away
Cause: Heavy rain or strong winds shortly after seeding, especially on slopes.
Solution: For slopes, consider using a seed-starting mulch or erosion control blankets. On flatter areas, a light layer of straw can help anchor the seeds. In the future, monitor the weather forecast before seeding.
Drying Out
Cause: Insufficient watering, hot temperatures, or sandy soil.
Solution: Increase watering frequency, especially during hot spells. Consider amending sandy soil with compost to improve moisture retention.
Conclusion
Dispersing grass seed effectively is a skill that combines preparation, careful application, and diligent aftercare. By following the steps outlined in this guide, from preparing a healthy seedbed and choosing the right time to sow, to employing the best dispersal method for your lawn and providing consistent moisture, you are well on your way to achieving a beautiful, thick, and green lawn. Remember that patience is key, and understanding the specific needs of your grass type and local climate will greatly enhance your success. With a little effort and attention to detail, your lawn can transform from bare earth into a vibrant outdoor space.