Don’t have a lawn aerator machine? No problem! This guide reveals how to aerate your lawn without specialized equipment, promoting deeper root growth and better nutrient absorption. We’ll walk you through effective manual methods to achieve a healthier, more vibrant lawn, even with compacted soil.
# How to Aerate Lawn Without Machine
Is your lawn looking a little sad? Does water pool on the surface after rain, or does your grass struggle to grow thick and green? These could be signs of compacted soil. Compacted soil prevents essential elements like air, water, and nutrients from reaching your grass’s roots. The solution? Aeration! While many people think of noisy, expensive machines, you can absolutely aerate your lawn effectively without one.
This guide will show you how to achieve a healthier, more vibrant lawn using simple, readily available tools and techniques. We’ll cover everything from understanding why aeration is important to the best manual methods and how to care for your lawn afterward. Get ready to transform your turf without breaking the bank!
## Why Aerate Your Lawn?
Before diving into the “how,” let’s quickly touch on the “why.” Aeration is the process of creating small holes in the soil. This might sound counterintuitive, but these holes are vital for your lawn’s health.
* Relieves Compaction: Over time, foot traffic, heavy machinery, and even natural soil settling can compact your lawn. This compaction squeezes out air pockets, making it hard for roots to grow. Aeration breaks up this compaction.
* Improves Air Circulation: Grass roots need oxygen to survive and thrive. Compacted soil suffocates them. Aeration allows fresh air to penetrate the soil.
* Enhances Water Absorption: When soil is hard and compacted, water tends to run off the surface, leading to dry spots and wasted water. Aeration creates pathways for water to soak into the soil, providing deep hydration to the roots.
* Boosts Nutrient Uptake: Just like air and water, nutrients need to reach the roots. Aeration opens up the soil, making it easier for fertilizers and beneficial microbes to be absorbed.
* Promotes Deeper Root Growth: With easier access to air, water, and nutrients, grass roots can grow deeper. Deeper roots make your lawn more resilient to drought, heat, and stress.
* Reduces Thatch Buildup: While thatch is natural, excessive buildup can be detrimental. Aeration helps break down this layer, allowing organic matter to decompose properly.
## When to Aerate Your Lawn Manually
Timing is everything when it comes to lawn care. Aerating at the right time ensures your grass can recover quickly and benefit the most from the process.
* Cool-Season Grasses: These include varieties like fescue, ryegrass, and bluegrass. The best time to aerate is during their active growing seasons, which are typically **spring** (late March to May) and **early fall** (September to October). Early fall is often preferred as it allows for good root development before winter and recovery before summer heat.
* Warm-Season Grasses: These include types like Bermuda, Zoysia, and St. Augustine. They are best aerated in **late spring or early summer** when they are actively growing and have enough time to recover before cooler weather sets in.
Avoid aerating when:
* The grass is dormant: This means during the hottest part of summer or the coldest part of winter. The grass won’t recover well.
* The soil is too wet: This can cause more harm than good, leading to mud and deeper compaction from your tools.
* The soil is extremely dry and hard: It will be very difficult to penetrate the soil, and you might damage your tools or yourself. Watering the area lightly a day or two beforehand can help, but avoid making it muddy.
A good indicator is to check the soil moisture. If you can easily push a screwdriver into the ground, it’s likely ready for aeration. If it’s rock hard, it needs a little moisture. This is where you might consider how to maintain lawn without a sprinkler system if you rely on natural rain.
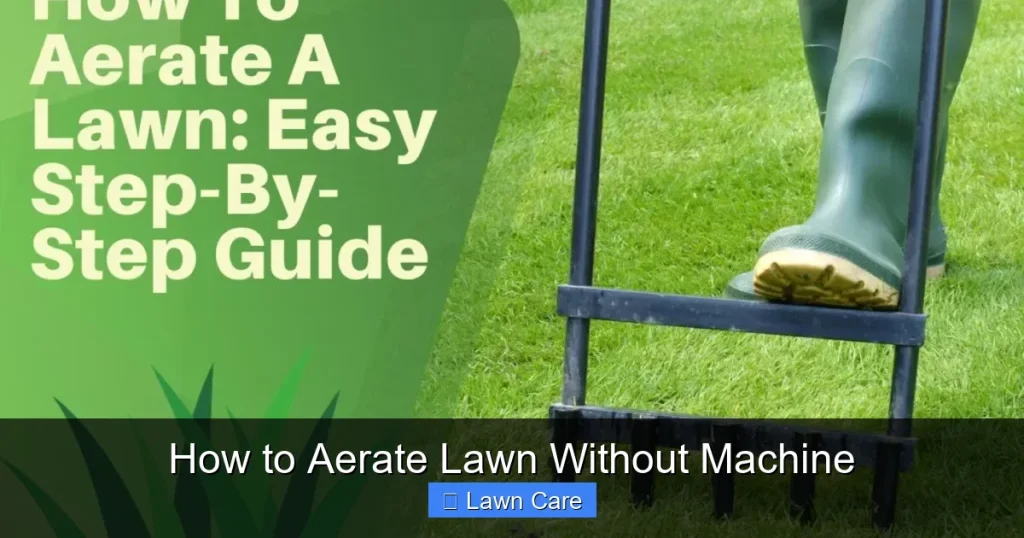
## How to Aerate Your Lawn Without a Machine: The Garden Fork Method
This is by far the most accessible and effective way to aerate your lawn manually. You likely already have a garden fork, or a pitchfork can also work.
### Step 1: Prepare Your Lawn
* Mow the Grass: Mow your lawn a day or two before you plan to aerate. Cutting the grass slightly shorter (but not too short!) will make it easier to insert the fork into the soil without bending or damaging the grass blades. Make sure your mower blades are sharp, which you can learn more about in our guide on [how to sharpen lawn mower blades without taking them off](https://lawnhelpful.com/how-to-sharpen-lawn-mower-blades-without-taking-them-off-2/).
* Clear Debris: Remove any rocks, sticks, toys, or other debris from the lawn. This will prevent them from getting in the way and potentially damaging your tools or causing injury.
* Lightly Water (Optional but Recommended): If your soil is very dry and compacted, water the lawn lightly the day before. You want the soil to be moist enough to penetrate easily, not waterlogged or muddy.
### Step 2: The Aeration Process
This is where the work happens! The goal is to push the fork tines into the soil and lift slightly to create an opening.
* Insert the Fork: Position the garden fork over the area you want to aerate. Aim to push the tines into the soil to a depth of about 3-4 inches. This depth is crucial for reaching the compacted layers where roots struggle.
* Apply Pressure: Lean your body weight onto the fork’s handle to drive the tines into the ground. You might need to step on the fork’s crossbar if it has one for added leverage.
* Wiggle and Lift: Once the tines are fully inserted, gently wiggle the fork back and forth and lift slightly. This action creates a small plug of soil and loosens the surrounding area, opening up the hole.
* Remove the Fork: Pull the fork straight up. You should leave a small void in the soil.
* Repeat and Overlap: Move the fork about 2-3 inches over and repeat the process. It’s important to overlap your holes slightly to ensure good coverage. You’re aiming for a grid pattern.
* Focus on Problem Areas: Pay extra attention to areas that are particularly compacted, like high-traffic paths or spots where water tends to pool.
Tip: If you find it difficult to insert the fork, the soil might still be too dry. Try watering again or wait for a more favorable soil moisture level. If the soil is too wet, you’ll create muddy messes. Aim for that “spongy” but firm feel. This manual process is also an excellent way to [aerate compacted lawn with garden fork](https://lawnhelpful.com/how-to-aerate-compacted-lawn-with-garden-fork) on a smaller scale.
### Step 3: What to Do with the Soil Plugs
When you use a garden fork, you’ll notice that small plugs or cores of soil are lifted. Don’t worry about these!
* Let Them Decompose: For most lawns, it’s perfectly fine to leave these soil plugs on the surface. As they dry out, they will crumble and break down naturally. The decomposed soil then works its way back into the lawn, adding nutrients.
* Break Them Up (Optional): If the plugs are large or you’re in a hurry, you can gently break them up with the back of a rake or even by walking over them. This speeds up the decomposition process.
This method is a more intensive version of what you might do to [aerate lawn manually with a fork](https://lawnhelpful.com/how-to-aerate-lawn-manually-with-a-fork).
## Other Manual Aeration Methods
While the garden fork is the most common, here are a few other options for smaller areas or specific situations:
### The Spiked Shoes Method
Spiked shoes, also known as aerator sandals, are designed to be worn over your regular shoes. They have spikes that penetrate the soil as you walk.
* How it Works: Simply strap them on and walk around your lawn. The spikes create small holes in the soil.
* Pros: Easy to use, requires no bending or heavy lifting, good for light aeration and maintenance.
* Cons: Spikes are usually not very long, so they may not penetrate deeply enough for severely compacted soil. It’s more of a preventative measure than a solution for major compaction.
### The Hand Aerator Tool
These are smaller, hand-held tools that work similarly to a garden fork but on a smaller scale. They often have hollow tines that extract small cores of soil.
* How it Works: You push the tool into the ground, twist, and pull out a soil core.
* Pros: Good for small, targeted areas or for aerating around plants and garden beds where a large fork might be cumbersome. Offers more control than spiked shoes.
* Cons: Very labor-intensive for a large lawn. May not reach as deep as a garden fork.
### The Screwdriver Method (for very small areas)
For tiny bare patches or extremely localized compaction, a sturdy screwdriver can be used.
* How it Works: Push the screwdriver into the soil to create a hole, then wiggle it to widen the opening.
* Pros: Uses a common household item, good for quick spot treatments.
* Cons: Only practical for very small sections of lawn.
## Post-Aeration Care: Maximizing the Benefits
Aerating your lawn is only half the battle. Proper follow-up care will ensure you get the most out of your efforts and see a significant improvement in your lawn’s health.
### Overseeding
Aeration creates ideal conditions for new grass seed to germinate and establish. The open soil allows seeds to make good contact with the soil and receive the moisture and nutrients they need.
* Timing: If you plan to overseed, do it shortly after aerating. This is especially true for cool-season grasses in the fall.
* Application: Spread a quality grass seed mixture evenly across the aerated lawn. You can use a broadcast spreader for larger areas or do it by hand for smaller lawns.
* Light Raking: Gently rake the seed into the soil to ensure good seed-to-soil contact.
If you want a greener lawn, you might be interested in learning how to [make lawn greener without chemicals](https://lawnhelpful.com/how-to-make-lawn-greener-without-chemicals).
### Fertilizing
Aeration allows fertilizers to penetrate the soil more effectively, reaching the roots where they are needed most.
* When to Apply: You can apply a balanced lawn fertilizer a week or two after aerating and overseeding, or as part of your regular fertilizing schedule.
* Type of Fertilizer: A starter fertilizer with a higher phosphorus content can be beneficial for new seed germination.
### Watering
Proper watering is critical after aeration, especially if you’ve overseeded.
* For Seeded Areas: Keep the newly seeded areas consistently moist. This means light watering several times a day, particularly during dry periods, until the seedlings are established.
* For Non-Seeded Areas: Water deeply and less frequently to encourage roots to grow deeper into the soil. Allow the soil surface to dry slightly between waterings.
### Topdressing (Optional)
Topdressing involves spreading a thin layer of compost or a compost/soil blend over the lawn.
* Benefits: It further improves soil structure, adds nutrients, and helps retain moisture.
* Application: Spread a thin layer (about 1/4 inch) over the aerated lawn, especially after overseeding. Rake it in gently so it doesn’t smother the new seedlings.
## Troubleshooting Common Issues
* Difficulty Penetrating Soil:
* Problem: Soil is too dry.
* Solution: Water the lawn lightly the day before and wait for the soil to become moist but not soggy.
* Soil is Muddy and Clumpy:
* Problem: Soil is too wet.
* Solution: Wait for the soil to dry out a bit. Aerating when it’s too wet can cause more compaction.
* Not Seeing Results:
* Problem: Aeration was too shallow, not frequent enough, or post-care was insufficient.
* Solution: Ensure you’re inserting the tines deeply (3-4 inches). Aerate at least once a year. Follow up with overseeding and proper watering. For heavily compacted areas, you might need to aerate multiple times over a season or year.
## Conclusion
Don’t let compacted soil hold your lawn back! You can achieve excellent aeration results with simple, manual methods. Using a garden fork is an effective, budget-friendly way to create the necessary openings in your soil, allowing air, water, and nutrients to reach your grass’s roots. Remember to time your aeration correctly, be thorough in your efforts, and follow up with proper care like overseeding and watering. With a little effort and the right approach, your lawn will thank you with improved health and lush, green growth. Enjoy your revitalized lawn!
Key Takeaways
- Manual aeration significantly improves soil health by relieving compaction, allowing air, water, and nutrients to reach grass roots more effectively.
- Using a garden fork is the most accessible method for homeowners, requiring minimal tools and effort for noticeable results.
- Proper timing is crucial: Aerate when your grass is actively growing, typically in spring or early fall, to allow for quick recovery.
- Consistency is key: Regular manual aeration, even just once a year, makes a substantial difference in lawn vitality over time.
- Post-aeration care, like overseeding and proper watering, helps maximize the benefits of the process for a lusher lawn.
- Hand tools like pitchforks or even sturdy spikes can be effective for smaller lawns or specific compacted areas.