
Adding lighting to your garden path enhances safety and beauty. This guide walks you through planning, choosing fixtures, and installation for a welcoming outdoor space. Discover how to create a stunning and functional garden path with practical advice and step-by-step instructions.
Transform your garden by adding lighting to your garden path. It’s more than just illumination; it’s about creating an inviting atmosphere, enhancing safety, and showcasing your beautiful landscape. Whether you want to guide visitors safely after dark or add a magical glow to your evening strolls, path lighting is a fantastic addition. This comprehensive guide will show you exactly how to add lighting to your garden path, from initial planning to the final flick of the switch.
Adding garden path lighting can seem daunting, but it’s an achievable DIY project. You’ll learn about different lighting options, how to power them, and the steps to install them yourself. Get ready to extend the enjoyment of your garden into the night!
- Plan Your Lighting Design: Consider the path’s purpose, your desired ambiance, and safety needs before buying any lights.
- Choose the Right Fixture Types: Select from spotlights, path lights, deck lights, or string lights based on their intended effect and placement.
- Understand Power Options: Decide between low-voltage, solar, or line-voltage systems, each with pros and cons for installation and maintenance.
- Prepare the Path: Ensure the path is clear and, if burying wires, dig trenches safely and efficiently.
- Install the Lighting System: Follow manufacturer instructions carefully for connecting fixtures, transformers, and power sources.
- Test and Adjust: Once installed, test your lighting and make adjustments to ensure even illumination and the desired aesthetic.
Step 1: Plan Your Garden Path Lighting Design
Before you buy a single light fixture, take time to plan. A well-thought-out design ensures your lighting serves its purpose effectively and looks beautiful.
Assess Your Path’s Purpose and Layout
First, consider the primary function of your garden path. Is it a main walkway to your front door, a meandering trail through flower beds, or a path to a patio or seating area? The path’s width, length, and any curves or inclines will influence your lighting needs. A wider path might need more lights, while a narrow, winding one might benefit from strategically placed, smaller fixtures.
Determine Your Desired Ambiance
Think about the mood you want to create. Do you prefer bright, functional lighting for clear visibility, or a softer, more subtle glow for a romantic or tranquil feel? The type of light, its color temperature, and its intensity all contribute to the ambiance. For a warm, inviting feel, opt for warm white lights (around 2700K). For a more modern look or brighter task lighting, a cooler white (3000K-4000K) might be better.
Consider Safety and Security
Path lighting is crucial for safety. It prevents trips and falls, especially on steps or uneven surfaces. It can also deter potential intruders by illuminating dark areas of your property. For safety, focus on ensuring the entire path is visible, with no dark spots.
Sketch a Lighting Plan
Grab a piece of paper and sketch your garden path. Mark where you’ll place each light fixture. Consider:
- Spacing: How far apart should the lights be? A general rule for path lights is to space them every 8-10 feet, but adjust this based on the light’s spread and your path’s width.
- Height: Path lights are typically low to the ground, often 12-24 inches high. Spotlights might be higher to cast a beam downwards.
- Direction: Where should the light be directed? Downward-facing lights prevent glare and create softer illumination. Lights aimed at plants or features can add visual interest.
If your path has steps, ensure each step is clearly lit.
Step 2: Choose Your Garden Path Lighting Fixtures

Visual guide about How to Add Lighting to Garden Path
Image source: garden.lighting
There are many types of garden path lights available. Your choice will depend on your design plan, aesthetic preferences, and budget.
Path Lights
These are the most common type of garden path lighting. They are typically low-profile fixtures designed to be placed along the edge of a path. They cast light downwards, illuminating the walkway and the surrounding ground. They come in various styles, from modern metal designs to more traditional lantern-like fixtures.
Spotlights/Uplights
While often used to highlight trees or architectural features, spotlights can also be used to illuminate a garden path. Mount them on stakes or poles at a distance and angle them to cast light onto the path. This can create dramatic effects and highlight interesting textures along the way. You might also use them to illuminate plants flanking the path.
Deck Lights/Recessed Lights
These are small, often round lights that can be installed directly into the surface of a path (if it’s made of wood, stone, or composite material) or along its edges. They provide a clean, modern look and offer excellent illumination without being obtrusive.
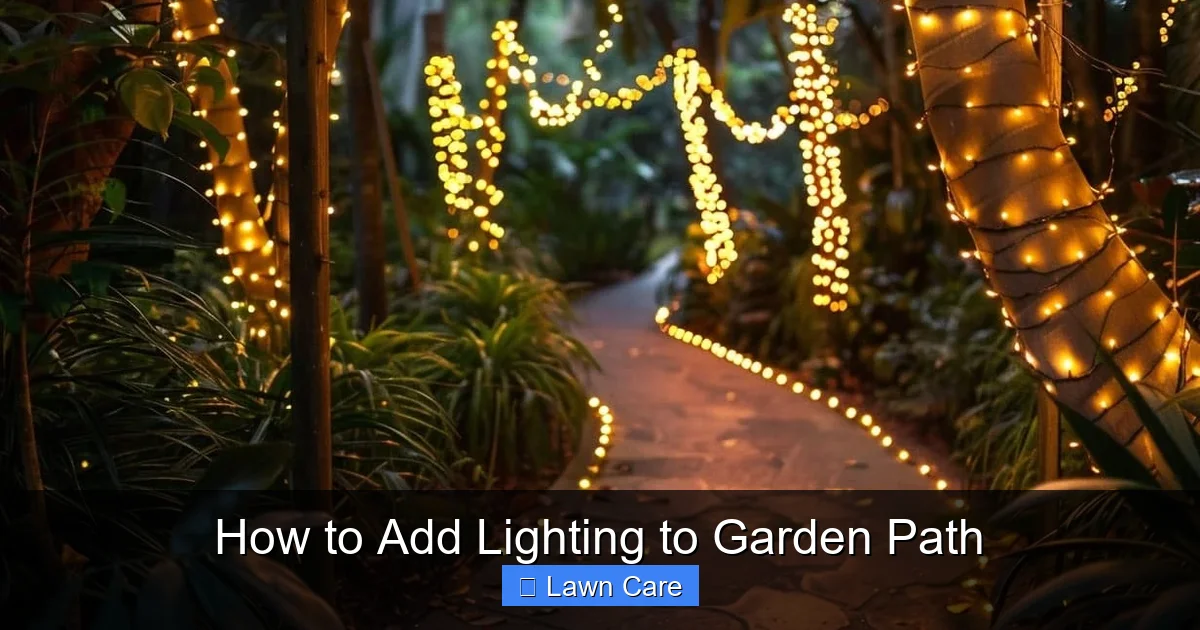
String Lights/Fairy Lights
For a whimsical or festive atmosphere, consider string lights. You can string them overhead above the path, or place them along the sides using stakes. They offer a softer, more diffused light and are great for creating a magical ambiance.
Step Lights
If your path has any changes in elevation with steps, step lights are essential for safety. These are small fixtures mounted directly onto the riser of each step to illuminate it clearly.
Step 3: Select a Power Source
Visual guide about How to Add Lighting to Garden Path
Image source: garden.lighting
The power source for your garden path lighting is a crucial decision. It impacts installation complexity, maintenance, and energy consumption.
Low-Voltage Lighting Systems
This is the most popular choice for DIY garden lighting. Low-voltage systems operate at 12 volts, making them safe to install and easy to work with.
- Components: A low-voltage system typically includes:
- Transformer: This converts your home’s 120-volt current down to 12 volts. It’s usually plugged into an outdoor GFCI-protected outlet.
- Cable: Special low-voltage cable (also known as landscape wire) is buried or laid on the ground to connect the transformer to the fixtures.
- Fixtures: The lights themselves, which connect to the cable using waterproof connectors.
- Pros: Safe, energy-efficient, flexible placement, wide variety of fixtures, relatively easy DIY installation.
- Cons: Requires a transformer and GFCI outlet, cable needs to be buried or secured, initial cost can be higher than solar.
Solar-Powered Lighting
These lights have a solar panel, battery, and LED bulb all in one unit. They are incredibly easy to install – just place them where they get direct sunlight.
- Pros: No wiring, no electricity bill, eco-friendly, very easy installation, portable.
- Cons: Light output can be less consistent (dependent on sun exposure), brightness may be lower than low-voltage, batteries need occasional replacement, less durable in some models.
Solar lights are best for accent lighting or areas where running wires is difficult.
Line-Voltage (120-Volt) Lighting
These systems use standard household current.
- Pros: Brighter light output, can power more lights over longer distances.
- Cons: Requires professional installation due to electrical hazards, more expensive to run, less DIY-friendly.
For most DIY garden path lighting projects, low-voltage systems are the recommended choice.
Step 4: Gather Your Tools and Materials

Visual guide about How to Add Lighting to Garden Path
Image source: static.vecteezy.com
Once you have your plan and chosen your lights, gather everything you’ll need.
Essential Tools
- Shovel or trenching tool
- Wire strippers/cutters
- Screwdrivers (Phillips and flathead)
- Pliers
- Measuring tape
- Work gloves
- Safety glasses
- Ground penetrating radar (optional, for professional digging to avoid utility lines)
- Wire connectors (waterproof)
- Landscape staples or stakes (if not burying wire)
Materials
- Light fixtures (number and type according to your plan)
- Low-voltage transformer (sized correctly for your total wattage)
- Low-voltage cable (sufficient length to reach all fixtures and the transformer)
- Outdoor-rated extension cord (if needed to reach an outlet for the transformer)
- Timer or photocell (optional, for automating on/off times)
Step 5: Install Your Garden Path Lighting System
This is where your planning comes to life. Follow these steps carefully for a successful installation.
Prepare the Path
Clear any debris, rocks, or vegetation from the path’s edges where you plan to install lights or bury wires. If you are burying the low-voltage cable, you’ll need to dig trenches.
Digging Trenches (for Low-Voltage Systems)
- Mark the Trench: Use string or spray paint to mark the line where you’ll dig, usually a few inches from the path’s edge.
- Dig the Trench: Dig a trench about 6-8 inches deep. This protects the cable from accidental damage. If you’re unsure about underground utilities, call 811 before digging. This is a crucial safety step to avoid hitting gas lines or electrical cables.
- Lay the Cable: Carefully lay the low-voltage cable in the bottom of the trench.
- Backfill: Once all wires are laid and connections made, backfill the trench, tamping down the soil gently.
If you’re not burying the cable, you can lay it on the surface and secure it with landscape staples, or conceal it under mulch or along garden bed edges.
Install the Transformer
- Placement: Choose a location near a GFCI-protected outdoor outlet, but not directly in the path of foot traffic or sprinklers.
- Connection: Plug the transformer into the outlet. Ensure it’s rated for outdoor use.
- Wire Connection: Connect the low-voltage cable to the output terminals on the transformer, following the manufacturer’s instructions. There are usually two terminals for the 12-volt output.
Place and Connect the Light Fixtures
- Position Lights: Place each light fixture at its planned location along the path. Many path lights have stakes to push them into the ground.
- Cut and Strip Wire: For each fixture, cut a length of low-voltage cable to reach it from the main cable run. Use waterproof wire connectors to attach the fixture’s leads to the main cable. Strip a small amount of insulation from the ends of the wires before connecting them.
- Secure Connections: Ensure all connections are secure and watertight. Many low-voltage systems come with specialized connectors that don’t require stripping wires, making the process easier and more reliable.
- Aim Lights: Once physically in place, adjust the angle of each light fixture to achieve the desired illumination. Downward angles are usually best for path lighting to avoid glare.
Install a Timer or Photocell (Optional)
If you want your lights to turn on and off automatically, install a timer or photocell.
- Timer: Connects to the transformer and allows you to set specific on/off times.
- Photocell (Dusk-to-Dawn Sensor): Detects ambient light and turns the lights on at dusk and off at dawn.
Follow the manufacturer’s instructions for connecting these devices to your system.
Step 6: Test and Troubleshoot
After installation, it’s time to see your hard work pay off!
Test Your Lights
Turn on the power to your transformer (plug it in if you haven’t already). Your lights should now illuminate. Walk the path and check for:
- Even Illumination: Are there any dark spots?
- Glare: Are any lights too bright or shining into eyes?
- Coverage: Are all areas of the path adequately lit?
Troubleshooting Common Issues
- Lights Won’t Turn On:
- Check if the transformer is plugged in and receiving power.
- Ensure the GFCI outlet is not tripped.
- Verify all wire connections are secure and correctly made.
- Check the wattage of all your bulbs; ensure they don’t exceed the transformer’s capacity.
- Test the transformer itself if possible.
- Some Lights Not Working:
- This often indicates a break in the wire or a faulty connection between the transformer and the affected light.
- Inspect the cable for any nicks or cuts.
- Check the wire connectors at the problematic fixture.
- Lights Flicker:
- This could be a loose connection or a failing bulb.
- Check all connections.
- Replace suspect bulbs.
Step 7: Maintenance
Regular maintenance will ensure your garden path lighting system continues to function beautifully for years to come.
- Clean Fixtures: Periodically wipe down the fixtures to remove dirt and debris.
- Check Connections: Inspect wire connections annually for signs of corrosion or damage.
- Replace Bulbs: Replace any bulbs that burn out. Consider switching to LED bulbs for greater energy efficiency and longevity.
- Adjustments: As your garden grows, you may need to reposition lights to avoid being obscured by plants.
- Mulch Replenishment: If you’ve used mulch to cover wires, top it up as needed.
Conclusion
Adding lighting to your garden path is a rewarding project that significantly enhances your outdoor space. It boosts safety, adds aesthetic appeal, and extends the usability of your garden into the evening hours. By carefully planning your design, choosing the right fixtures and power source, and following these installation steps, you can create a beautifully illuminated garden path that you’ll enjoy for years to come. Don’t be afraid to get creative with your lighting to highlight plants, features, or create a unique ambiance. Your garden path will become a magical pathway, inviting you and your guests to explore and enjoy it day and night. Consider how well-maintained paths can complement other garden features, like [How To Build A Rain Garden For Lawn Runoff], ensuring your entire landscape is functional and beautiful.