Knowing how long to leave soaker hose on is key to healthy lawn care. This guide walks you through factors like soil type, plant needs, and climate to help you water deeply and efficiently. You’ll avoid overwatering, save water, and grow a greener lawn with simple, science-backed tips.
Soaker hoses are a simple, water-efficient way to keep your lawn healthy and hydrated. Unlike sprinklers that spray water into the air and can waste moisture through evaporation, soaker hoses lay directly on the soil and drip water slowly into the ground. This method delivers water exactly where it’s needed—at the roots—minimizing waste and maximizing absorption.
If you’ve ever wondered how long to leave soaker hose on, you’re not alone. Many homeowners struggle with overwatering, under-watering, or simply don’t know when their hose has done its job. This guide will walk you through everything you need to know—from soil type to seasonal changes—so you can water smarter, not harder.
By the end of this article, you’ll understand how to set up your soaker hose system for optimal performance, avoid common mistakes, and keep your lawn green and healthy all year long.
Key Takeaways
- Soaker hoses deliver water slowly and evenly, reducing runoff and promoting deep root growth in your lawn.
- How long to leave soaker hose on depends on soil type: sandy soil drains fast and needs more frequent watering; clay soil holds water longer and needs less frequent but longer sessions.
- Weather conditions greatly affect watering time: hot, dry days require longer sessions, while cool, rainy weather calls for shorter or no watering.
- Most lawns need 1 to 3 hours per session, with sandy areas requiring shorter cycles more often, and clay areas needing longer, less frequent sessions.
- Check soil moisture before turning on the hose—dig a small hole or use a moisture meter to avoid watering when the soil is already wet.
- Use a timer for consistency—automating your soaker hose schedule helps prevent under- or overwatering and saves time.
- Adjust seasonally—reduce watering in spring and fall, increase in summer, and protect hoses during winter to extend their life.
Understanding Soaker Hoses and How They Work
Soaker hoses are made of porous, permeable material that allows water to seep out slowly along their length. They’re typically laid flat on the ground, either above the soil or buried just beneath the surface. As water flows through the hose, it drips into the surrounding soil, delivering moisture directly to plant roots.
Unlike traditional sprinklers, which spray water into the air and can lose up to 30% to evaporation, soaker hoses deliver water with minimal waste. This makes them ideal for water-conscious gardeners and those with drought restrictions.
There are two main types of soaker hoses:
- Porous hoses: Made from natural or synthetic materials that absorb water and release it slowly. These are best for small gardens or flower beds.
- Flood hoses: Made of vinyl or rubber and filled with water before use. They’re great for larger areas like lawns and vegetable gardens.
Both types are effective, but flood hoses are generally more reliable for lawns because they don’t dry out between uses.
How Long to Leave Soaker Hose On: The Basics
The short answer: 1 to 3 hours per session is typical for most lawns. But the exact time depends on several factors. Let’s break it down.
Soil Type Matters
Your soil type is one of the most important factors in determining how long to leave soaker hose on. Soil acts like a sponge—some absorb water quickly, others hold it longer.
- Sandy soil: Drains fast and doesn’t hold water well. Water moves down quickly, so you’ll need shorter, more frequent watering sessions—about 30 to 60 minutes every few days.
- Loamy soil: The ideal soil type. It holds moisture well and drains evenly. A 1 to 2-hour session every 3 to 4 days works well.
- Clay soil: Holds water for long periods and drains slowly. Overwatering is a bigger risk. Water for 2 to 3 hours, but only once every 4 to 5 days.
To check your soil type, dig a small hole about 6 inches deep. If it feels gritty, it’s likely sandy. If it’s crumbly and holds shape when squeezed, it’s probably loam. If it’s sticky and hard to break apart, it’s clay.
Weather Conditions Play a Big Role
Weather directly affects how long your soaker hose should run. On hot, dry days, your lawn will need more water. On cool, rainy days, it may not need any.
- Hot and dry: Increase watering time by 30 to 60 minutes. Your lawn is under stress and needs deeper hydration.
- Cool and cloudy: Reduce watering time or skip a session. The soil is already moist, and evaporation is low.
- After rain: Always check the soil before watering. If it’s already wet, skip the hose.
A simple way to monitor weather impact: if the temperature is above 85°F and it hasn’t rained in 5 days, your lawn likely needs extra attention.
Plant and Grass Type
Different plants and grasses have different water needs. For example:
- St. Augustine grass: Thrives in warm climates and needs deep, frequent watering—about every 2 to 3 days.
- Fescue: More drought-tolerant and prefers less frequent watering—every 4 to 5 days.
- Newly seeded lawns: Need consistent moisture to germinate. Water lightly 2 to 3 times a day for the first two weeks.
- Drought-resistant plants: Require less water and shorter sessions.
Knowing your grass type helps you adjust how long to leave soaker hose on for best results.
Step-by-Step: How to Set Up Your Soaker Hose System
Setting up a soaker hose system is easy and takes just a few steps. Follow this guide to get started:
Step 1: Plan Your Layout
Before laying hose, map out where you’ll place it. For lawns, lay hoses in straight lines, about 12 to 18 inches apart. For gardens, follow plant rows.
- Use stakes or garden hose to mark paths.
- Overlap hoses if you have a large area.
- Keep hoses away from driveways, sidewalks, and patios to avoid tripping hazards.
Step 2: Lay the Hose
Place the soaker hose on the soil surface. For best results, bury it 1 to 2 inches deep with soil or mulch. This protects it from UV damage and reduces evaporation.
- Use a trowel or rake to gently cover the hose.
- Make sure the hose is level and not kinked.
- Connect multiple hoses to a single water source using adapters.
Step 3: Attach to Water Source
Connect the hose to an outdoor faucet using a soaker hose connector or a standard garden hose adapter. Use a pressure regulator if your water pressure is high—typically above 40 PSI. High pressure can burst soaker hoses.
Step 4: Set a Timer
Use a simple timer or smart irrigation controller to automate watering. This helps you stick to the right schedule and avoid overwatering.
- Set the timer based on soil type and weather.
- Start with shorter sessions and adjust as needed.
How Long to Leave Soaker Hose On: A Weekly Schedule
Here’s a sample weekly watering schedule based on common conditions:
- Spring (cooler temps): 1 hour per session, 2 to 3 times per week.
- Summer (hot and dry): 1.5 to 3 hours per session, every 2 to 3 days.
- Fall (moderate temps): 1 to 2 hours, 2 times per week.
- Winter (dormant season): Only water if the ground isn’t frozen. Otherwise, skip.
Adjust this schedule based on rainfall and soil moisture.
Practical Tips for Efficient Watering
To get the most out of your soaker hose system, follow these tips:
- Water early in the morning: Reduces evaporation and gives your lawn time to dry before nightfall, preventing fungal diseases.
- Check for leaks: Inspect hoses regularly for cracks or holes. Replace damaged sections to avoid water waste.
- Use mulch: Covering hoses with mulch helps retain moisture and protects them from sun damage.
- Rotate hoses seasonally: Move hoses to different areas each season to ensure even water distribution.
- Clean your hoses: Flush them with clean water at the end of the season to remove mineral buildup.
Troubleshooting Common Soaker Hose Problems
Even the best systems can have issues. Here’s how to fix common problems:
Problem: Water Isn’t Flowing Evenly
This could be due to kinks, blockages, or low water pressure. Check for kinks and straighten the hose. Flush the hose with clean water to clear any clogs. Use a pressure regulator if needed.
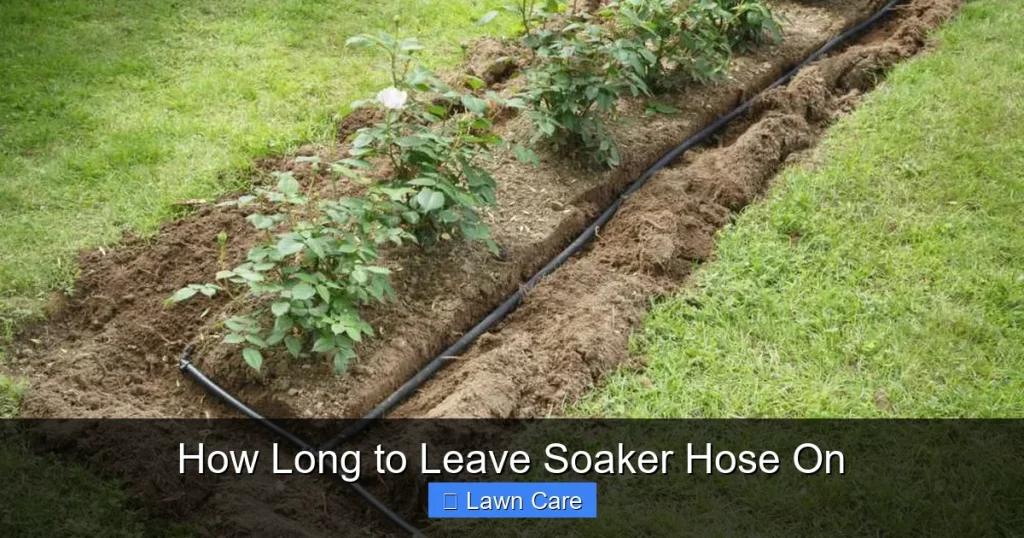
Visual guide about How Long to Leave Soaker Hose On
Image source: bhg.com
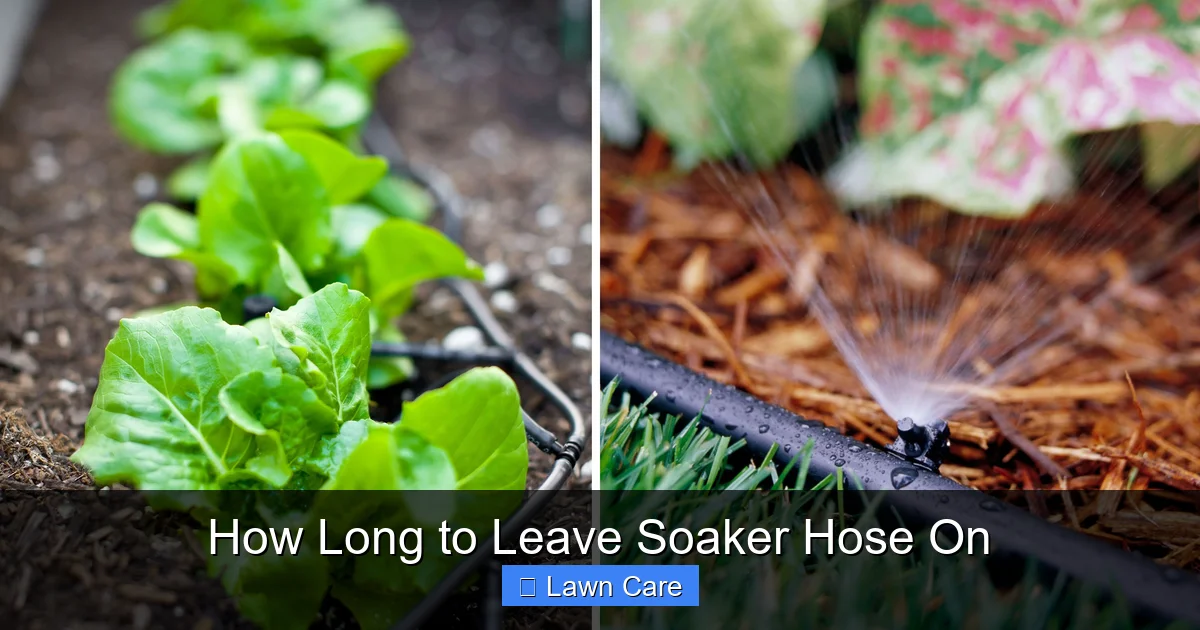
Visual guide about How Long to Leave Soaker Hose On
Image source: theyardandgarden.com
Problem: Hose Is Leaking or Damaged
Small leaks can often be repaired with waterproof tape or a hose repair kit. For larger damage, replace the section. Always store hoses properly in a cool, dry place to extend their life.
Problem: Soil Is Staying Dry
This might mean the hose isn’t laid close enough to the soil or the water pressure is too low. Bury the hose slightly and ensure a strong water connection. Increase watering time slightly and monitor results.
Seasonal Adjustments for Year-Round Lawn Care
Your soaker hose schedule should change with the seasons:
- Spring: Increase watering as grass starts growing. Focus on newly seeded areas.
- Summer: Water more frequently but avoid midday. Use a timer to maintain consistency.
- Fall: Reduce watering as growth slows. Prepare your hoses for winter storage.
- Winter: Drain hoses and store them indoors. Protect from freezing temperatures.
Storing your soaker hoses properly will save you time and money in the spring.
Conclusion: Water Smart, Grow Greener
Knowing how long to leave soaker hose on is the key to efficient, effective lawn care. With the right schedule—based on soil type, weather, and plant needs—you can keep your lawn healthy while saving water and reducing waste.
Remember, soaker hoses are not a “set it and forget it” solution. They require attention and adjustment, especially during extreme weather or seasonal changes. But with a little planning and the tips in this guide, you’ll have a lush, green lawn all year long.
Start today by checking your soil, setting a timer, and observing how your lawn responds. Small changes lead to big results. Your lawn—and the environment—will thank you.